How to Remove Veneer or Laminate from Furniture
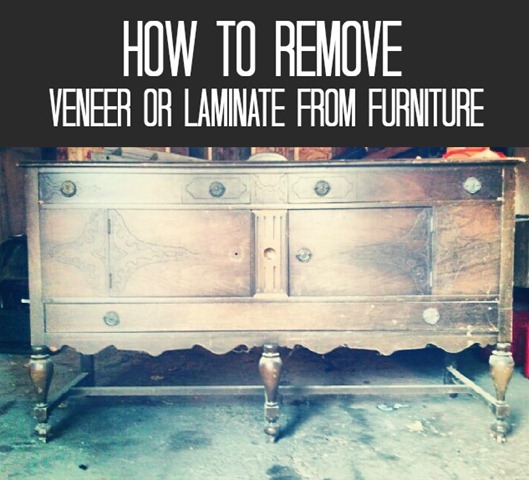
/Recently I shared with you my plans for my craft room. Part of those plans included refinishing a buffet/sideboard/whatever you want to call it. Part of refinishing that buffet included figuring out a way to remove peeling veneer from the sides.
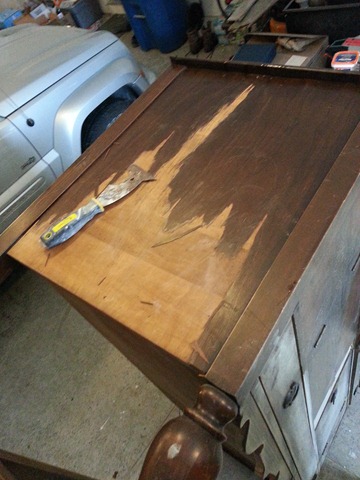
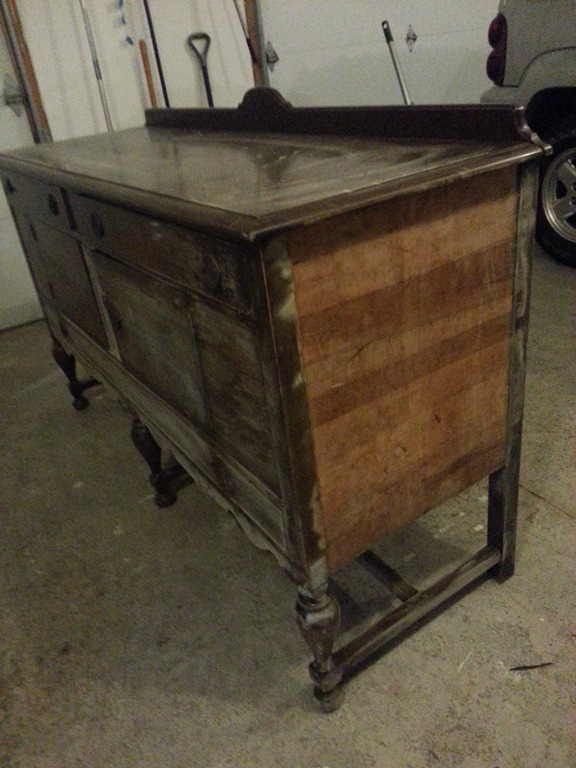
This beauty was hanging out in the garage of one of my co-workers. Her husband wanted garage space. I wanted a buffet. Win. Win. This buffet and I were destined to be together. Unfortunately, we didn’t meet before this beauty suffered some damage. The veneer on both sides was peeling and the entire buffet was quite scratched. The scratches didn’t concern me. Most could easily be fixed by some light sanding. The veneer was a new territory for me.
Nate tried sanding and scraping but he could only get part of it off. The rest was not going anywhere.
After some Googling, I pieced together a few tips to try and tackle the veneer on my buffet. Here are my tips if you have a beautiful piece of furniture needing some TLC in the veneer department.
Tools:
- A metal putty knife
- An old rag/towel
- An old iron
- I bought one at the Salvation Army for $1.50. This process will make your iron disgusting.
- A hammer
- A bucket of water
- Patience
- A radio station with today’s greatest hits. (Justin Timberlake and Ke$ha really speed this process along.)
Process:
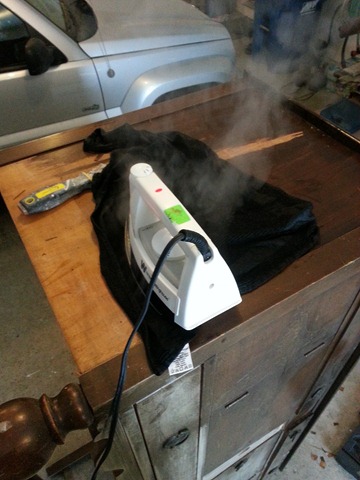
- Get your rag fairly wet. You want it to be slightly dripping but not sopping wet.
- Place the wet rag on the area you want to remove.
- It’s best to avoid any exposed wood so you do not damage that part of the furniture.
- Also be careful around areas where you do not want the veneer removed. I learned this lesson the hard way near the sides. The steam is not forgiving. I would suggest protecting those areas with dry rag.
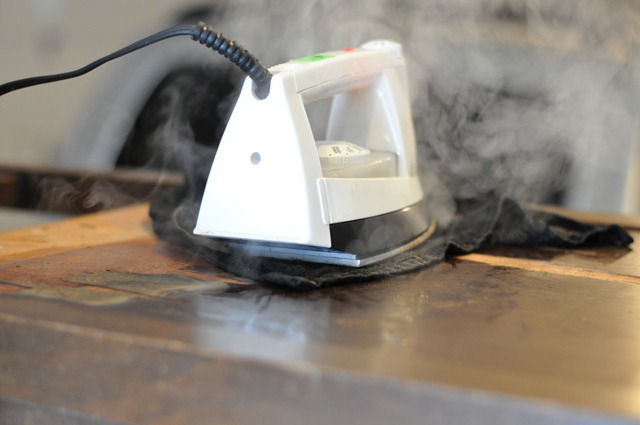
- Place your iron on top of the wet rag. Be very careful during this step. The steam is obviously hot. Consider this your warning. It’s like those warnings on coffee cups that tell you that your coffee may burn you. Same thing. Use your noggin. (I’m usually really good at injuring myself and surprisingly had no problems doing this but just be careful!!!)
- Let the iron sit for a few minutes. I used this time to rock out to Rhianna and also do a little sanding on the rest of the buffet.
- Remove the iron and the rag carefully. Both are hot. Again. Be careful. Pretend your mom is watching you during this whole process.
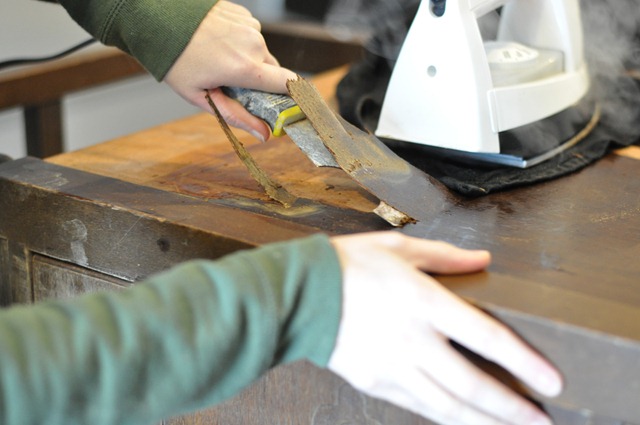
- The veneer will turn a different color. I found that when it looks like the photo below, it is ready to remove.
- Use your putty knife to scrape the veneer off. It will come off pretty easily. I occasionally used a hammer to lightly tap the putty knife. If you let the iron sit long enough, you probably won’t need the hammer. Don’t try to dig at the veneer too much. You will risk damaging the wood underneath if you are not careful.
- While you are scraping one area, give your rag a quick dunk in some water. Place it on the next area and let it do it’s thing. I’m all about time savings.
- Don’t rush the iron step. The longer you let the iron sit, the less work you have to do scraping.
- Once you find that you can no longer easily remove the veneer, stick the wet rag and iron back on it.
- Repeat until all veneer is removed.
I forgot to take great after photos because I was too excited to start priming and painting. As you can sort of see above, all of the veneer came off and I was left with nice wood underneath.
This was not a quick process. I think it took me at least an hour for each side. One side was easier than the other. There is probably some more expensive faster version out there but this process worked well for my cheap self.
Let me know if you have any questions. I’ll answer them in the comment section.
Have you tried to remove veneer or laminate? Any successes or failures? Any furniture make-overs in the works?
Linking up to: Home Stories A to Z

