DIY Console Table How-To
/I’m back. I needed a blog break. Have you ever had one of those times in life where everything that you touch breaks and you do awesome things like lock your keys in your car and flood your garage? Yeah, that was my last couple of weeks.
I also finished reading 7: An Experimental Mutiny Against Excess and it messed with my mind. It made me want to start a vegetable garden (I don’t eat vegetables.), adopt babies from Africa (I’m not quite ready for babies.), and stop buying crap for my house (I like crap for my house.). I told you, it messed with my mind.
And then I bought a new rug for the living room and all was right again with the world.
Now I’m back with the DIY Console Table how-to that you all have been so patiently waiting for.

Purchase List:
- 3 four foot 1x10’s
- Our console table top dimensions are 4 foot long and 10” wide
- 2 eight foot copper grounding rods
- We found ours in the electrical section (near the conduit) at Lowe’s
- 1 1/4” wood screws
- 2” wood screws
- Wood glue
- 1/2” wood bit
- Drill
- Stain
- We used MinWax’s Red Mahagony
- Poly
- MinWax’s Satin Poly
Directions:
- Select one of the 1x10s to be the bottom board. Place wood glue on top of this board.

- Place bottom board and middle board together and clamp together.

- Screw the two boards together using 1 1/4" screws. Start screwing from the bottom of the bottom board.
- Allow the boards to dry.
- Determine how tall you would like your console table to be. Our table is 28.5” from the floor to the bottom board.
- To figure out the length and the angle of the legs, use saw horses and scrap pieces of wood to prop the boards up to the desired height. Doing this will help you get the correct angle and length for the copper rod legs.

- Add caption
- Place a mark 3" from the outside edge on each corner.
- Put the rod straight up from the edge, then angle in to the 3” mark, placing a line on the rod parallel to the top of the top board

Add caption
- While the rod is at the angle, take a spare 2x4 and place a line on it to match the angle of the rod.

- Cut the copper rod using a hack saw.

- Repeat for all 4 legs.
- To make the holes for the legs, measure in 4" from the ends and 1.25" from the front and back
- Using a 1/2" drill bit, drill a hole through the 2 boards using the angle marked on the scrap 2x4 earlier. Clamps will help keep the 2x4 in place while drilling.

- Place glue on the bottom side of the top board and set this on the top of the middle board and clamp together. Screw the three boards together from the bottom board using 2" screws
- Distress boards. AKA beat the boards up with whatever random tools you can find. We used hammers, crow bars, screws, etc. You can’t mess this step up. More is more when distressing. Scratches, scrapes and dents are all wanted.

- Stain and poly. We used 1 coat of stain and 2 coats of poly.
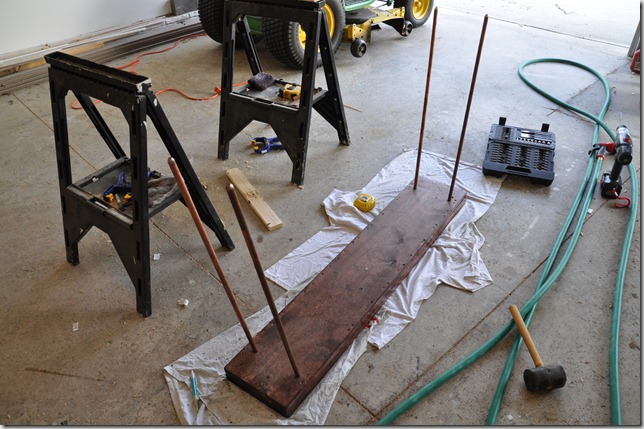
- Cover the ground with something soft to protect the table. Place the table top on the ground with the holes up. Pound the rods into the holes with a rubber mallet. Do it classy like we did. I really should learn to not put pictures like this up on the interweb. Or I could clean our garage. Neither of which will probably happen.

- The rods will take a little effort to pound into the table because the holes are intentionally smaller than the rods. This tight fit will help keep the legs sturdy. You may need to drill a little bit extra out of the holes to get the rods to fit.
- Place the table on a level surface to check to see if the legs are all even. We had to flip the table and adjust legs a couple of times to get the table level. We found it best to find which leg is taller and pound that leg in more.
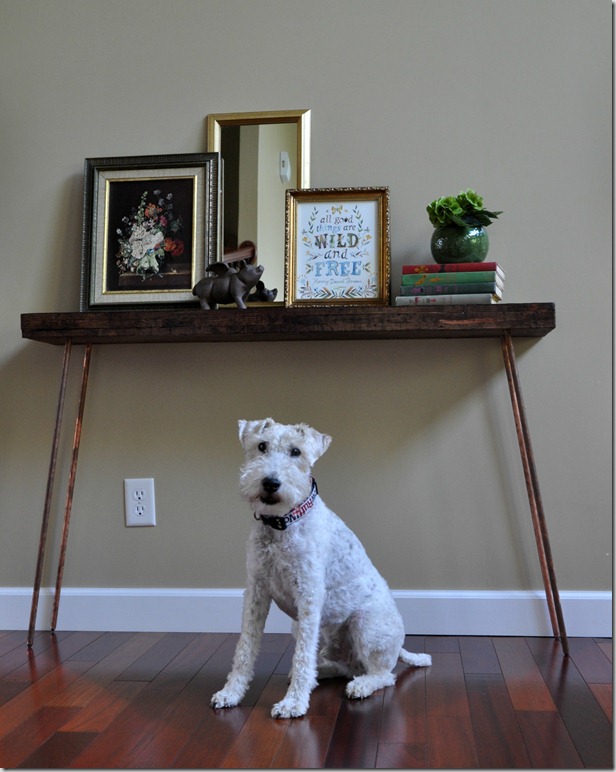
- Set your table up and decorate it with your favorite thrifty finds!


Any questions? Anyone else recovering from a life funk? Have you read “7”? Any good thrifty finds lately?


