How to Add Cabinet Molding
/Today’s post is brought to you by Nate.
He is going to tell you all about adding simple molding to plain ol’ boring cabinets and how my brother can’t measure…
The first step in the molding process was picking out the molding. We need something simple and on the thinner side. We purchased the molding above from Lowe’s.
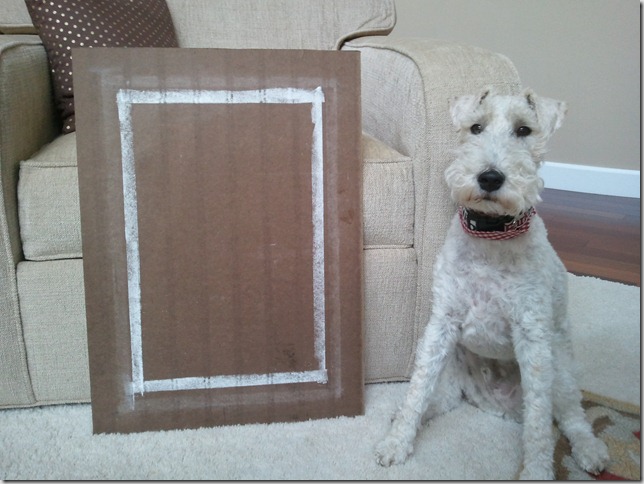
The next step in adding cabinet molding was deciding where to place the molding on the cabinet. We used a spare piece of wood and marked 1” from the edge with chalk. The 1” placement did not look right so we went to 2.5” in from the edges. Ike approved of the 2.5”.
Marshall (Michelle’s little brother) provided us with all of the dimensions before hand. (They were all incorrect. Always measure from the edges. It makes things a lot easier when installing. I could cut all the pieces (with a miter saw at 45 degrees on each side) the weekend before to save some time. Or so I thought.
On all of the doors, I marked the selected length in from all sides. I laid out the pieces to make sure the person that originally measured did so correctly. After discovering that all doors were measured incorrectly, I made the necessary adjustments and remarked all of the doors (I should have verified before marking all doors, but I assumed he knew what he was doing. A learning lesson for both of us.).
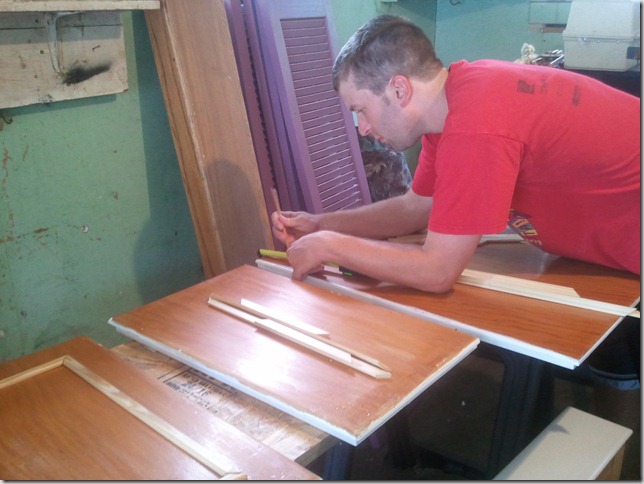
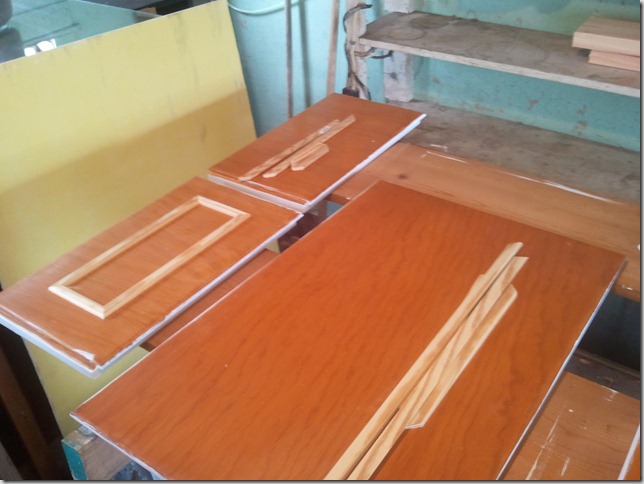
I put a little bead of wood glue on the molding and placed it on the door at the selected marks. I then used a brad nail gun to securely attach to the molding to the doors. I used 5/8” brads as they were just long enough to get through the molding into the door but not all the way through the door. Repeat on all doors. Fill in the holes and corners with wood filler and sand.
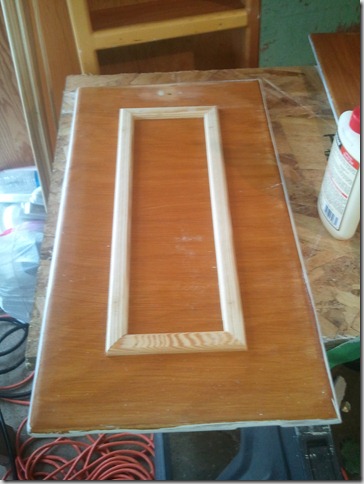
I also installed molding on a plain area of the cabinets.
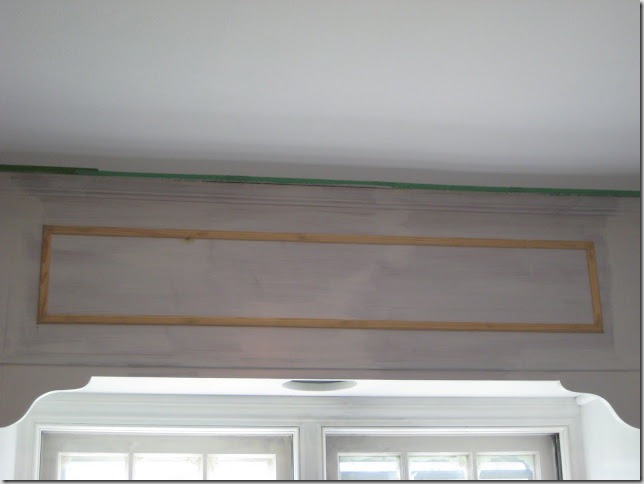
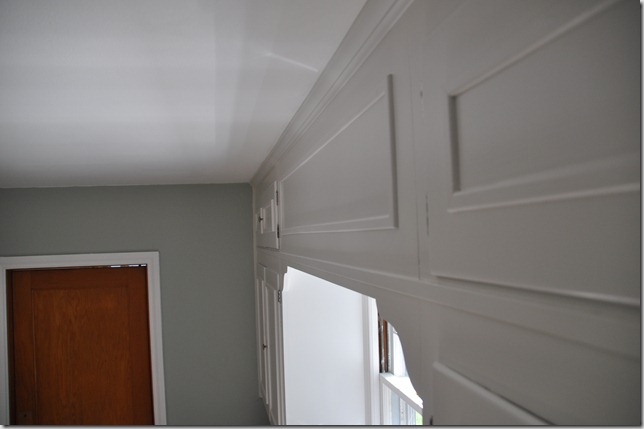
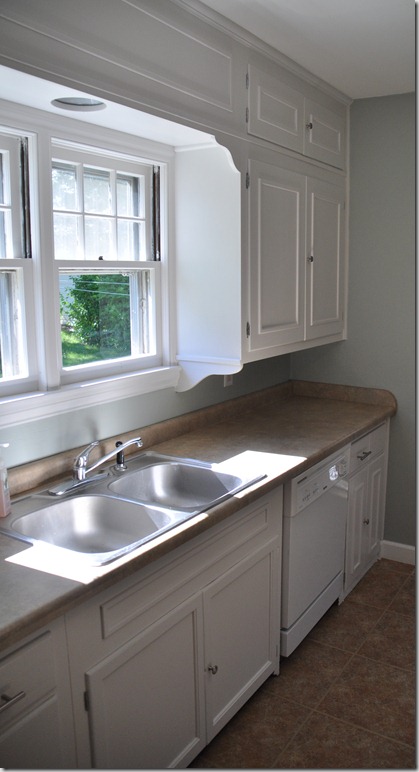
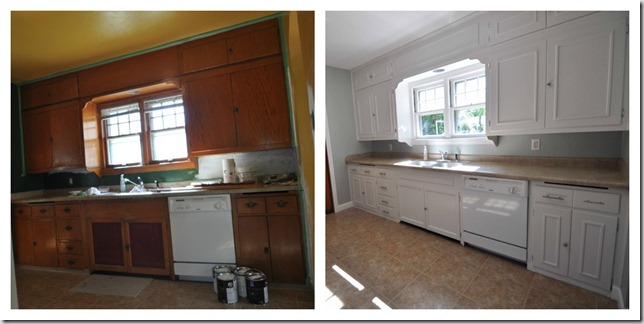
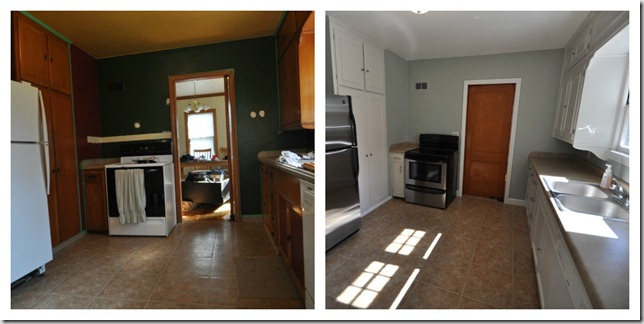
$50 in molding definitely helped improve the looks of this kitchen.
