Stenciling Thoughts
/On Tuesday, I showed you our powder room make-over.
A key part to this make-over was the Royal Design Studio Nova Trellis stencil. Royal Design Studio has a great stencil selection. Picking out a stencil was almost harder than the actual act of stenciling. Almost.
Speaking of stenciling. I’m by far the first blogger to stencil a wall. There are a lot of tutorials out there. I found Young House Love's tutorial to be the most helpful.
Here’s what I learned:
The Stencil:
- The stencil was made of a good quality material and held up through the entire process.
- The repeating pattern made it easy to keep the stencil level. I don’t see straight. I usually think levels are wrong. Nate was impressed with how well I did. Especially when the molding also ended up level with the stenciling.
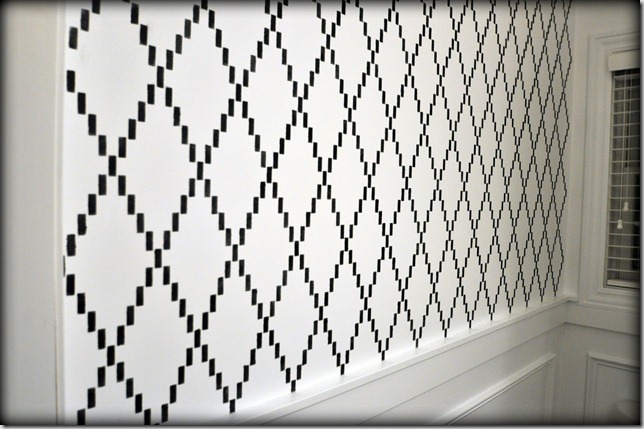
- The stencil was large which made long portions of wall go smoothly. You could cover a large portion of the wall without having to reposition the stencil. I loved the big reveal after completing a section of stencil. It was almost like Christmas morning over and over again.
- Corners and shorter portions of wall were more difficult. I solved this problem by cutting out parts of the stencil to use in the corners and above the door. Not the most ideal (or probably recommended) situation but it definitely worked.
- Below is the best picture of the size of the stencil. (I started stenciling above the window and then decided I preferred that portion of the wall white. Stencils trump wall paper because changing back to white was easy.)
Time: Stenciling takes a lot of time. A lot. I think I spent 16-18 hours stenciling this room. I am not a patient person so this was definitely a test for me. At one point I thought I may be stenciling well into my 80’s. I’m also sometimes dramatic.
Tools: I used a disposable plate, bowl, foam stencil brush, painter’s tape, spray adhesive (brush and adhesive purchased at Michael’s), and patience. I used the bowl to hold the paint and the plate to dab the excess. The adhesive was helpful to hold the stencil in place on the wall. Painter’s tape was handy on the corners. You could probably get by with just the tape but I think the adhesive helped prevent the paint from bleeding through the stencil.
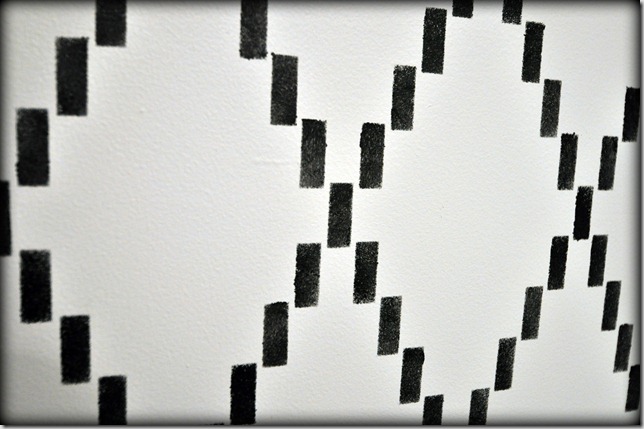
Paint: I used Black Leather by Dutch Boy in an eggshell finish. I think the contrast of black and white is what makes this bathroom but it also made stenciling difficult. Getting the right amount of paint is an art. You need enough to fill in the stencil but not so much that it bleeds through. Too little black is greyish. Enough to get a deep black was a mess. I found that practicing on cardboard was helpful. The trellis pattern was very forgiving though. The tiny pixels may not individually be perfect but they blend well overall. As seen below…eye trickery…
Would I stencil again? Yes. I love how the room turned out. The time was definitely worth it. I love how it has the look of wallpaper but isn’t. I’d like to think that the process taught me patience but I don’t know that I would go that far. I did find it mildly therapeutic after I got the hang of it. I loved the selection at Royal Design Studio. I really wanted something unique and their wide variety of designs made this possible.
Any other questions regarding stenciling? I’ll answer them all!
Do you like the look of stenciled walls? Would you like a chance to win your very own stencil from Royal Design Studio to spruce up your space? Stop back tomorrow for a giveaway for a free stencil!!


