How to Change Cabinet Hardware

Happy Monday!   (I'm off work today. Can you tell?)

Part of our bathroom makeover included changing our cabinet hardware.  You may (or may not) remember that our bathroom looked like this. 

004.JPG

I didn't hate the cabinet hardware.  Nate, on the other hand, did.  So weird.  Usually I'm the one that's all about change. I guess he has never liked it.  The things you learn.

We decided that we would tile the wall and get the mirror and lights hung before we would make a decision on the cabinet hardware.  I was still remaining optimistic that we wouldn't have to change the hardware. That is a lot of knobs. 

We tackled the previously mentioned tasks accomplished and we were left with this amazing cell phone photo. 

How to Change Cabinet Hardware.jpg

I was "eh" about the situation.  Nate still hated it. I decided to trust him.

We headed off to our local big box stores in search of some polished nickel hardware.  If you haven't gathered, choosing polished nickel was not one of our smartest moves.  A pretty move, yes.  Smart move, no.  Home Depot was the only store that carried a polished nickel finish.  Luckily we found one that we both loved.  It's the Finial Pull from Martha Stewart Living.   Simple yet elegant.  Thanks, Martha.

I then got a little sad.  We have knobs.  These are handles.  Nate said it was no big deal. We could change them.  I was skeptical.  Like always.  Wouldn't it look funny?  Wouldn't it be a lot of work to change them? 

Turns out it was no big deal.  You can see a tiny hole between the handles if you look super close. 
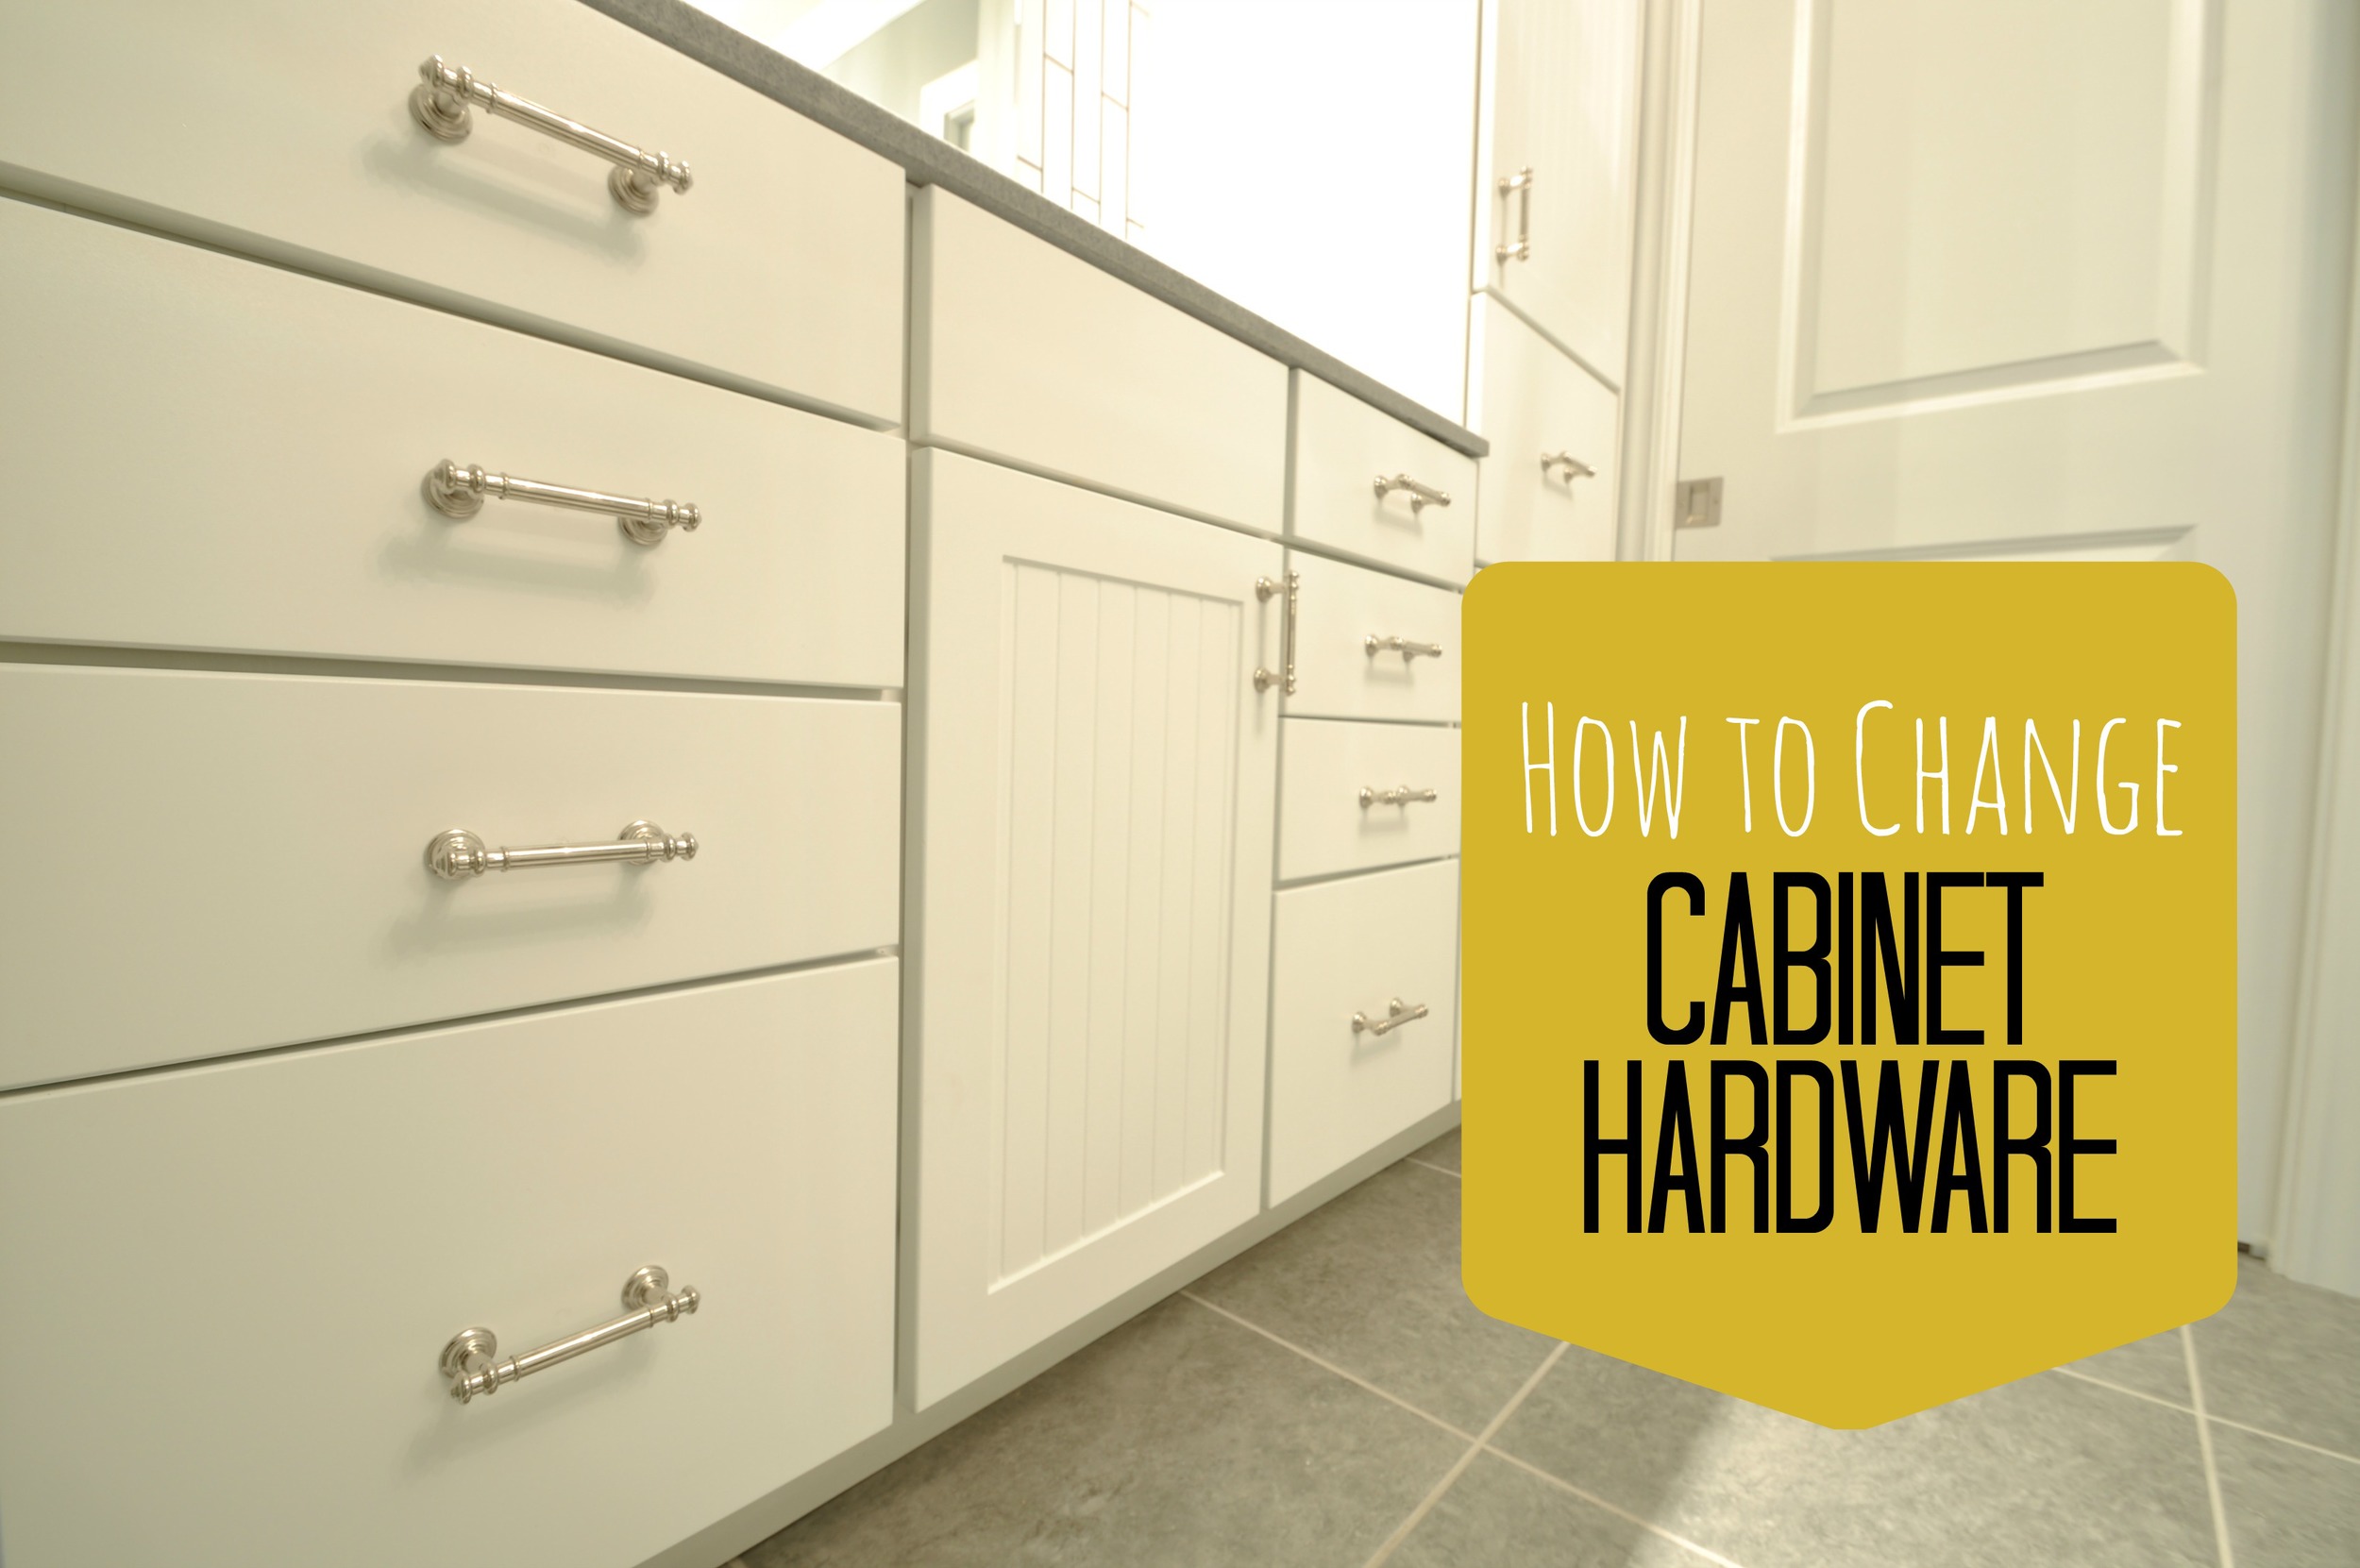
How to Change Cabinet Hardware.jpg

Step 1

Remove previous hardware. 

Step 2  

Fill in the holes from the previous hardware.   We used Red Devil Onetime Spackling.  We use this as wood filler for a lot of projects that we do.  It's lightweight.  Easy to use.  The only con is that it does shrink a little.  We usually apply two rounds.

Step 3

Use paint (or stain if you have stained cabinets) to touch up the filled in holes. 

Step 4

Build a template to help you install your new hardware.   Nate used scrap wood to make this beauty.

How to Replace Cabinet Hardware.jpg

Nate made the template as wide as the drawer/door and then over half of the height of the drawer/door. Drill holes that will match up with hardware.  For example, our handles were 3" apart.  Nate found the center of the template and measured 1.5" from each side of center.  He then measured the height of the drawer/door and found half of that.  He then measured top down on the template to find the vertical placement. Last, he created a hanger out of the pieces. 

Step 5

Place the template on top of the drawer/door.  Match the two sides.  Drill into pre-drilled holes.

160.JPG

Step 6

Install new hardware.   Drool over your pretty new bathroom update!


How to Change Cabinet Hardware.JPG

Changing the hardware on both sets of cabinets took us about 45 minutes.  Nate did the drilling and I installed the new hardware.  A pretty quick update! 

I hate to say this but Nate was not wrong.  (My keys to a successful marriage: a King sized bed and never outright admitting your spouse was right.  The latter goes to their head and that's hard to deal with.) 

How to Change Cabinet Hardware 2.jpg
How to Change Cabinet Hardware.JPG

Have you changed out your cabinet hardware?  Or are you scared like I was?  Ever made a decision that was super pretty but a giant pain in your rear end? 

Photobucket Photobucket Photobucket Photobucket PhotobucketPhotobucketfollow us in feedly

Royal Design Studio Stencil Giveaway

Happy Friday!  Who's pumped for the weekend?  We're headed to the land of slow internet to visit my family.  I always enjoy a nice little break from civilization.

Today we have a slight change in our regularly schedule programming.  Last week I shared my newly stenciled craft room where I used the Royal Design Studio chevron wall stencil.

Decor and the Dog Craft Room 1.jpg

Today Royal Design Studio is offering a stencil giveaway!   There are so many great options to choose from!

Royal Design Studio Stencil Giveaway.jpg
Nate and I generally aren't that couple that tells the other what they can and can't do.  But there are a few things we have agreed on.  I'm not allowed to wallpaper. He's not allowed to sky dive.  Deal.
 
Luckily, stenciling is basically like wallpaper.  It's not extremely difficult.  Time consuming, yes.  Difficult, no.  Overall, you get the same effect but you can easily paint over it.   I said our powder room was the last room I would stencil.  And then the craft room happened.  Wonder which room will be my next victim?
  • PRIZE: One stencil $50 or less with free shipping included!
  • TO ENTER (required):  Enter via Rafflecopter below.  If you have trouble commenting, try using a different browser.  (Sorry!  Squarespace has no other fixes for me. Womp, womp.)
  • GIVEAWAY CLOSES: September 19, 2013 11:59PM
  • NUMBER OF WINNERS: One
  • OTHER STUFF: U.S. Residents only. The winner will be selected using Rafflecopter and announced on Monday, September 23rd.  Good luck!


Photobucket Photobucket Photobucket Photobucket PhotobucketPhotobucketfollow us in feedly

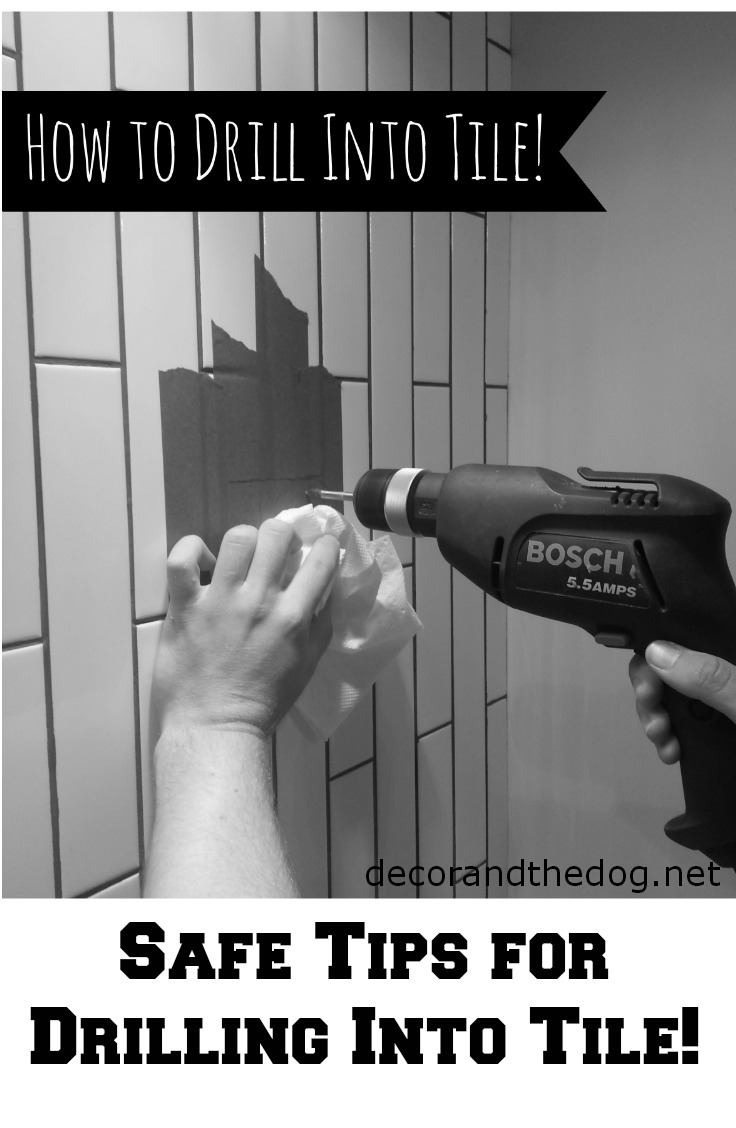
How To Drill Into Tile

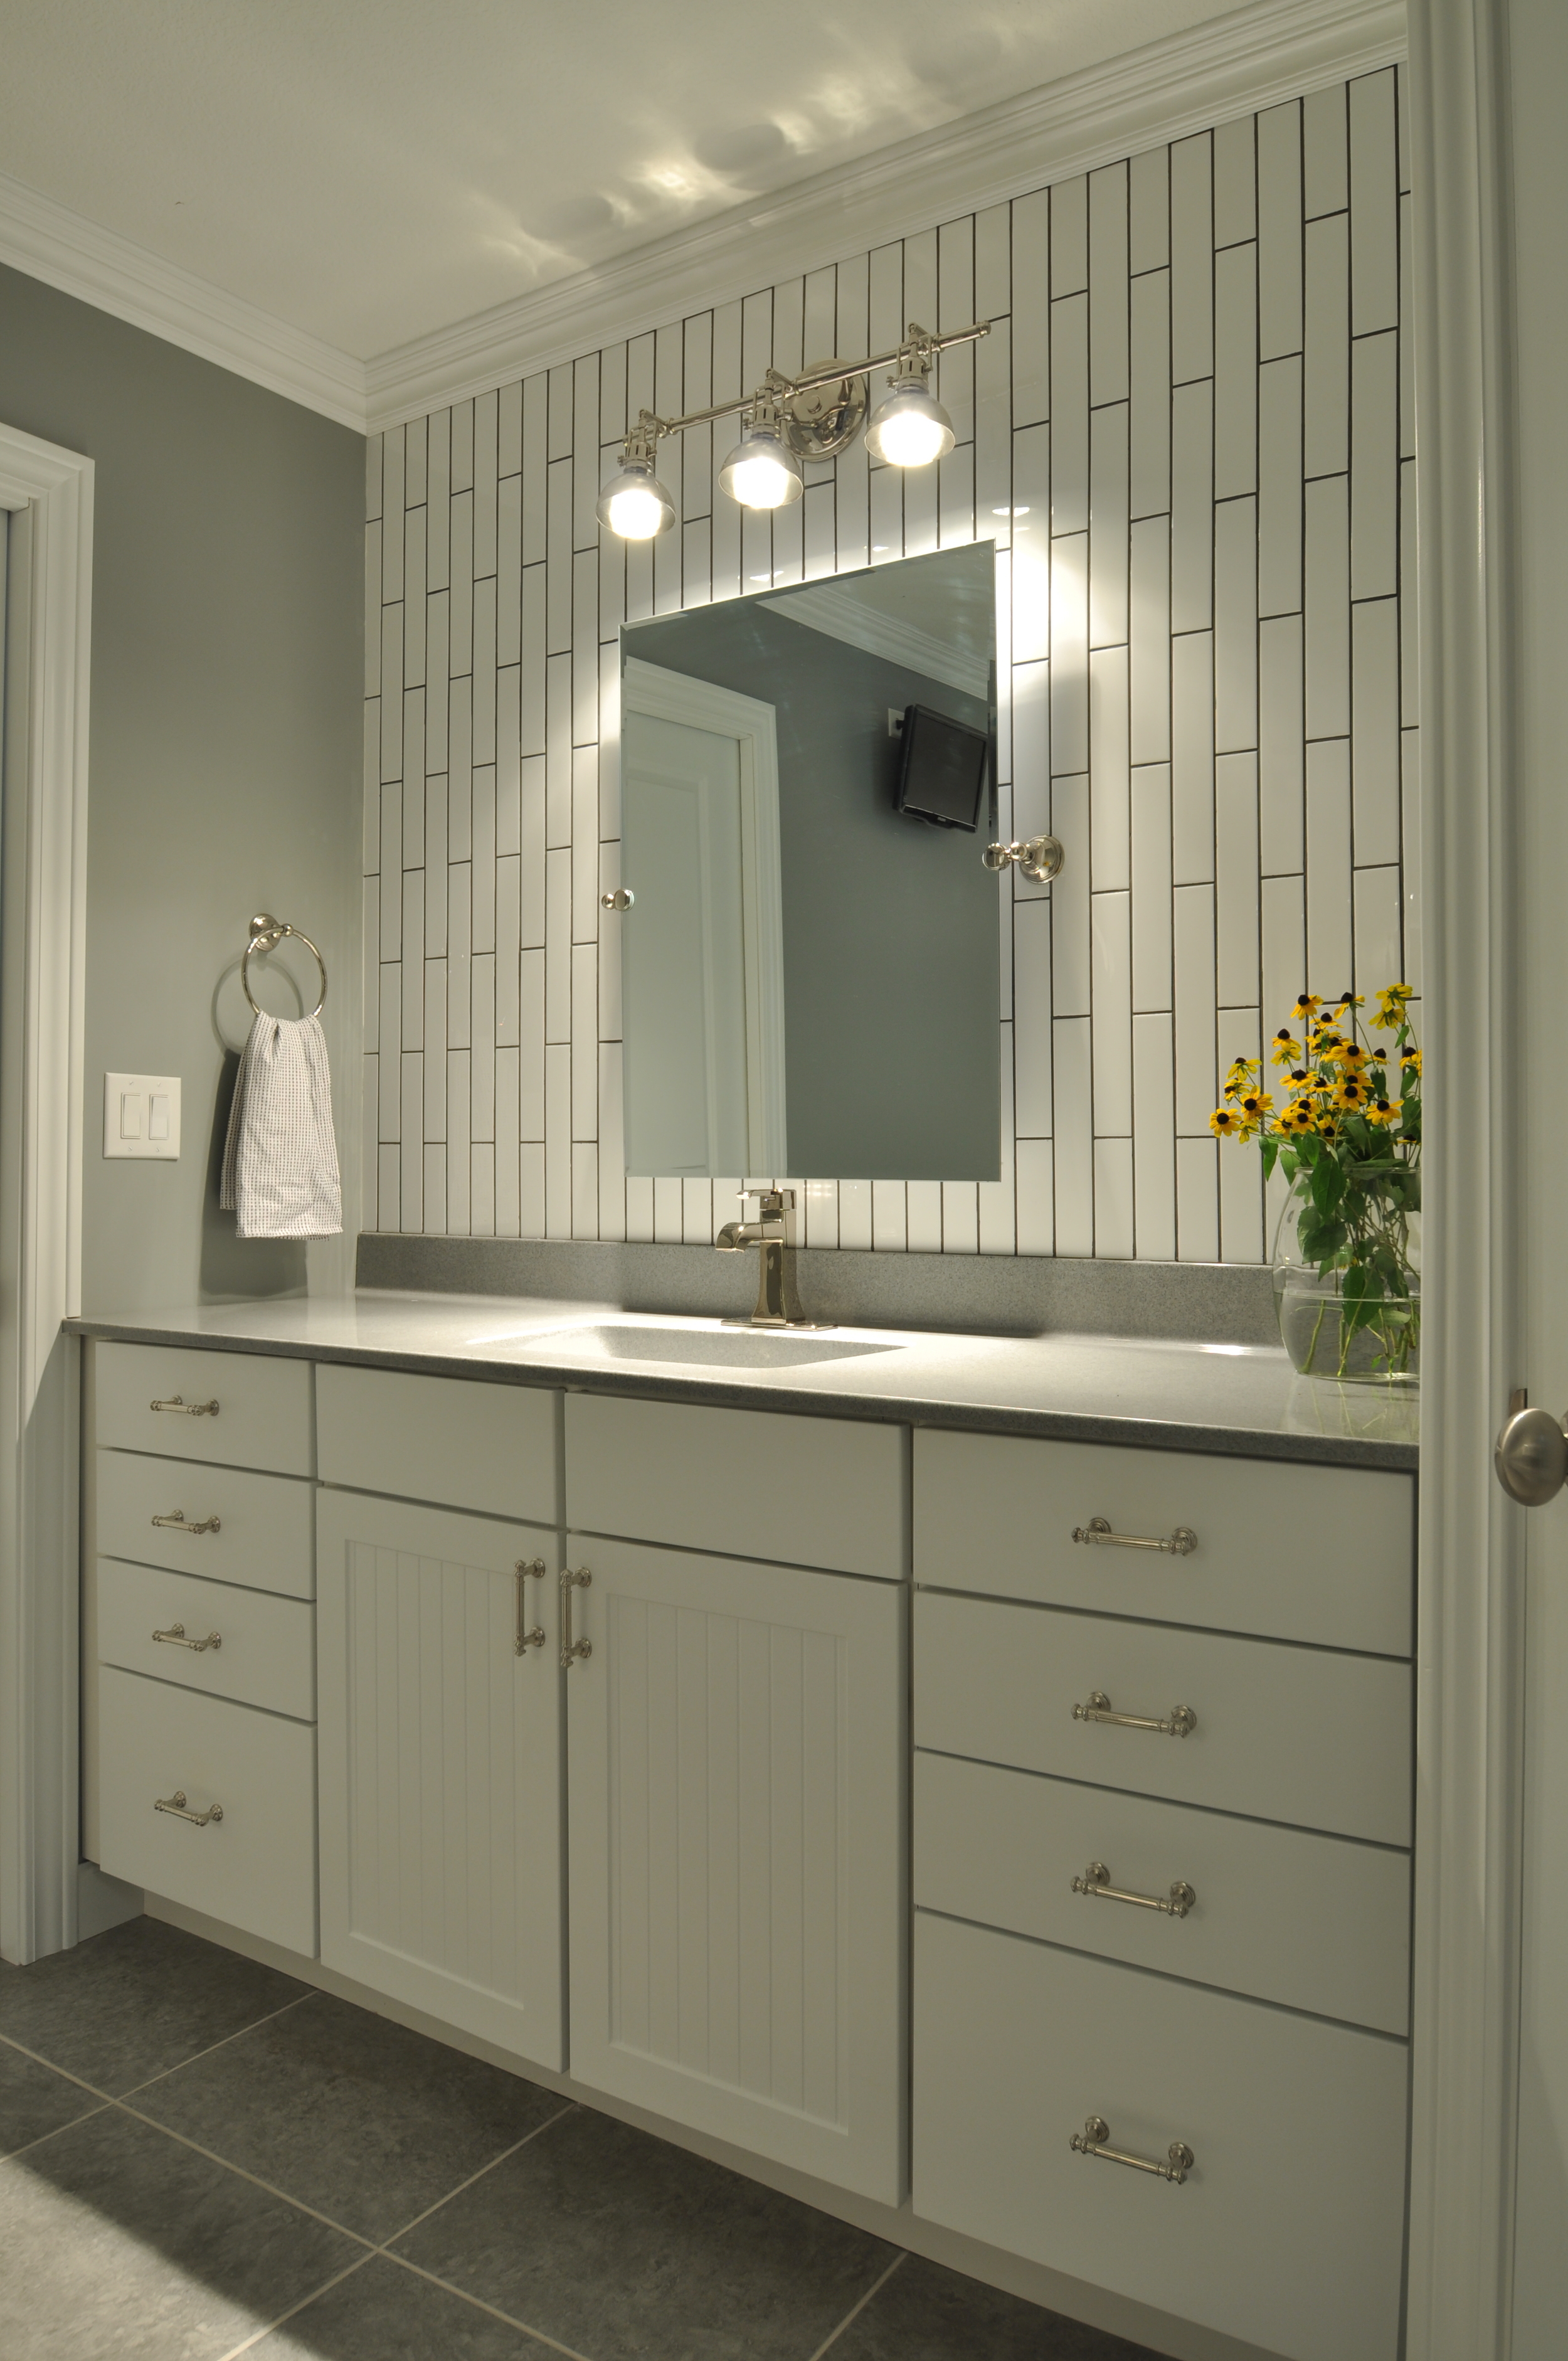
On Monday, we revealed our master bathroom updates. 

DSC_0032.JPG

Today we'd like to share with you our tips on how to drill into tile.  Well, I don't actually want to share it because it's boring and I only like sharing fun and pretty things.  I guess this blog should be useful for something now and then though, right?

How to drill into tile.  Safe Tips for drilling into tile

We installed the tile onto the wall.  We then needed to hang the mirrors.  The only way to hang the mirrors was to drill through our precious tile.  The thought of breaking/chipping/ruining our pretty new walls was terrifying.  Did we really need mirrors in a bathroom?  Turns out we did.  We sucked it up, did some research, some drilling and then stared longingly into our beautifully hung mirrors.

Tip #1

 Choose the correct drill bit.  

Regular drill bits aren't strong enough to drill through tile.  Tile is made to be strong and hold up to a beating but these qualities make it hard to drill into.

We chose a carbide-tipped masonry drill bit.  These bits are made to drill through very tough surfaces.

We purchased our bit at Menard's for ~$8.00


carbide-tipped drill bit.jpg

Tip #2

Prep the area you are going to drill into.  

We used painter's tape to mark the spot where we were going to drill.  

How to Drill Through Tile.jpg

The painter's tape helps mark the spot but it's also very important because it helps prevent the drill from slipping.   It's hard to drill into tile because the drill bit likes to hop around on the tile instead of drilling into it.  The tape gives the bit some traction.

Tip #3

Let the drill do the work.  

Use light pressure on the drill.  It's tempting to want to drill fast.  Drilling through tile takes patience. It took about 5-10 minutes for each hole drilled. 

How To Drill Into Tile.jpg

Tip #4

Keep the drill bit cool.

The drill bit will get hot.  It's important to keep it cool so it doesn't break.  The easiest way to do this is to periodically dip it into water. 

You now have holes that are ready for hanging your mirror! 


DSC_0019edit.jpg

Have you experienced the fear of drilling through tile?  Who just looked at the pretty pictures? ;) 

Photobucket Photobucket Photobucket Photobucket PhotobucketPhotobucketfollow us in feedly