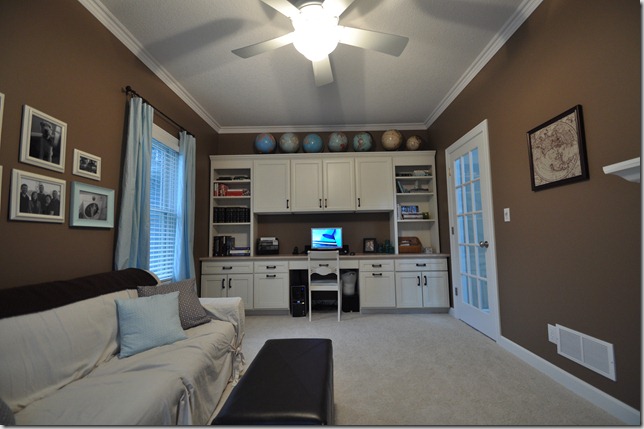
Yesterday we shared with you photos of the crown molding we installed in our office.
Today we’ll share with you how we did it and what we learned along the way.
First we purchased our crown molding from Lowe’s. Read more about that here.
We wiped the boards down with a cloth to remove any dirt. We then placed the boards on two sawhorses and started painting.
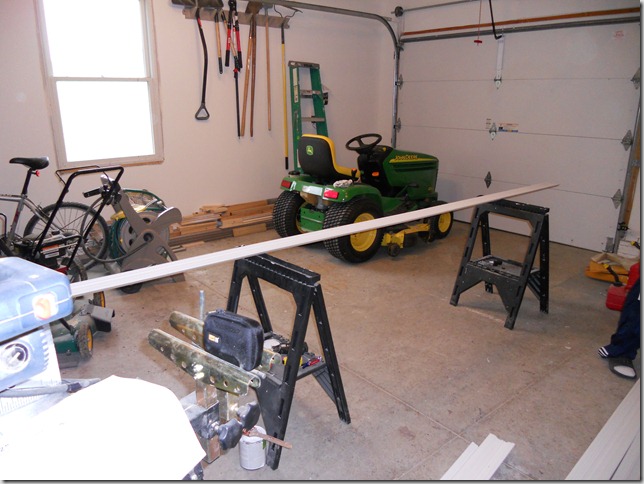
We used Olympic’s Zero VOC semi-gloss paint in white. The rest of the trim in our house is painted with Sherwin William’s trim paint. The whites were basically identical and beings the crown was up 9 feet, we decided it would be okay to use a different paint.
We let the paint dry overnight.
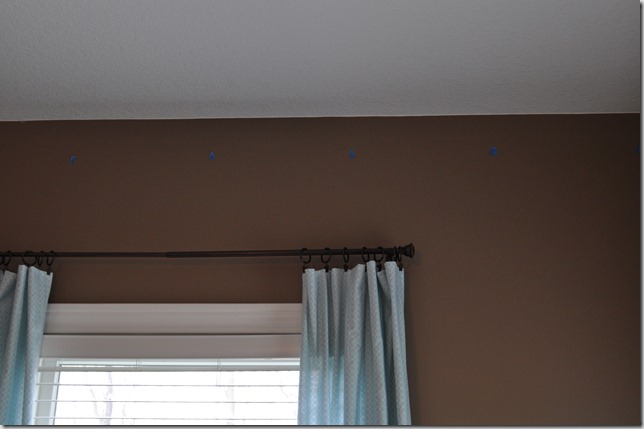
Nate used a stud finder to locate the studs in the wall and marked the stud location with painter’s tape. Marking the studs made nailing easier and faster.
We knew that cutting may be confusing. We had some left over crown from the kitchen cabinets and we used this for some practice cuts. We used these practice cuts as examples when making cuts later.
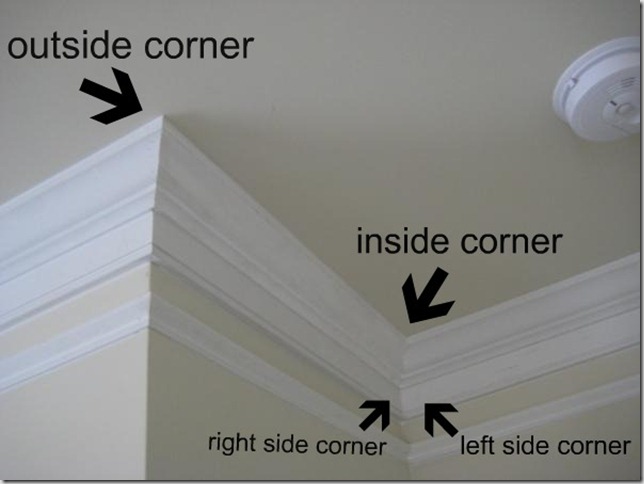
All of the corners in our den are inside corners, so we figured out the left and right insides. What does all of this inside, left side, right side business look like?
Nate and his dad measured the width of the room. They used that measurement to cut the first board. Very nerve racking.
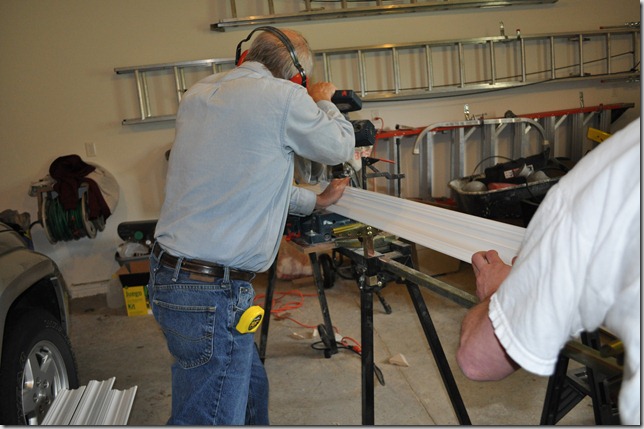
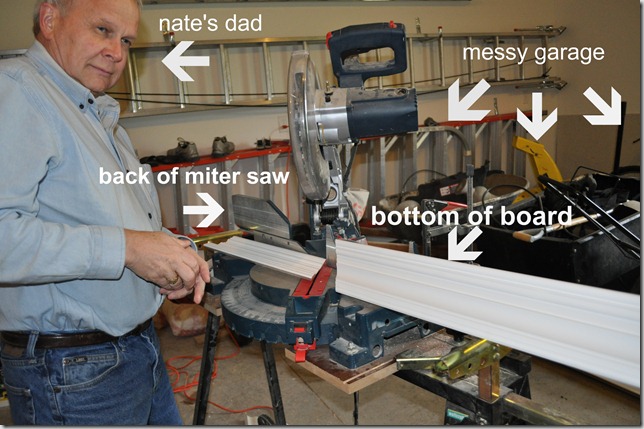
To cut the board, turn it upside down, placing the bottom of the board on the back rail of the miter saw (as you can see in the picture below). Place the trim on the saw as it would be on the wall. Set the saw to 45 degrees (turn it to the right for a right side corner and left for the left side corner). One good thing to think about is that on an inside corner you always want the bottom side of the board to be the longest part of the board because that is the only way the crown will fit in the corners.
Take the cut board into the room and dry fit the board to make sure it is the proper length. Also make sure that you have your nail gun and air compressor ready…not that we forgot….
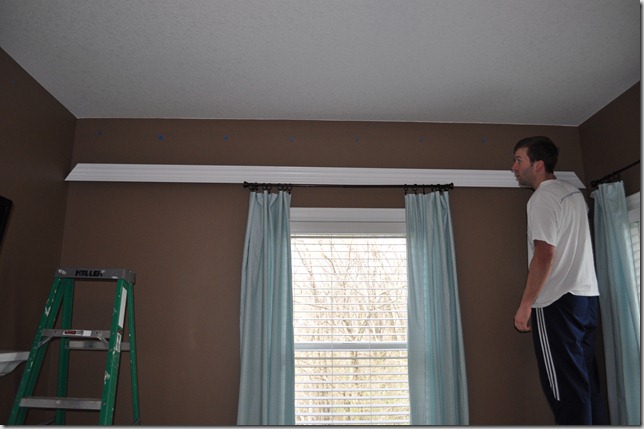
Nail the board on the bottom into the pre-marked studs. We found that nailing it on the bottom created a tight fit on the ceiling. There were a couple of spots where the ceiling was uneven and we had to put a couple of nails up into the floor joists running through the ceiling.
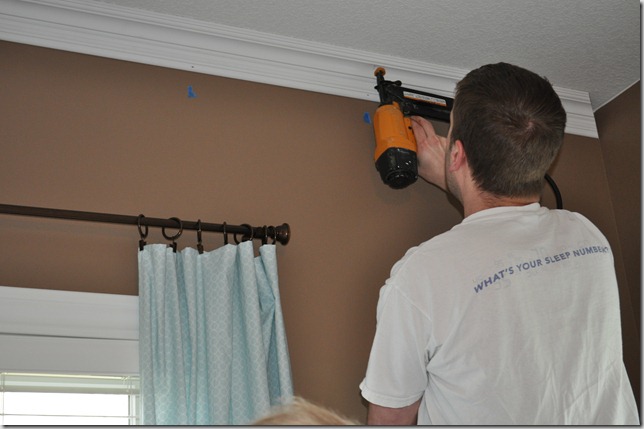
For the long side of the room, and since we had 12’ boards, we measured out to a stud that was closest to 12’ to minimize waste. We cut the board to that length, setting the saw at a 45 degree angle to the left, as it would better hide the splice from the angle it would most likely be seen from (the right side of the room). To get a matching splice for your next board, leave the saw at the same setting and then cut the beginning of the next board.
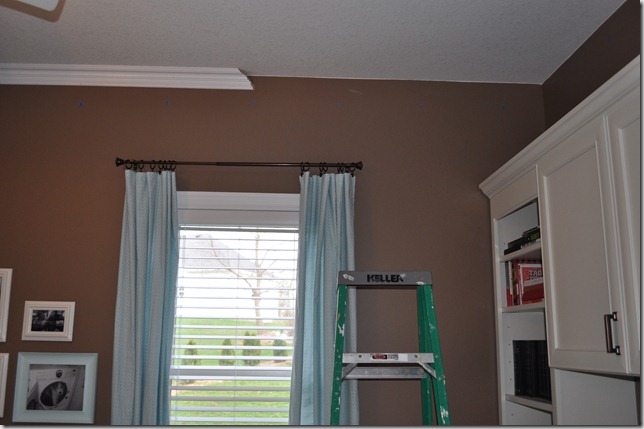
Then continue along until the room is finished.
Fill in any nail holes (or not so perfect, but close, corners) with wood filler. Sand. Paint the nail holes for a seamless finish.
What’d we learn?
- Installing crown molding isn’t as hard as we thought. It took us around 2 hours (start to finish) to finish this room. We thought that was okay for newbies.
- You need the proper equipment (miter saw, nail gun, and air compressor) to make the project go smoothly. Thank you father-in-law who lives a block away.
- The desk surface is not a safe place to walk. Nate may or may not have fallen off of the desk, into the ladder, taking down some of the cabinet crown with him. The ladder may or may not have busted up a little bit of our fireplace mantel.
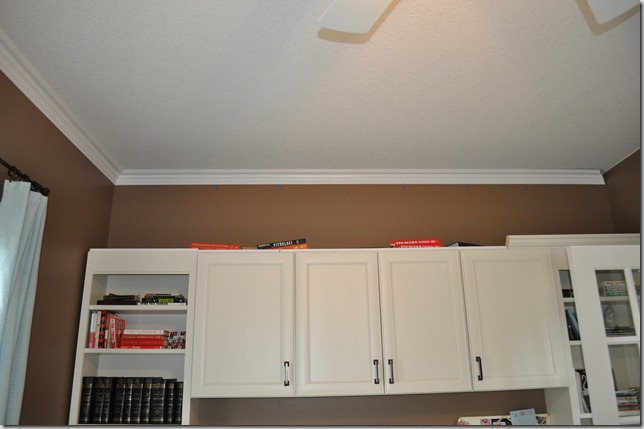
I wanted to photograph Nate after the fall but I would have needed to rename the blog “Divorced and the Dog”….catchy….
Luckily, Nate was fine…just a scratched ego arm. The cabinet trim was an easy fix. (I learned how to pull out tiny nails…fun!)
(Like how I prop up my globes??….old pharmacy school books and CPA review books…at least those $100s of dollars are good for something now…)
And the finished product with the office back to normal…