5 Dollars and 70 cents

$5.70 doesn't buy a lot these days.  My 80 year old self (that I keep trying to hide on this blog but she keeps sneaking out) is doing the talking...

It does, however, buy you this beauty from the Salvation Army Outlet ($5.00). 
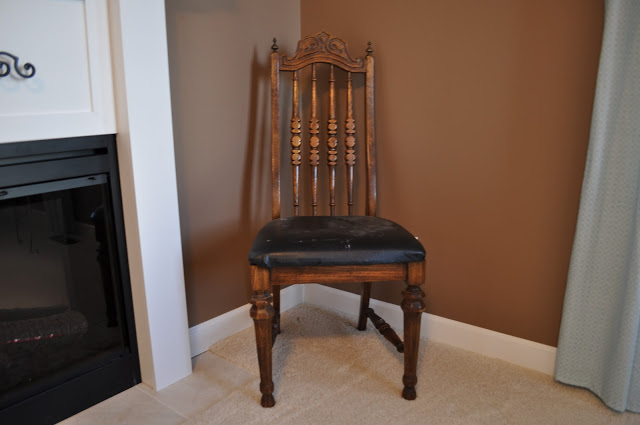

Yes, you read that right.  Outlet.  It's really dirty and probably not the safest but it is one of my favorite stores in town!

Why?  Because 70 cents buys you this....
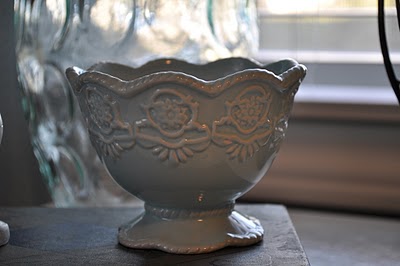

I don't really know what I'm going to do with it yet but it was just too pretty not to bring home!

I bought the chair out of neccesity.  I swear.
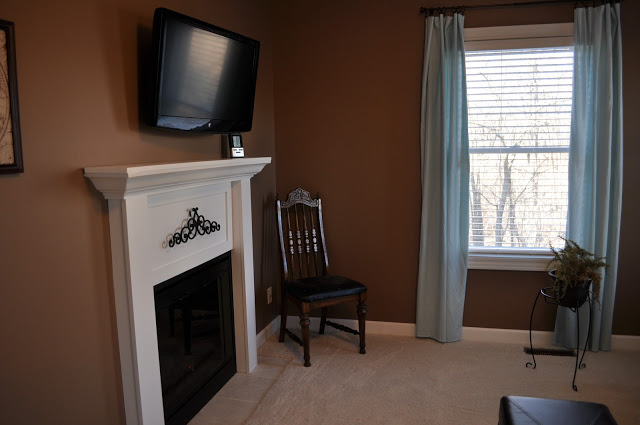
Usually a fern lives in the corner of our office (shown on right in photo below). 
I can never remember to water the fern.  It's time for it to move on....to the woods to finish out its dead life. 
We needed another chair in the office (that moves easily) for when we do important things as a couple....
like when Nate taught me how to pay our bills a few weeks back.  That was fun....

Now to decide on paint color and fabric for the cushion....decisions, decisions?

Light blue chair, fun brown pattern cover?
White chair, fun blue patter cover?
White chair, fun brown pattern cover?
Something else entirely?

What's your vote? 
Who handles the bill paying in your house?  Would a cute chair make the process less boring?
Bench Cover

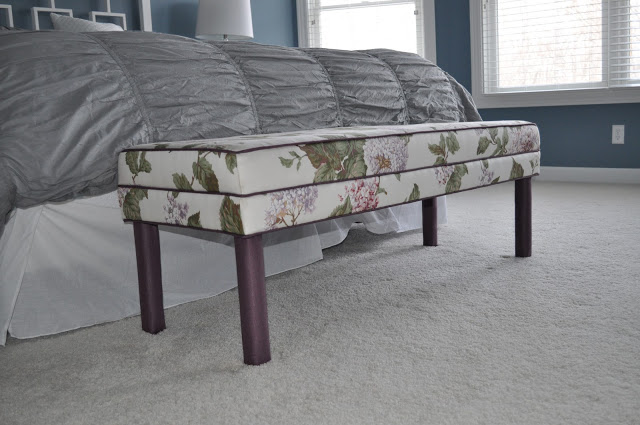
Nate's mom gave us this bench....

Unfortunately it didn't really go with the rest of our bedroom...


She really does have good taste.  I swear.

I debated on how to cover the bench.  It sat in my sewing room for several months.  I just couldn't decide what to do with it.

I thought about reupholstering it but then I came up with the idea for a cover.  I like easy. 
Covers are easy....if you don't end up in a battle with your sewing machine....stupid sewing machine.

I ordered this fabric from amazon.  Grey fabric is incredibly hard to find.

The bench is 53" wide, 18" tall, and 18" deep.

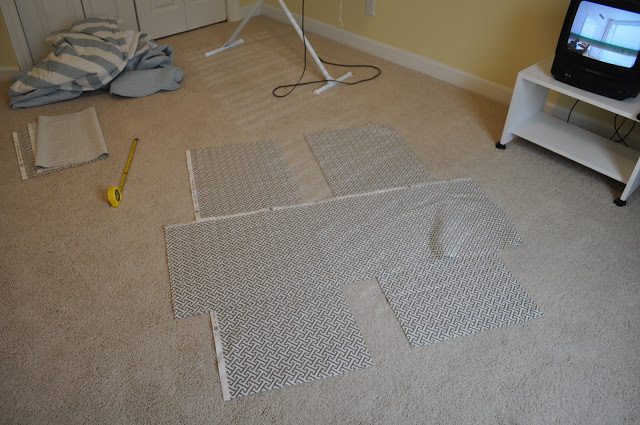
I cut three 54"x19" rectangles (top, front panel, back panel) and two 19"x19" squares (side pieces).


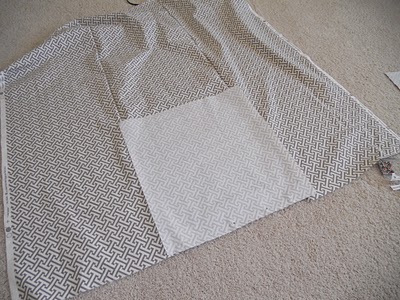
I then sewed the pieces together.  I'm not great at sewing so there will be not be a detailed "how to". I used what little common sense that I have to sew the pieces together.  I have no idea what my seam allowance was.  I was just trying to keep my line straight while still making the cover fit the bench. I just "Make it work!" (love Tim Gunn)


My sewing machine and I had a disagreement after I had finished sewing the sides together. 
I still needed to hem the bottom edges but just couldn't handle the fight...so it sat unhemmed in our bedroom for about a month...because I'm awesome.

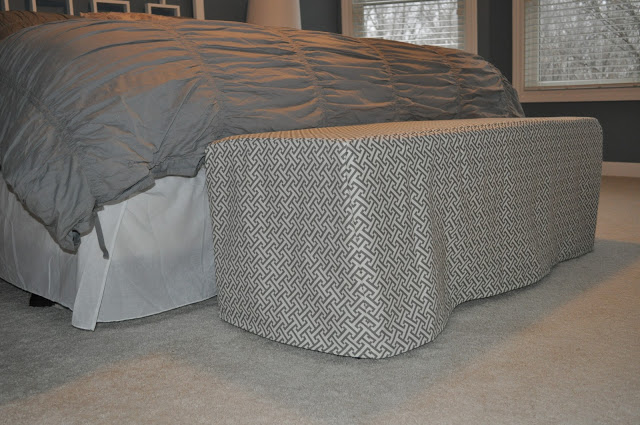
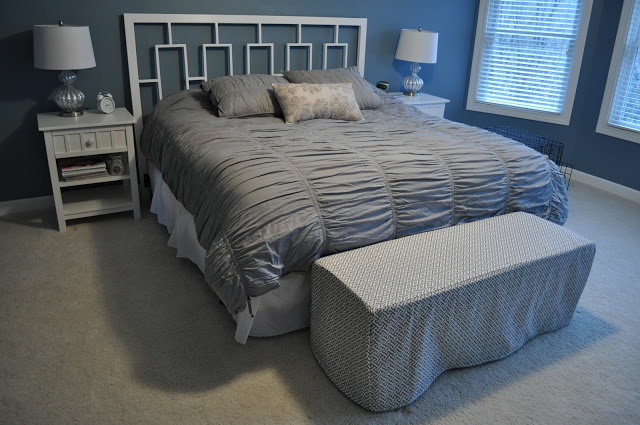
I finally got around to waging war on my sewing machine hemming it this week-end and we now have a pretty bench cover...

A bench cover that fits in a little better....


What do you think?  Should I take the cover off and leave that beautiful floral pattern?
On an unrelated note, does anyone have a tailored bed skirt that they like? Do share!

How to Upholster a Headboard

 Remember this headboard from our master bedroom?

How to Upholster a Headboard

We decided it needed a face lift before making its' home in our guest bedroom.

Making this king upholstered headboard was a super easy project.

Neither of us was digging the curve so Nate sawed it off.  The sawing took about 5 minutes and left us with this...

How to Upholster a Headboard Tutorial DIY

(Please ignore our disaster of a storage room....now you're looking closer...stop....)

Since this was a re-upholster job, we just needed to staple on the fabric. 

If you are starting from scratch you will need a plain old piece of plywood cut to the appropriate size (our king size headboard was 49" x 80"). 

From there, staple some batting onto the plywood and you are caught up with us!

I then headed to the fabric store.  I think this was the longest part of the process because it's such a big decision....and I get lost in fabric stores.  Half of the time I forget why I'm even there....

Our headboard was 49" x 80" (fits a king size bed).  The fabric on the spool was 58" wide so I purchased 2.5 yards to make sure I had enough fabric to wrap on the sides.  The upholestery fabric was 50% off so my total was $23.00.

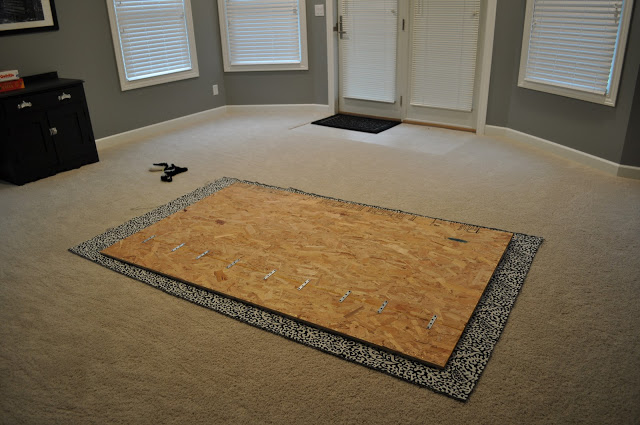
We placed the fabric on the floor and then layed the plywood on top.

How to Upholster a Headboard Tutorial DIY

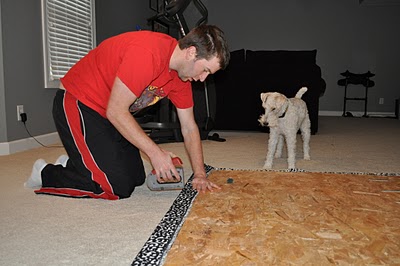
We centered the fabric and then started stapling away.  Ike is a great supervisor.

How to Upholster a Headboard Tutorial DIY

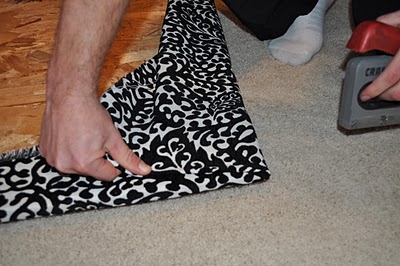
We started in the center at the top of the headboard and then worked our way to the outsides.  The corners were the only slightly tricky part of this project.  We just had to make sure they were nice and tight.

How to Upholster a Headboard Tutorial DIY

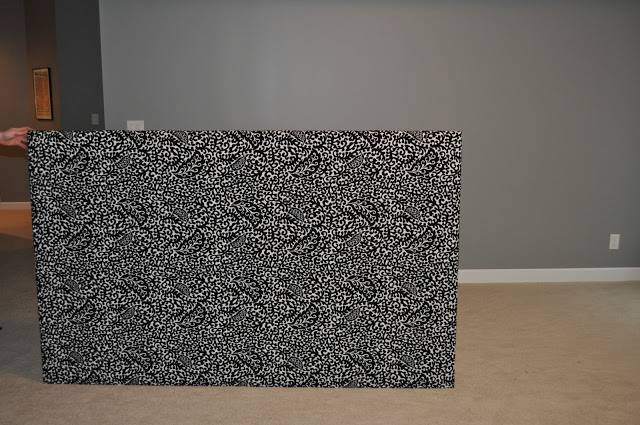
We pulled, tightened, and stapled our way around the headboard (took about 10 minutes max) and ended with this....

How to Upholster a Headboard Tutorial DIY

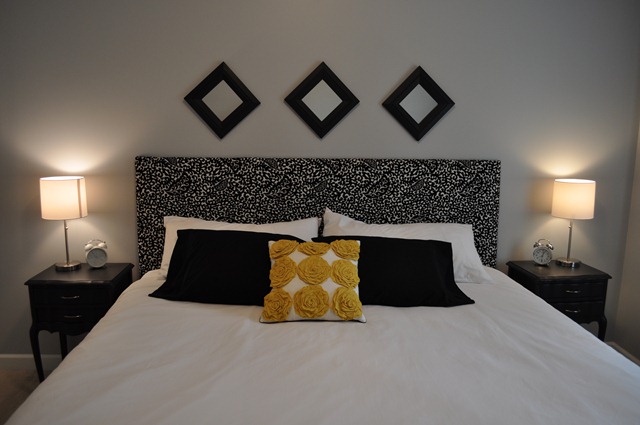
And here it is living in our guest bedroom....

How to Upholster a Headboard Tutorial DIY

How to Upholster a Headboard Tutorial DIY

You can attach the plywood to the bed.  We're lazy and leaned it against the wall.  You can't tell either way. Seriously.


Have you been wanting to upholster a headboard? What's holding you back? It's easy.....trust me. See more room photos here!

Be sure to check out our other headboard projects here!

Make your own upholstered headboard