Mudroom Madness

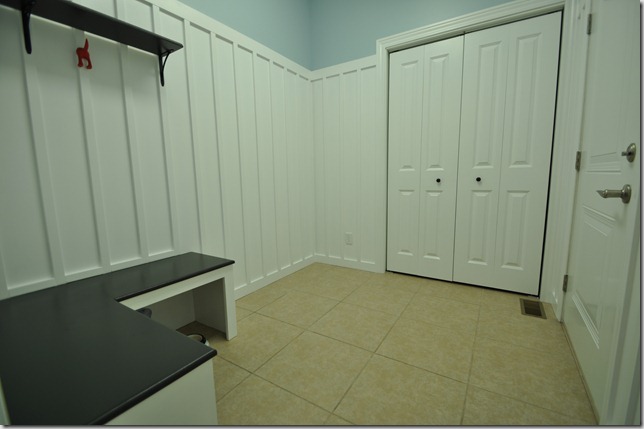
We spent our third week-end working on our mudroom.  It’s now looking close to done.  Is it sad that it’s not done? Probably.  We had important things to do like go to a beer tasting, go see The Help, nap, eat ice cream.  You know, important things.

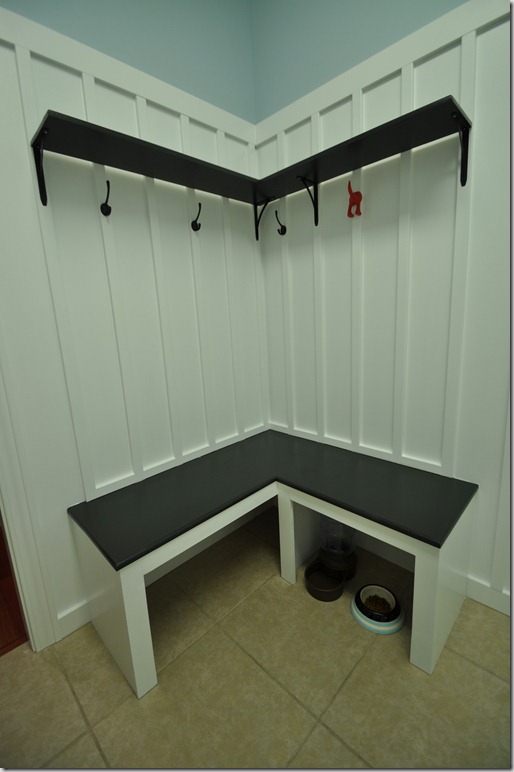
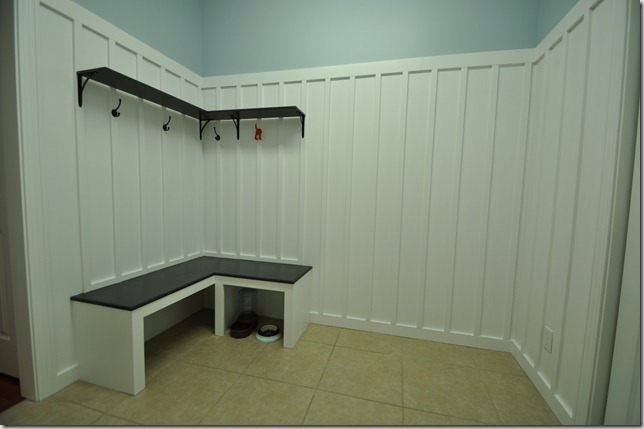
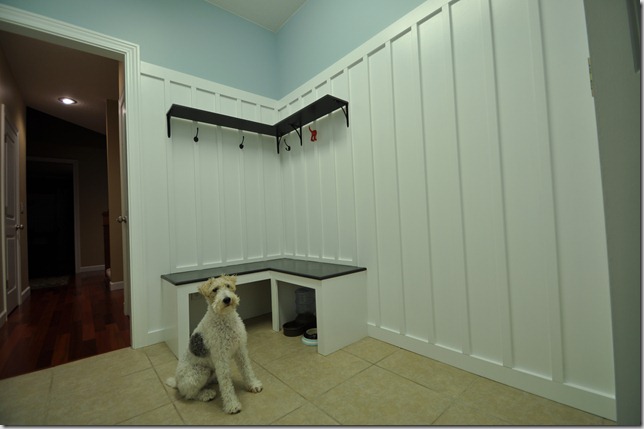
When we originally started talking about our mudroom, we knew we wanted a bench/shelf system and some kind of molding.  It’s been fun seeing our vision come to life!

Here’s where we ended the week-end…
805111904
805111912
805111915
805111919
805111928
805111934

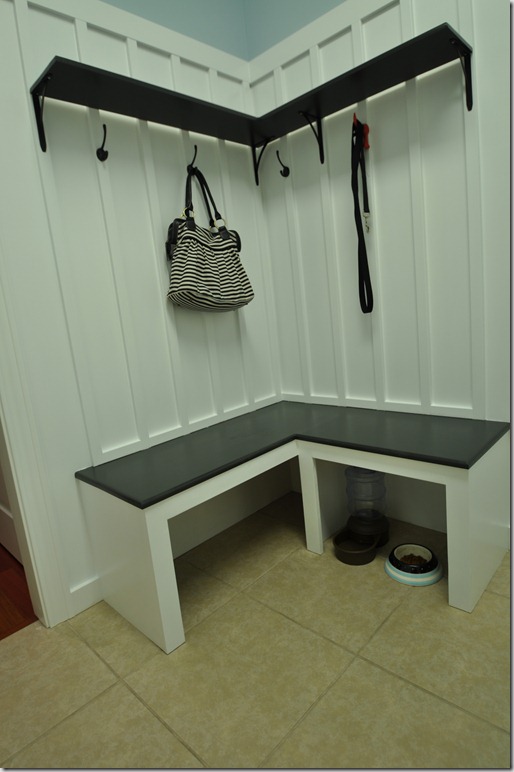
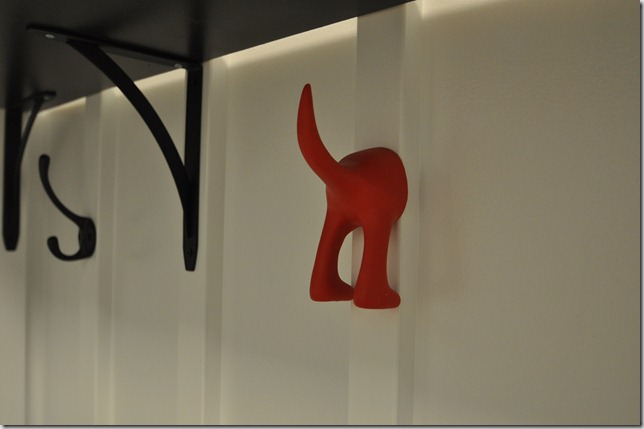
Isn’t the dog bum hook the cutest?

You may be wondering why we didn’t extend the bench further.  One, the pictures are slightly distorted with the wide angle lens (there is only about 3 feet from the end of the bench to the wall). Two, it’s called the dog.  We designed the room to leave enough space for his litter box.  He won’t use it unless it’s in the wide open.  We also designed the bench to allow space for his food and water dish.  How’s that for decorating with a dog?

I still have plans to paint the door to the garage.  I’m thinking red but I am open to suggestions.  We need to add quarter round to the space where the board and batten meets the top of the bench.  We also want to add crown molding sometime down the road and put things on the shelf. And we might switch out the bi-fold doors in the very far away future.

A big thanks to Apartment Guide for helping sponsor the project as part of their A New Place for Your Pet blogger challenge!  We’ve come a long ways…

Picnik collagebeforeandafter

This week I’ll explain how we installed the board and batten, the bench, and the shelf/hooks.

Did you tackle any projects this week-end?  Have you designed a room around your pet? Did your pet instantly spit out food all over the floor as soon as you took you “after” pictures?  Not that Ike did…

Linking up to: Remodelaholic

National Dog Day

National Dog Day was founded in 2004 by the Animal Miracle Network to remind pet owners to celebrate the important roles dogs play in humans’ lives and encourages pet owners to honor their furry friends.

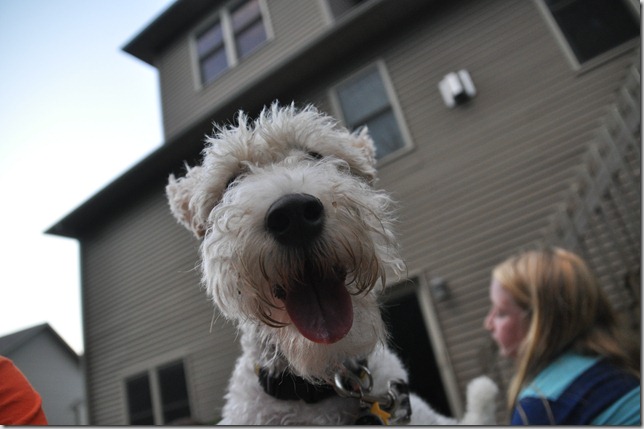
I think we’re reminded every day about the importance of this little dude in our lives…

805111881

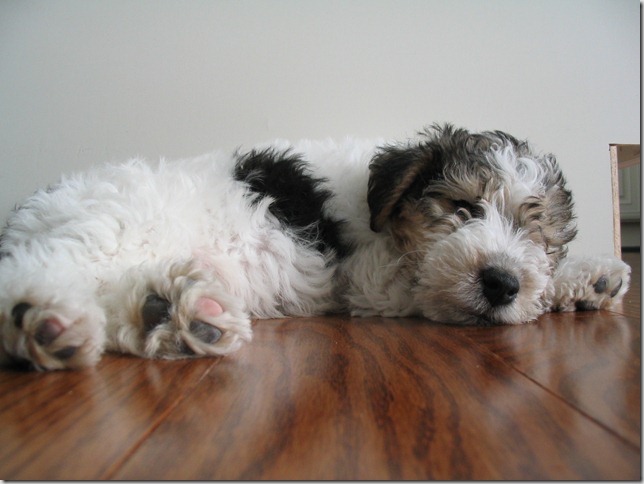
He’s melted our hearts since the beginning….look at those puppy paws…

ike 026

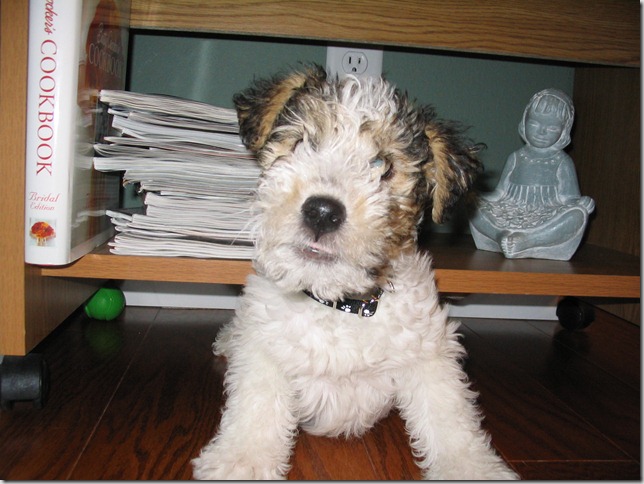
We quickly learned why Wire Fox Terriers puppies so darn cute.  It’s called survival of the fittest.  They are so naughty.  The only way for them to continue on in the world is to be painfully cute…

ike 087

ike 167

May 031

Obviously Ike’s cuteness got him through his puppy years…

07021830

I think one of things that we love the most about Ike is his love of life and they joy that he brings.  His little tail is always a wagging and every minute is the best minute of his life…(unless it’s time to give him his eye drops (he has chronic dry eye which equals 2 eye drops twice a day!), bath time, or teeth brushing time…but who can blame him??)) He loves walking, doing tricks, playing with Wubbas, snuggling, and following us from room to room. He helps remind us on a daily basis to live in the now! 
Miller Beach 191

805111830

In honor of National Dog Day, tell us all about your favorite canine(s)!

Wall Mounted Televisions

Some of the most often asked questions that I receive from this blog are  "How do you have your televisions mounted on the wall without cords?  Where is your cable box?” 

housejan2011 007

085pn

housejan2011 030

House 317

These are very good questions.  I now finally know the answers after bugging Nate approximately 20 times on how “we” did this.  (If you’ve been reading long enough you’ve probably realized “we” equals “Nate” a lot more than it actually equals “we.”)

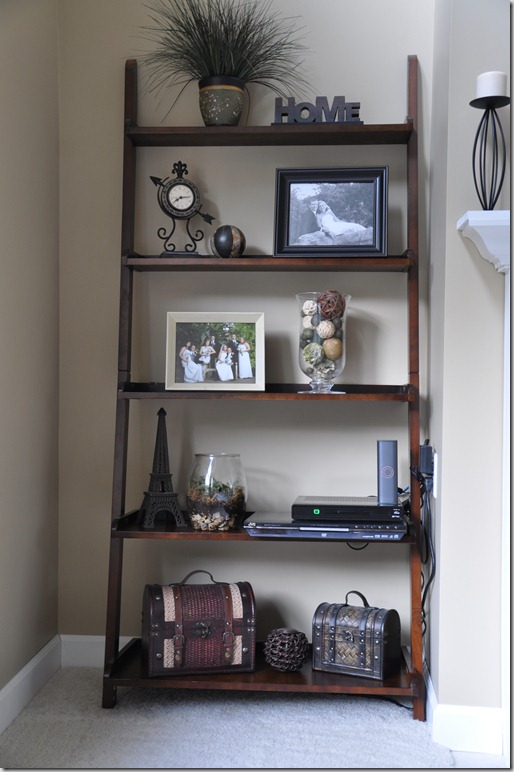
First up, the easy question.  “Where do you keep your cable box?”  I’m all over this!!  We only have one.  It’s in the living room on a shelf…

068

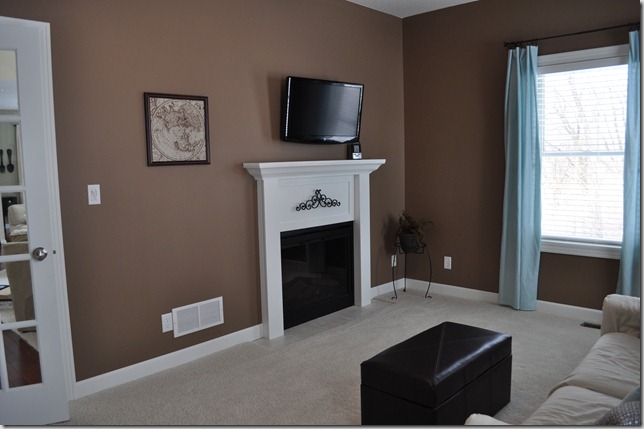
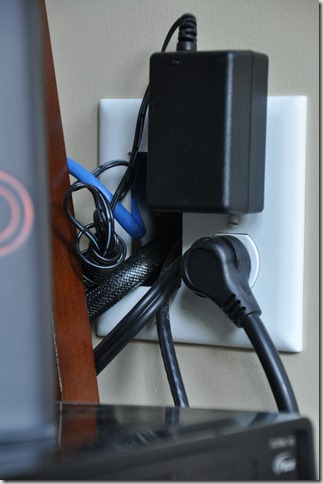
Nate installed a tube that runs from behind the television to the side of the fireplace.  This tube guides the cable wire which allows us to use the cable box in the living room.  It’s not a perfect solution but the boxes blend okay.  (We need to get off our lazy hineys and organize those cords!)

Mudroom 047

“How did you mount your television without the wires showing?” 

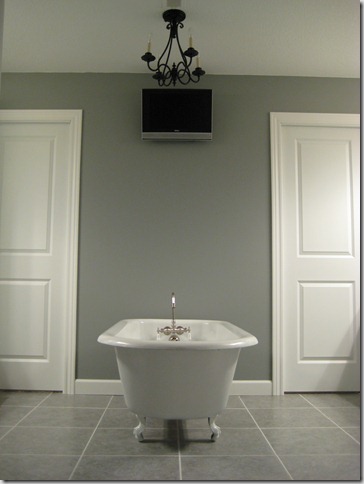
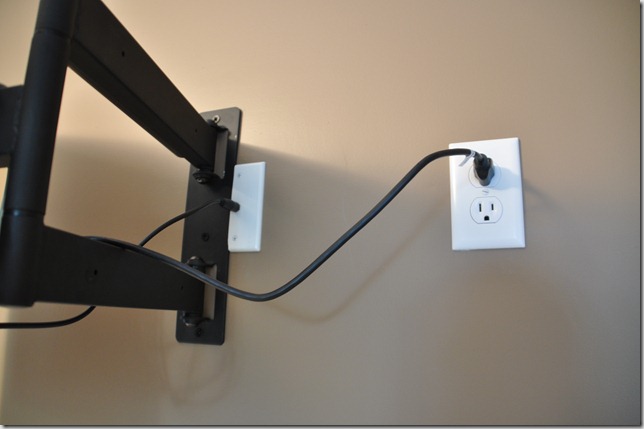
We had this little advantage called building our own house.  When building, we tried to think of every place possible that we would like to hang a television.  In these areas, we installed an electrical box and cable outlet…

Mudroom 044

“How do I do this in my house if I didn’t build it?” 

Our answer to that is….call your electrician!!  We did a lot of the electrical work in our house but we are offering zero advice on electrical issues on the blog.  You will need an electrical outlet installed in the wall where you would like your television hung.

They also make a cover for cords.  This cover will “hide” the cords from your floor electrical outlet to the television.  You could paint it to blend into the wall.  Not a perfect solution but much better than a bunch of exposed cords. 

There you have it.  Our television “secret”.  Any further questions.  What are your favorite television shows? 

The funny thing about this post is that I am typing this while watching Big Brother on antenna.  (I will need to publish it at my in-laws later.) A storm hit our area on Tuesday and stuck our cable box which equals no cable television and no internet (gasp!! The horror!)  Just an FYI, if you have Mediacom and you want your cable service fixed sooner than your phone quoted date of 3 weeks (yes, they told me on the phone (twice) that the soonest they could send out a technician was 3 weeks!! No blogging or Pinterest for 3 weeks.  Seriously?)  So I tweeted a nasty message on the Twitter (I call it “THE Twitter”), received a response back in about 3 minutes, and magically they will have a technician out this afternoon.  I am now a fan of the Twitter.  And I won’t write a super nasty post on the evils of Mediacom…unless it isn’t fixed later…

Fire Pit How-To-ish

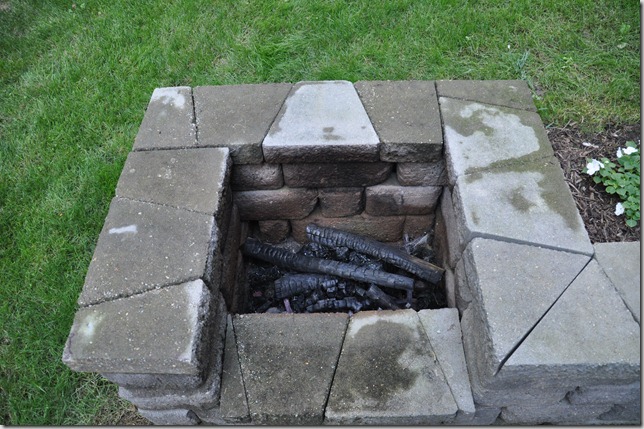
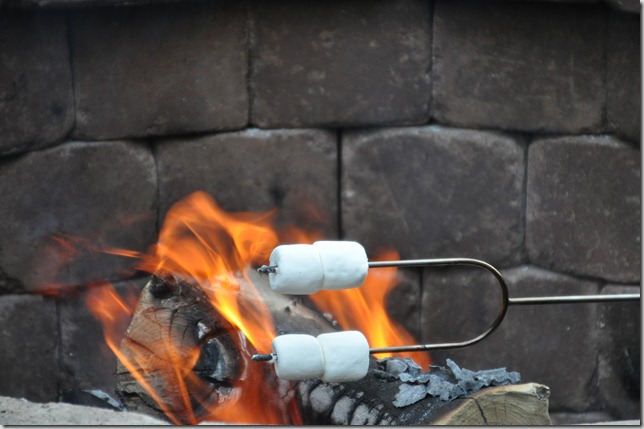
Last week you caught a glimpse of Nate’s parents’ fire pit…which made us realize we haven’t introduced our fire pit on the ol’ blog.  We only use it two or three times a year. Mainly because Nate’s parents live a block away and we use theirs more often.  And I don’t like bugs or smoke or more than one s’more.  Nate, however, could win a s’more eating contest…

Mudroom 025

Mudroom 022

Mudroom 026

How do you make your very own fire pit? 

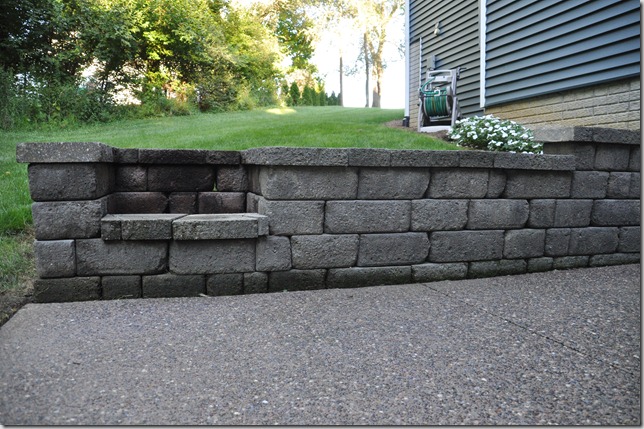
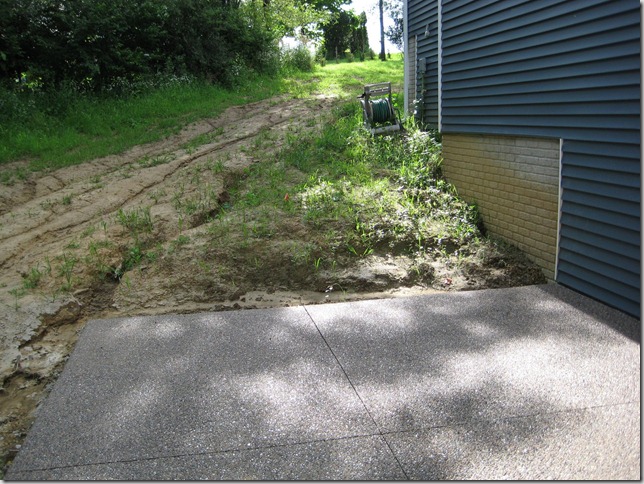
Step 1:  Start with an ugly area like this and choose your retaining blocks of choice.  (We choose King’s Material Keystone Country Manner retaining wall system in granite.)

July_007

Step 2: Level the ground where you want to start your fire pit/retaining wall combo.

Step 3: Put down dry bagged concrete or sand to make the ground stable. (We used bag concrete because sand doesn’t work well in Iowa due to our weather extremes.)

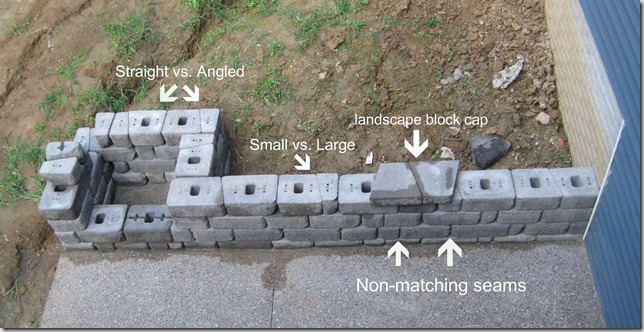
Step 4: Start at one end. Lay a retaining block on top of the dry concrete/sand.  Level it out.  Continue across until you finish the first row.

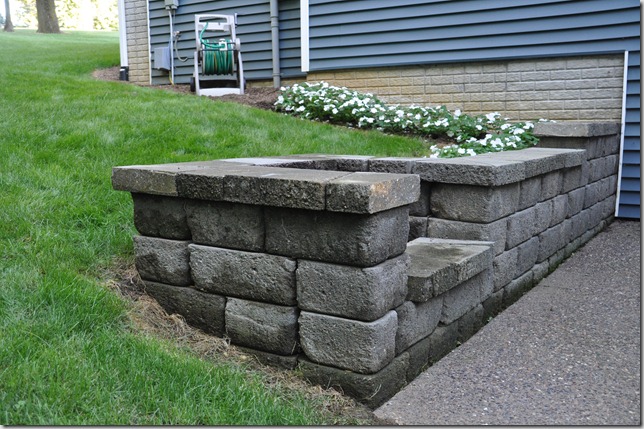
Step 5: Start row 2.  We had three different brick sizes. We picked a brick that was different from the first row (straight line vs. angled) and (short brick vs. long brick) to start the row.  Choosing a different brick helped to make sure the seams didn’t match because this would make the wall less sturdy.  We glued each layer of blocks onto the other with landscape block adhesive to create a more solid base….so it could hold our bums…after a s’more eating contest.

August_2009_002pn

Step 6: Continue this technique until you reach your desired height.

Step 7: Top with landscape block cap.  (We used landscape block adhesive on this step also.)

Step 8: Enjoy your fire pit. Cook up some s’mores!  And smell like smoke.  And get eaten by bugs.  I’m such a girl.

Nate tells me that building a fire pit isn’t hard. Just time consuming and labor intensive. 

Do you enjoy fire pits?  Have you attempted to build one?  Are you a s’mores fan?

Worst Grown-up Chore

I often forget that I’m an adult.  Seriously.  I am going on 30, a healthcare professional, and a homeowner…but I just don’t feel like a grown-up.  So naturally, I don’t think that grown-up chores apply to me. 

It has taken me about 10 years to realize that if I leave a dirty pan in the sink to soak, it will not magically wash itself.  That “magic” was my mother.  And I don’t live with her anymore.

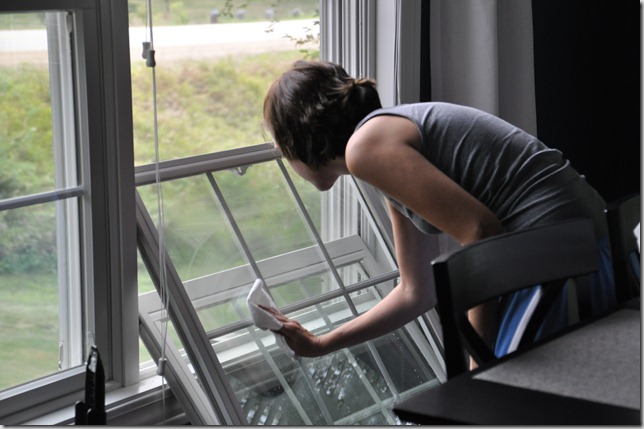
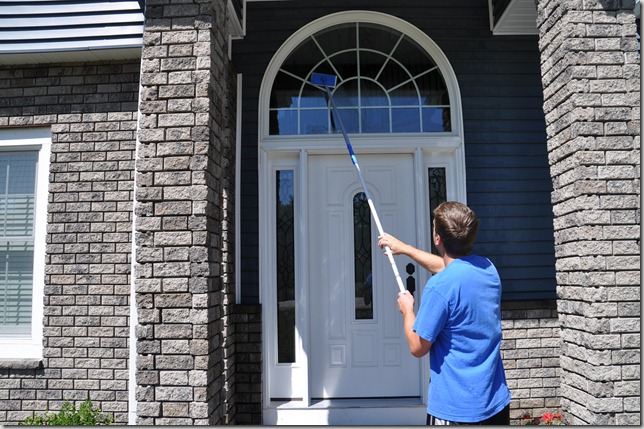
I am also learning the hard way that windows do not magically wash themselves.  The windows in our house were installed 3 years ago.  I have washed approximately four of them in that time period.

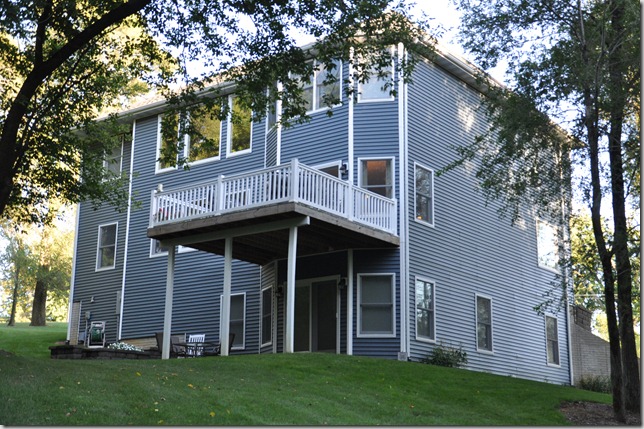
I started the daunting task of cleaning them this past week-end.  I really wish I would have known how awful washing windows is when we designed this house…because there are a lot of stinking windows….

Mudroom 035

Mudroom 031

Mudroom 030

Mudroom 040

I finished the first floor this week-end.  I will take on the other two floors in the upcoming weeks.  Ugg…maybe I’ll get some arm muscles out the deal? Dream big.

Mudroom 006

We did try out a fun new product (that we purchased ourselves..just mentioning because we liked it!)…Windex Outdoor Window Cleaner.  We were impressed how this cleaner worked on the outside of the picture windows.  All you have to do is spray the window with a garden hose and then scrub the window with the cleaner….

Mudroom 016

The extendable handle was super helpful!  New toys always make icky chores slightly more fun.

What’s your least favorite grown-up chore?  Any secret window washing tips?

Mudroom Update

On Friday I gave you a sneak peek at our mudroom….

805111760

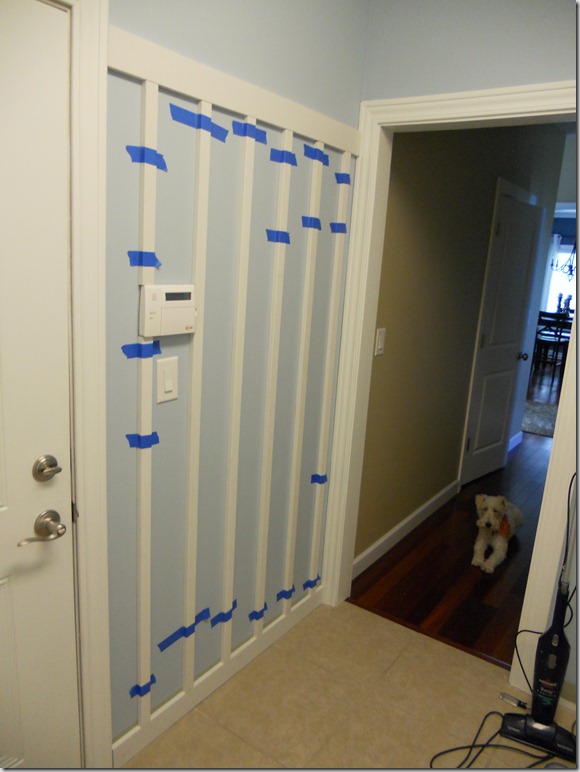
This past week-end was the second week-end we spent working on the room.  And we still aren’t done.  I am hoping that next week is “Mudroom Week” here on DecorandtheDog. I’ll share with you how to install board and batten and build benches and cool things (yes, cool things).  Might be wishful thinking.  Board and batten is time consuming!

We are using Olympic Paint to paint the board and batten.  All the fancy bloggers use this paint and rave about.  I have used it previously on furniture and we used it to the paint the blue on the mudroom walls. 

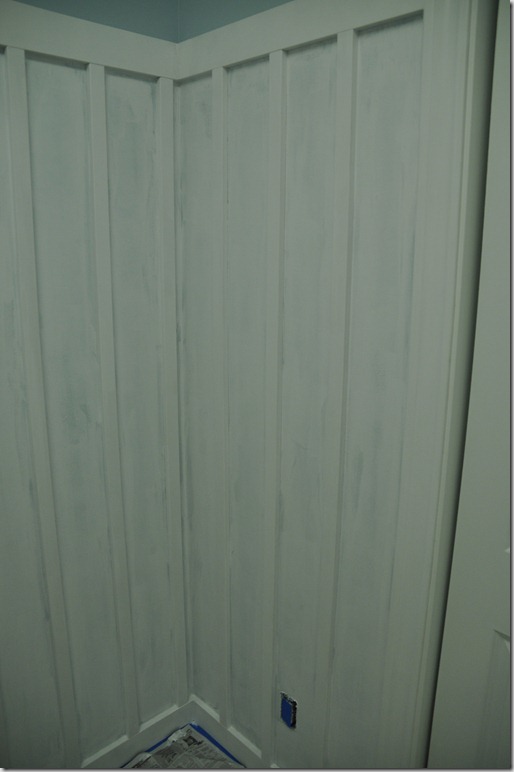
Here’s our opinion….We aren’t huge fans. I know, I know.  I go against everything the “pro” bloggers are telling you.  But it goes on really thin and sort of sticky. (We have a lot of painting experience with Sherwin Williams and Valspar paints and have had no problems.) The first coat with Olympic always looks awful…

Mudroom 017

Why do we keep using it?  Because it doesn’t smell. That is seriously the only reason. The lack of paint fumes is helpful in rooms that have no ventilation…like our mudroom. I also enjoy the lack of headaches caused by paint fumes. The coverage just doesn’t compare to Sherwin Williams or Valspar.  It’s a give and take.  Will I keep using it?  Yes.  Will I continue to be frustrated by it?  Probably.

We finished our second coat this week-end and it will need a third (hopefully only a third)…

Mudroom 021

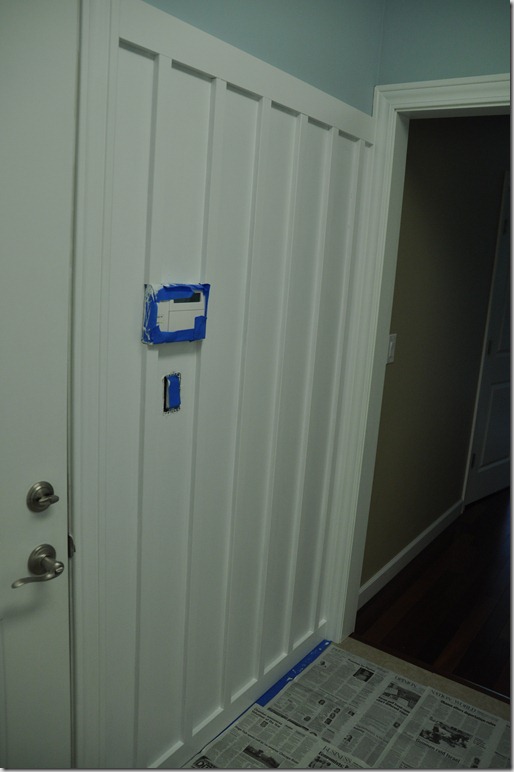
I do like how it’s turning out though!

And just to make you feel better…

Mudroom 019

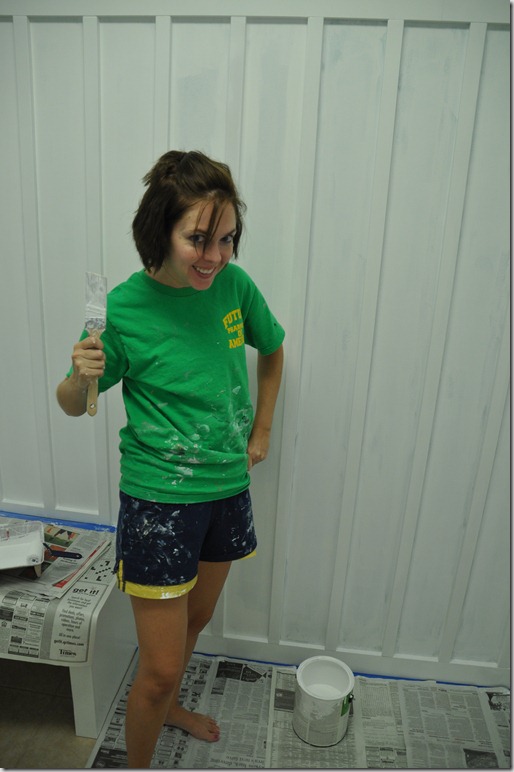
I am the world’s messiest painter.  (This was taken before I splattered paint all over my legs.)

Don’t you hate when the fancy bloggers tell you that they don’t tape anything and paint with their eyes closed while wearing evening gowns in full hair and make-up?  Yeah, I am totally one of them.  Can’t you tell?  ( What? A “Future Pharmers of America” pharmacy bar crawl tee-shirt isn’t formal enough for you?  Can you tell I’m from the midwest?)  I also cover every surface with newspaper and tape…or else bad things happen.

There you have it.  The current state of our mudroom!

Have you used Olympic paint?  What are your thoughts?  What’s your favorite paint brand?  Who wants to have a paint off for the messiest painter award?  I will beat you.

Dwindling Days of Summer

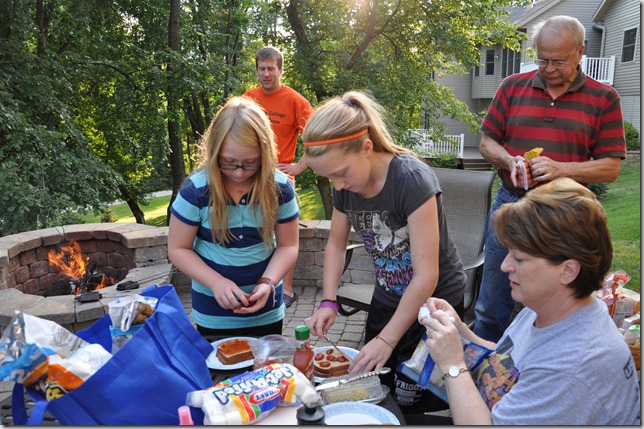
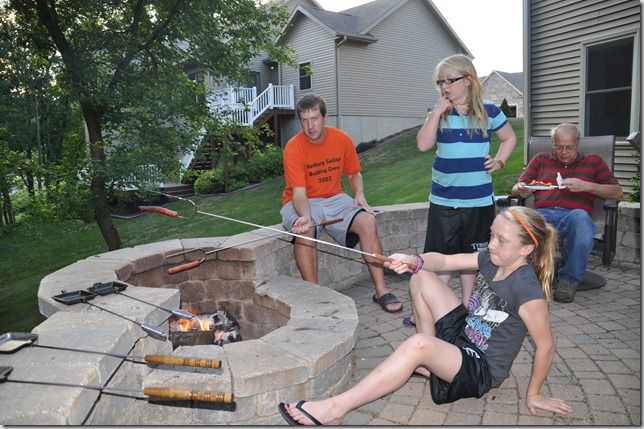
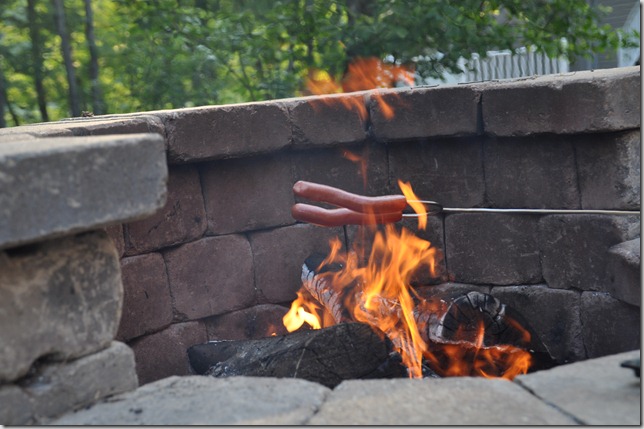
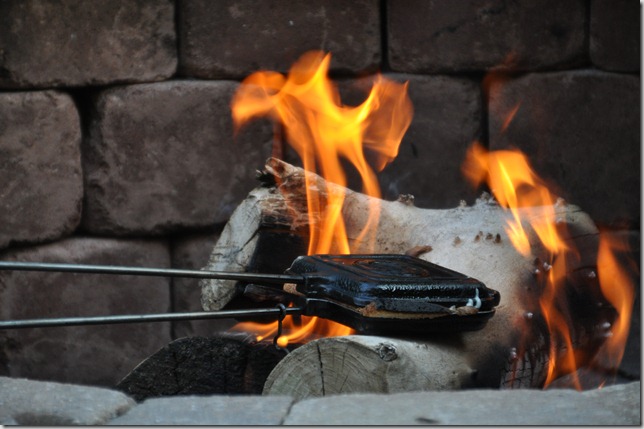
Nate’s cousins are in town from South Dakota.  The weather here is perfect.  I think this calls for hot dogs, pizza sandwiches, s’mores, and Nate’s parents’ fire pit.  And that’s just what we did last night.

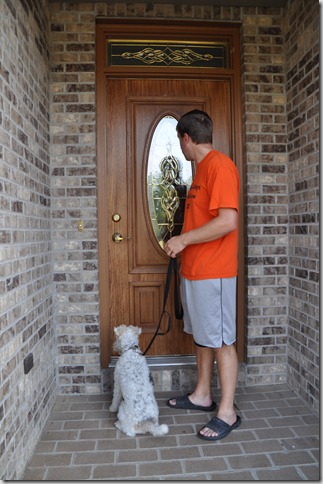
Ike anxiously awaited for someone to open the door.  We make him sit before he can go inside.  This works well for about 2 seconds….

805111807

(Hey Nate, the early 90’s called and they want their soccer sandals back.  (Love you.))

Once we were let in, we headed straight to the backyard and got to cooking…

805111808

805111815

805111813

805111835

805111845

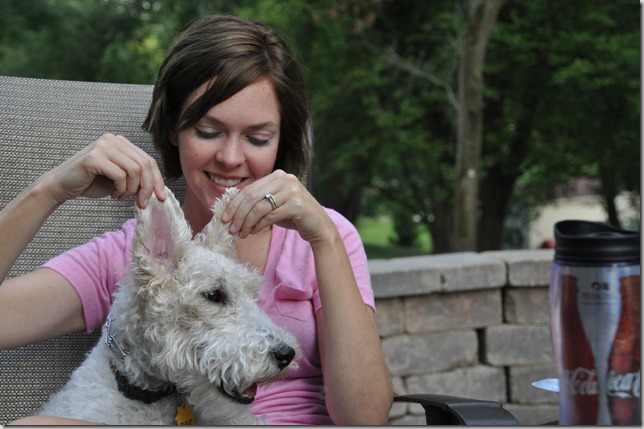
I was in charge of keeping Ike out of trouble.  It’s a full time job…

805111827

805111831

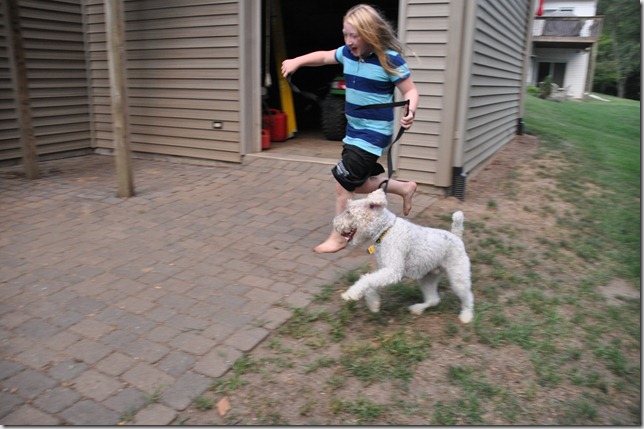
Ike couldn’t wait for all of the food business to be over.  He has a new best friend.  Her name is Rose. Rose takes him running.  They are quite the pair…

805111874

805111846 

805111860pn

Rose told me that Ike was going to spend the night and sleep in her bed.  Ike loved the plan but we ruined his fun by bringing him home and giving him a bath…

805111892pn

He doesn’t look too upset with us!

How are you enjoying the dwindling days of summer?  I am looking forward to fall but I’m also trying to enjoy these last few precious summer nights!

Kitchen Before and After

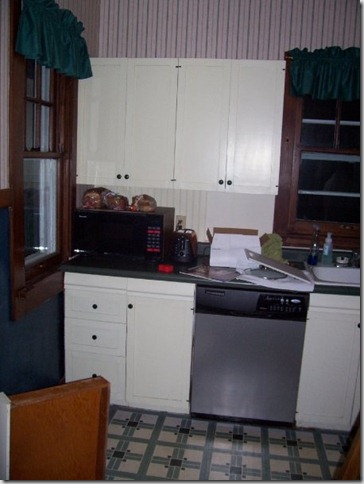
Today I am going to share with you a lovely kitchen make-over.  It was completed by my dear friend, Mary.  (She just started blogging. Stop by and say “hi”.  She has one of the cutest kids I have ever seen.  I am not biased She also has a cute dog named Guinea Pig…Ike’s buddy.)  We’ve been friends since the beginning of time.  Seriously.  We go way back…but not as far back as her original kitchen….

December_021_upload

6293_127271948440_514768440_2326613_62228_npn

6293_127271953440_514768440_2326614_7057733_n

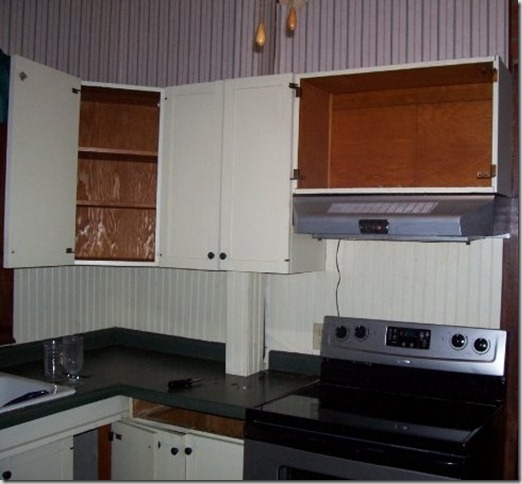
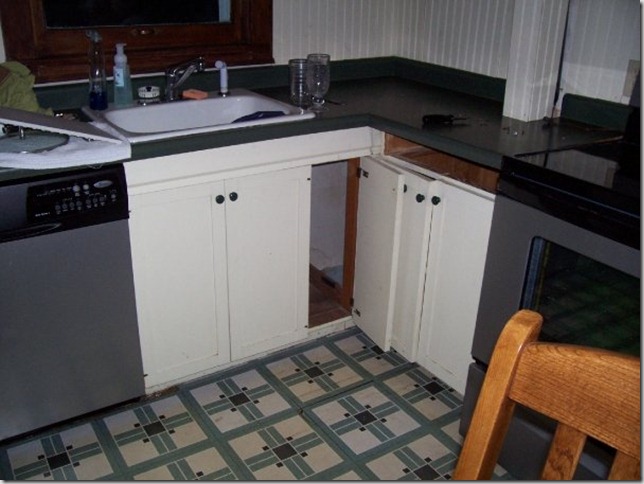
Check out that striped wall paper.  It’s actually contact paper.  Genius, I tell you!  The cabinets had seen better days.  As had the floor.  And the bead board backsplash is the reason that I am hesitant to install one in my kitchen.  Bead board and grease are not a good pair.

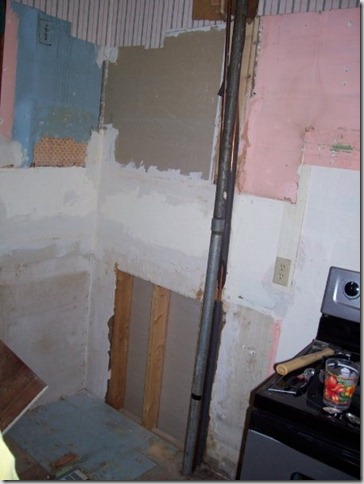
See that random jut-out next to the stove.  That’s a pipe.  A pipe that caused some remodeling woes…

6293_127271998440_514768440_2326623_3958627_n

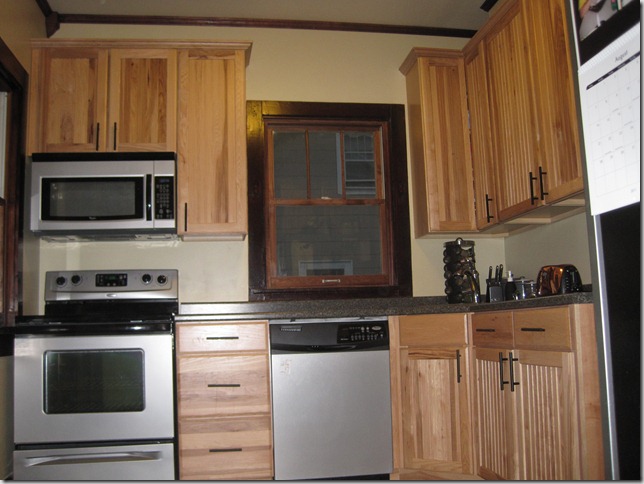
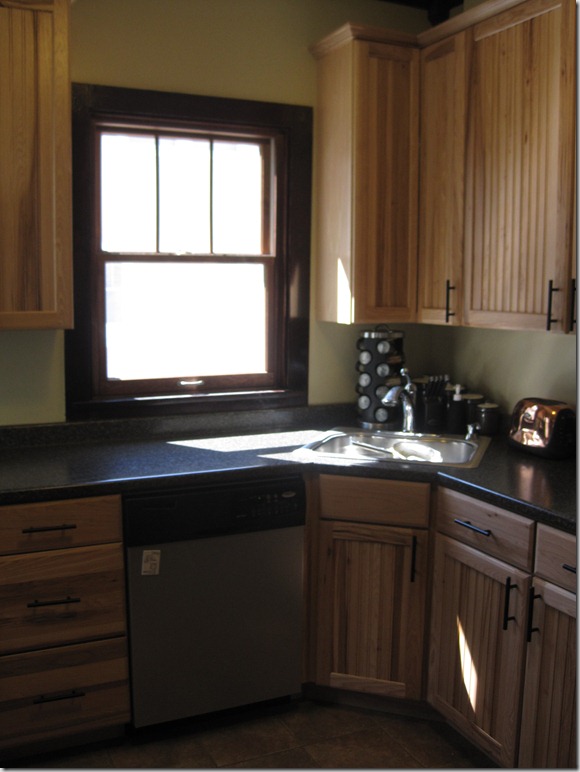
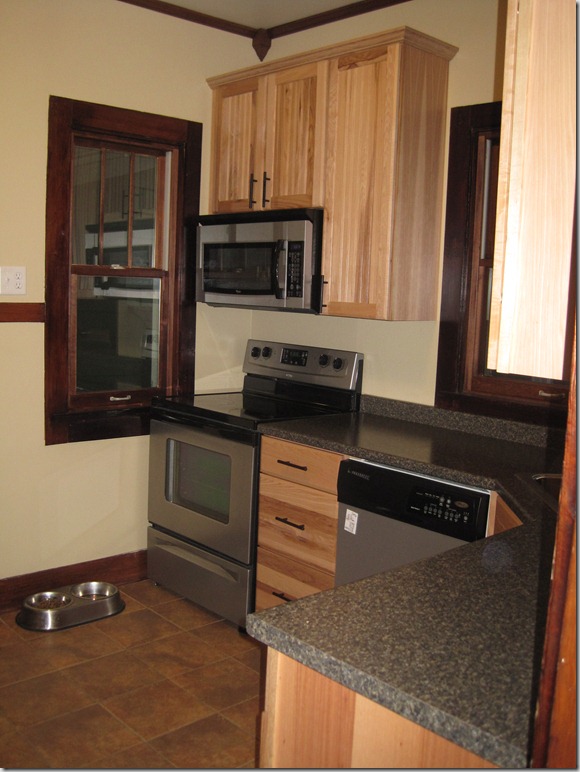
Mary and her husband wanted to maximize their small kitchen space while still keeping true to the craftsman style of their home.  (Their dining room has some amazing original woodwork.)… 

IMG_1544

 IMG_1530

IMG_1543

To save space, they moved their sink to the corner to add some extra counter space.  

They did bring in some professionals to tackle some of the more challenging projects.  They hired a plumber to move that pipe to a better location.  They also hired someone to install the drywall.  Contact paper does not do good things to walls.  They also needed an electrician to add more plug-ins and move the stove farther from the fridge.  And they installed 2 new windows. 

Even with all of the professionals involved, this kitchen make-over came in around $7000.  Not too shabby!

Who’s headed to Mary’s house for supper tonight? 

Do you have a before and after that you’d like to share?  E-mail me!  Don’t be shy!