Learning to Use Our Nikon- Low Light

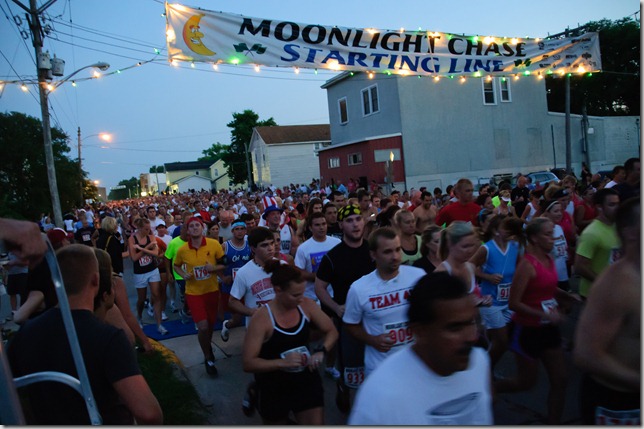
Nate's mom is in charge of a running race called the Moonlight Chase that took place this week-end.  The Moonlight Chase is a 4-mile run that starts at 9pm and is illuminated by luminaries. This year there were over 2000 runners…

Moonlight Chase 051

Part of Nate and I’s responsibility at the race is to hand out race packets/tee-shirts. We don’t volunteer. We are volun-told.  This year Nate was also volun-told to photograph the race.

Capturing the beginning of the race posed some challenges as it started after the sun went down.  This is the ideal time to photograph landscape images as it produces some really interesting light but it is tough to capture a start of a race because of the lack of brightness.
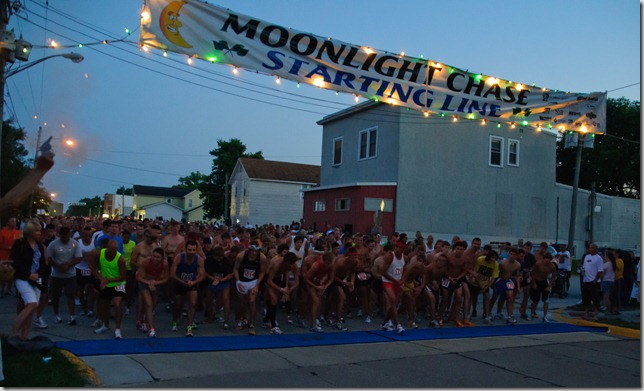
Moonlight Chase 032

With "normal" settings on a camera it would require the flash to go off in order to get a fast enough shutter speed.  Having the flash go off in these conditions would barely illuminate the front runners and would drown out the background….not the image he was going for. 

To compensate for this he cranked the ISO on the camera up to its highest setting, which is 6,400 on the Nikon D5000.  Turning up the ISO on a camera increases the sensitivity to light, therefore making it able to gather more light in a shorter amount of time, therefore freezing the people moving about, and starting/finishing the race. 
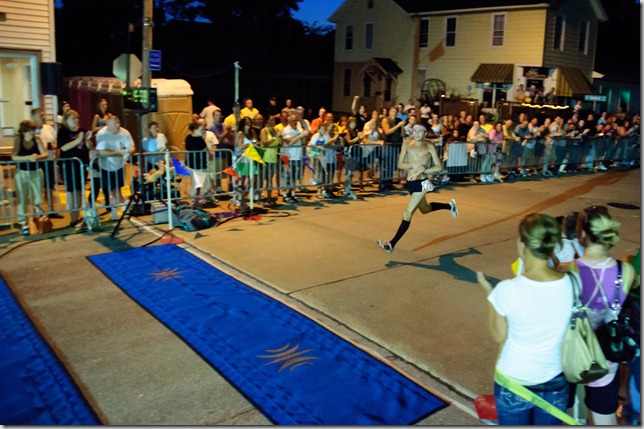
Moonlight Chase 069

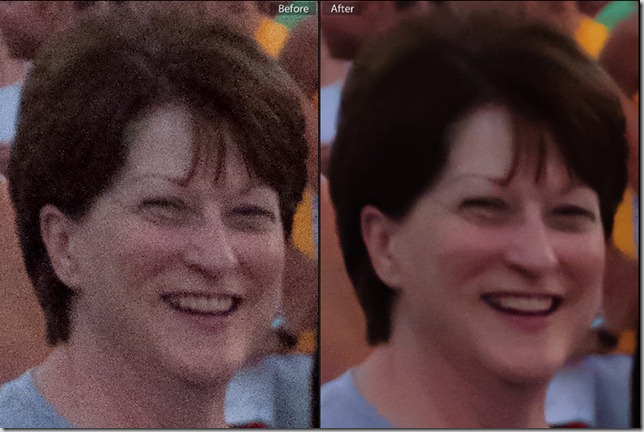
The major draw back to increasing the ISO is digital noise.  The noise makes a picture look really grainy (which in some circumstances is alright) but for the most part the noise is distracting and not appealing in an image.  In order to combat this noise he shot in RAW and used Adobe Photoshop Lightroom's noise reduction feature.  It basically takes all the pixels and "blends" them in so the picture becomes smoother, sometimes with dramatic results.
Fullscreen capture 7102011 60641 PM.bmp
Other than the noise, little editing was done to the pictures. What editing was done?
  • The exposure was brought down.
    • The increased motion stopping ISO made it look too bright out.  It was close to dark..hence the Moonlight Chase.
  • Some fill light was added to bring back the runners a bit.
  • A camera profile was applied in the calibration section.
Let us know if you have any low light questions!

Check out our newly created photography tab at the top of the ol’ blog!

Idea Stolen

Mrs. Limestone has “stolen” our West Elm Window Headboard Copy Cat idea.  Head over and check it out…

limestone_Final_Header_02

A Brooklyn Limestone is one of the first decorating blogs that I started reading a few years back.  She has impeccable taste and is always an inspiration.  I also appreciate that she has a 9-5 job and still manages to write a wonderful blog!

If you’re stopping by from A Brooklyn Limestone, welcome!

Happy week-end!!

Stroll Down Memory Lane- Siding

It’s time to take another stroll down memory lane and check out where we were on our house building process 3 years ago…

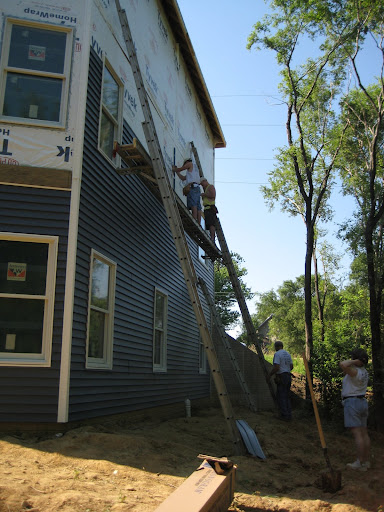
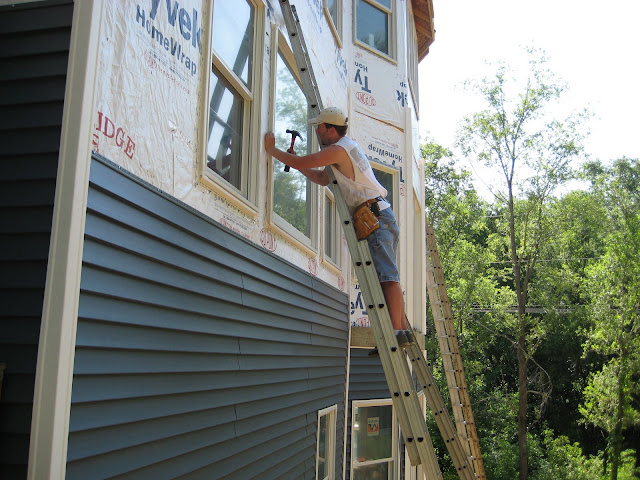
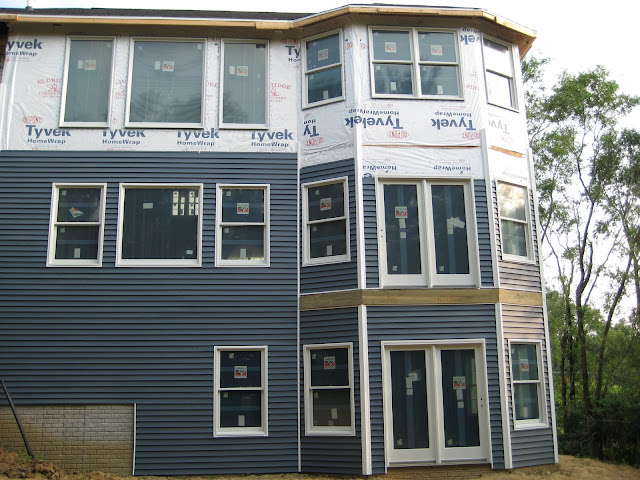
3 Years Ago This Week: Our house got clothes (or siding if you prefer technical building material terms…)…or least it’s backside did!


We chose Timbercrest’s vinyl siding in Pacific Blue.  Why blue?  Every other house in our neighborhood is beige or white.  Our last house was beige.  We wanted something different.  “Different” is hard in siding.  We didn’t want crazy.  Just different.  We were sold once we spotted this color at Menards.

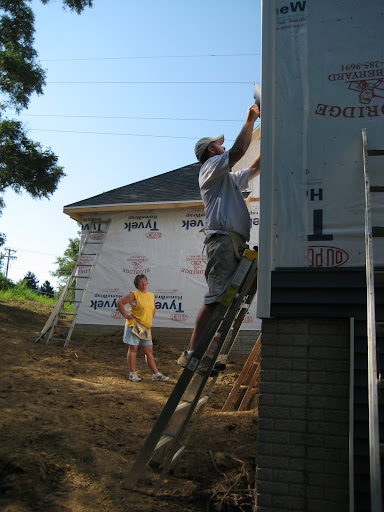
We called in reinforcements in the form of Nate’s parents, my parents and my brother.  We would still be siding now if it wasn’t for their help!  They are awesome.  Seriously.  It was hott.  Not hot. H-O-T-T hot.


We did give them water…because we’re nice…my brother hated coming to visit me because I’d always put him to work.  He really hated me after this week-end…


This is how we ended the week-end…


Siding a house is a lot of work but it’s really not as complicated as one may think.  I even did some of the cutting and nailing.  So if I can do it, anyone can do it.  We did hire our builder to side the third story.  Nate’s mom and I weren’t so excited about Nate and his dad climbing all of the way up there without the proper equipment.  Of course, we know that they could have done it…

There you have it…the day our house got clothes!

Have you sided a house?  What are your thoughts on siding color?
Linking up to: Remodelaholic


Spanish Tile Front Door

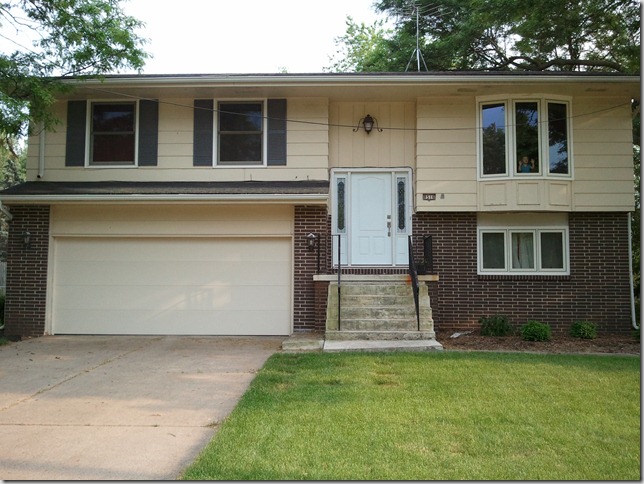
Remember when Nate’s sister was debating on what color to paint her front door?  (If not, read about it here)…

2011-06-08_18.40.02 
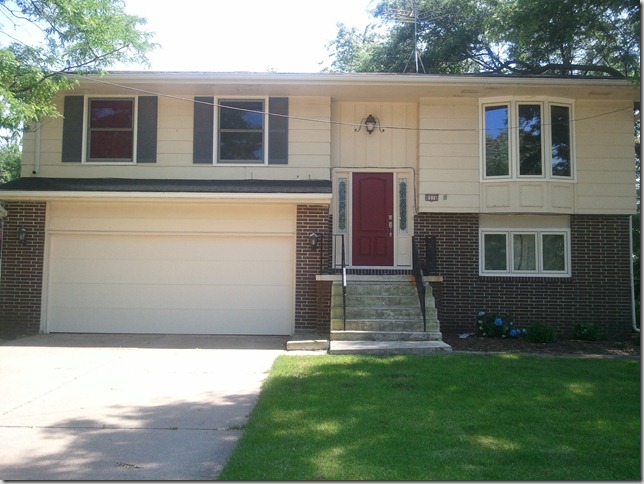
Well, she went with the popular vote of a darker red and it’s quite pretty…

2011-06-30_14.58.39 
She chose Valspar’s Spanish Tile.  It took 5 coats and she tells me it could probably use another.  She never wants to paint a door red again….but it’s just so darn pretty and inviting…says the sister-in-law that wasn’t involved in the painting process…


Moral of this red door painting story: Use a tinted primer when painting white door with red paint…or hire it done….

Who has a painting horror story to share?  Anyone inspired to paint their front door?

**One of Nate’s fireworks photos is featured on Pioneer Woman…check it out here!  Love her site!**

Taller and Shorter

The true title of this post is:  I was I was a little bit taller and I wish my shower curtain was a little bit shorter….

Why do I wish I was taller? (and a baller…you’re welcome for the annoying song stuck in your head)…

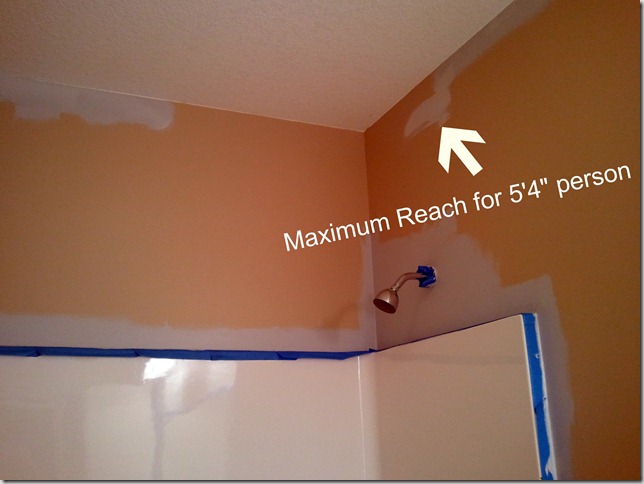
2011-06-30_12.04.39pn

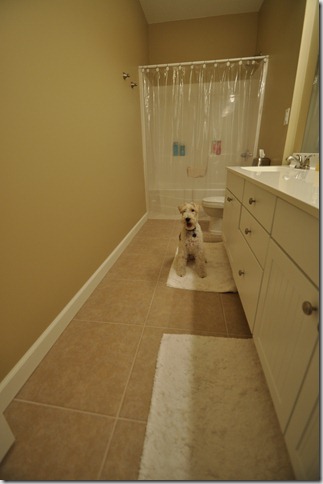
I started painting the guest bathroom last Thursday.  I sent this cell phone picture to Nate to see if he had any suggestions on how I could reach the corner above the shower.  The ladder was too wide to fit in the tub and the toilet was in the way outside of the tub.  My only solution was him helping me when he got home.  The rule with my painting craziness is that I have to do it alone and not drag him into it. 

His response: “That is going to look really weird not painted.”

Jerk.  But he did help me…after some whining, of course.  Is there any other way?

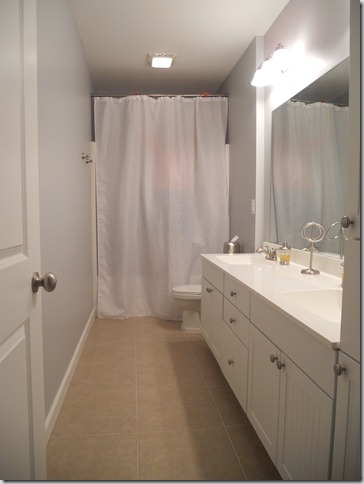
Next guest bathroom issue, the shower curtain I ordered.  I was really into the spa-like feel so I went with a white waffle curtain. I also wanted it extra long (96”) because I had read on a few blogs on how the extra height looks so lovely. I was wrong on the white and the height…

2038 

This picture actually makes it look better than what Nate and I think it looks like in person. 

The height was just really weird….like we were trying to hide something…other than the shower. I think this height looks better in bathrooms where the shower is off to the side, not straight on when you walk through the door. We also have 9 foot ceilings so the curtain didn’t reach the ceilings like the examples I had seen.

The white was just too much white.  The curtain made the rest of the white in the bathroom look sort of ivory…and as you can see, the curtain is very see-through.

On a happier note, the walls are now a pretty grey…much better than the previous Macadamia…

Summer To Do (65)2038

The shower curtain can be returned in-store and I have a new one on order…I’ll leave you in suspense on that one…

What are your thoughts on shower curtain height?  Is there such a thing as too much white?

Guest Post: The Flipping Couple

Today I’m over at The Flipping Couple sharing a few of our favorite things in our kitchen…

The Flipping Couple

Cindy and her husband are flipping a beautiful house up in Minnesota…

1924 Arts & Crafts

They do some pretty impressive work…and must not like sleep.  Now I know why Nate and I don’t flip houses…sleep.  They are also in love with their dogs…my type of people!!

Be sure to stop by and say “hi” and check out all of their hard work!

Learning to Use Our Nikon- Fireworks

Nate and I own a Nikon D5000 and Adobe Photoshop Elements 9

We are slowly learning how to use them to their full potential. We aren’t photographers.  We don’t plan to be.  We just both enjoy photography and capturing those special memories in our lives.

We’ll start sharing with you tips and tricks that we are learning along the way….

Fireworks are hard to capture. The following photo was taken with our Canon point and shoot…

Chicago Trip 123

Definitely not the beautiful fireworks that I remember seeing off of Navy Pier!

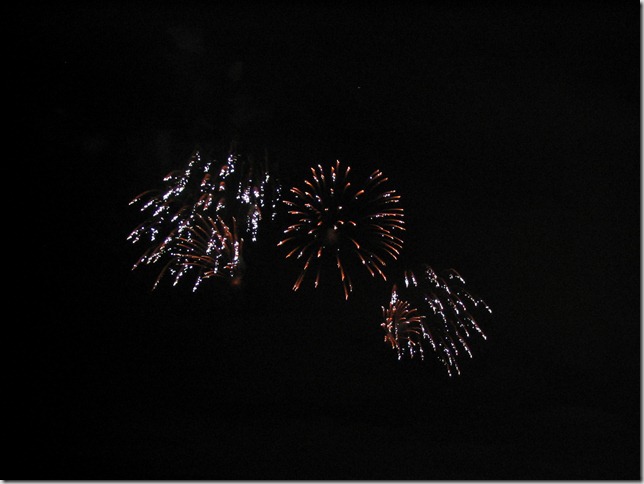
The following photos were taken last night along the Mississippi river using our DSLR….

Fireworks 110

Fireworks 119

Fireworks 085 

Here’s how to capture these shots: 

  • Use a tripod as capturing fireworks requires a long exposure. 
  • Set the focus to manual.
  • Change the adjustment ring change it to infinity (the sideways 8). 
  • Switch the camera mode to manual (M on Nikon), and using the dial switch it to “Bulb”mode (for Nikon it will say TIME on the screen for the exposure time) and then set the aperture to something between f8 and f16 (I used f16 for all the shots).
    • Bulb mode lets you set the amount of time the shutter is open, one press to open the shutter, then another press to close it, this way it is easier to time the fireworks. 
  • Use a remote shutter release as pressing the button on the camera will create shake in the camera and the picture will not be as sharp. 
    • If you do not have a remote then do not use Bulb mode, set the shutter speed to at least 2 seconds (most of my shots were somewhere around 10 seconds) and use the self timer at 2 seconds to avoid shake. 
  • These photos were shot in RAW and I did some minimum processing in Photoshop Elements Camera Raw (changed white balance, made the color pop a little bit through the camera profile settings) but shooting in JPEG would work as well.

Any questions?  Do you have interest in more very amateur photography/Photoshop Elements tips?

Stroll Down Memory Lane

It’s Friday and we all know what that means….

It’s time to take another stroll down memory lane and check out where we were on our house building process 3 years ago…

3 Years Ago This Week: 
 
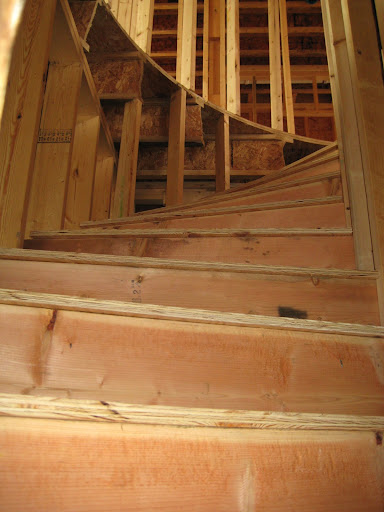
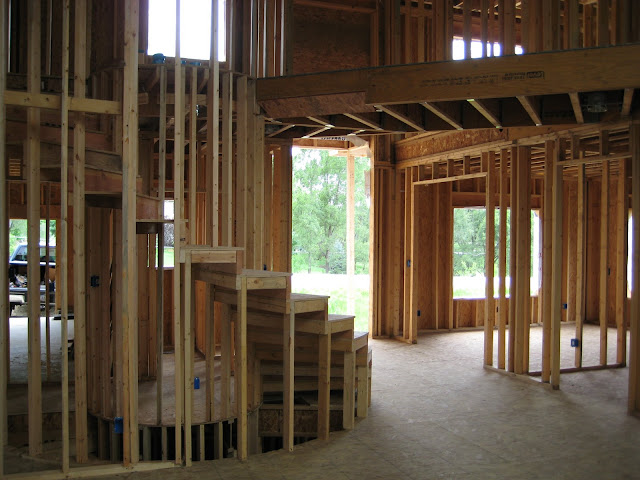
Stairs to the basement were built.  No more walking all away around the house to go from the basement to the first floor…


The laundry room was framed. The Jack and Jill shower/bath was installed.  The little blue boxes were the start of the installation of the electrical outlets.  In the rafters you can the start of the installation of the recessed lighting for the walk-way.


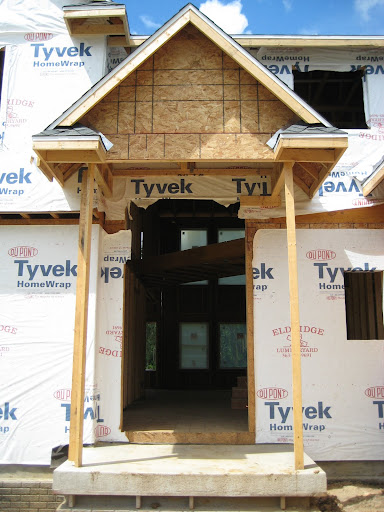
The front entry roof was completed…


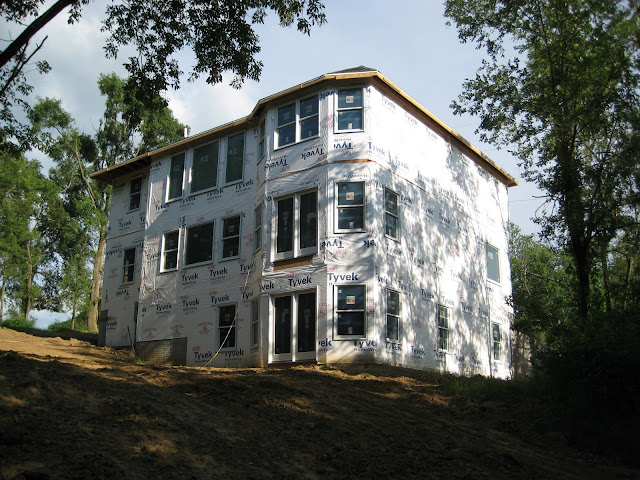
Almost all of the windows were installed (except for a couple that were ordered wrong by the lumber company..slackers…) and the whole house was wrapped in Tyvek to prepare for siding over the 4th of July week-end…


There you have it…our house in its’ underwear….3 years ago this week!

Any big 4th of July plans?  We are spending the long week-end at home.  Hopefully working on some projects, watching some fireworks, grilling, and relaxing!! Happy 4th!