Easy Baby Gifts
/Stop drinking the baby making water! I can’t keep up with the baby gift giving!
Love, Michelle
Seriously. Everyone is my life is having babies. Babies. Babies Babies. These babies make me feel old. They make my mom think I should have babies. None of this is good. STOP WITH THE BABIES!!
Since my friends are obviously not listening, I am here today to share with you some fairly simple baby gift ideas.
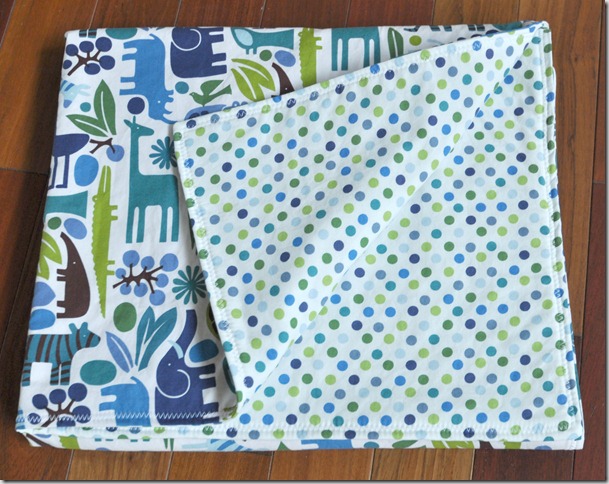
First up, the easy sew blanket.
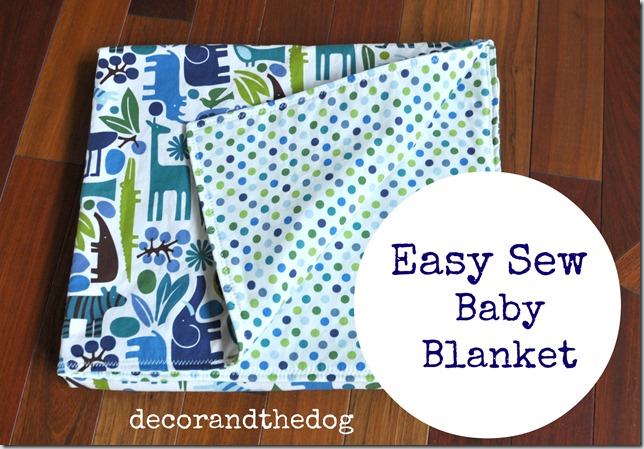

I've shared the finished product a couple of times (here and here) but I actually remembered to take photos of the process this time. Bad photos but they are photos none-the-less. Baby steps.
Friends/family love these blankets for tummy time. Babies love them for throwing up on. Win. Win.
You will need:
- 1 1/4 yard fabric for the front
- 1 1/4 yard fabric for the back
- Batting (I usually buy the craft size. It will say something about crib size on the packaging. Have a coupon handy because the batting runs ~9.99.)
- Heat N Bond (not pictured)
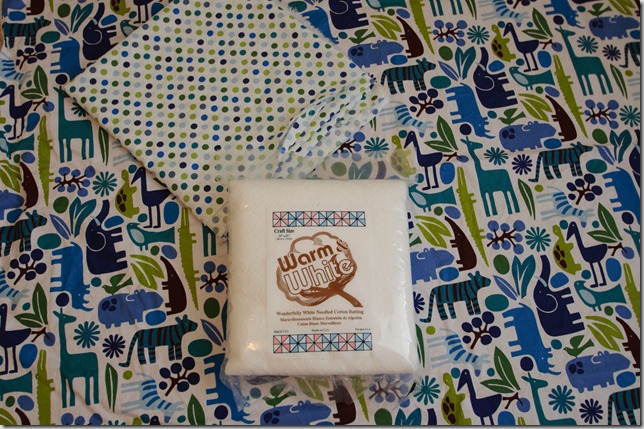
I recommend prewashing the fabric. Sometimes I forget/get impatient and don’t. I have seen that the prewashed blankets hold up a bit better.
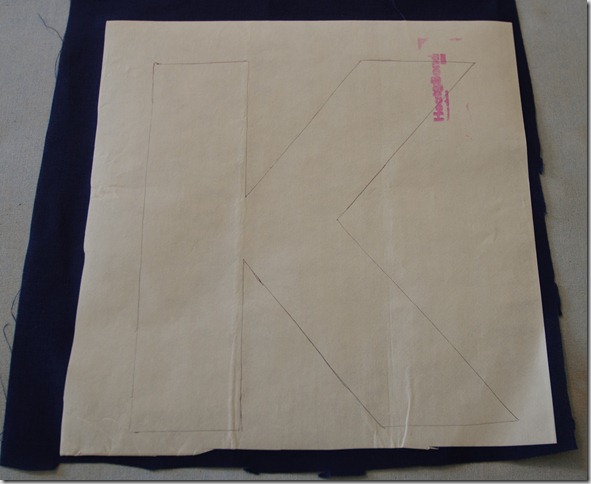
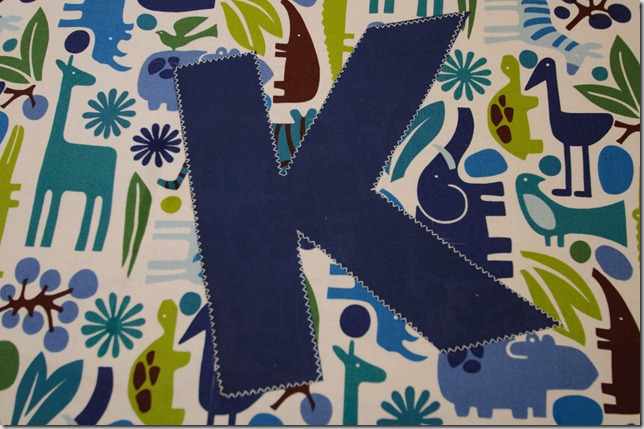
If you want to personalize your blanket, cut out the letter/shape that you would like onto some fabric and Heat N Bond.
Follow the directions on the Heat N Bond and attach your letter to the front fabric.
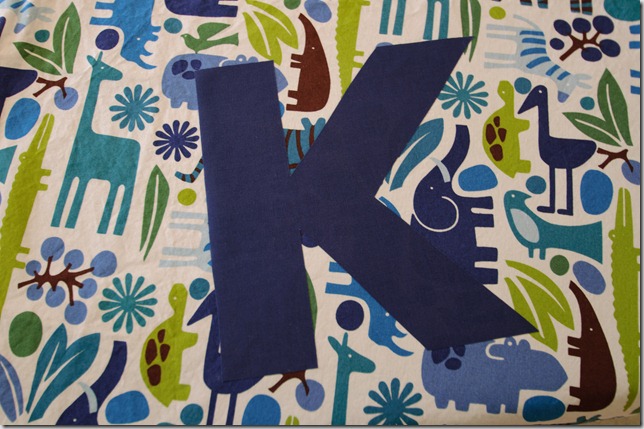
Sew around the edges. I like zig zag stitches. Zig zags cover imperfections well. Use what you like. A coordinating thread would be good. Or white, if you are a fancy gift giver…like myself.
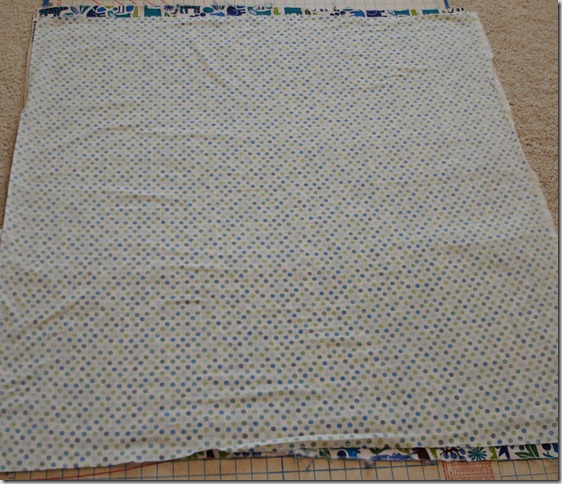
Next, lay your front fabric and back fabrics right sides (pretty sides) together.
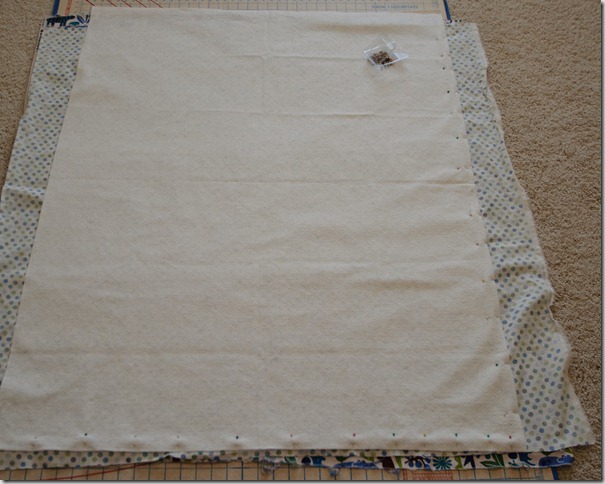
Place your batting on top and pin.
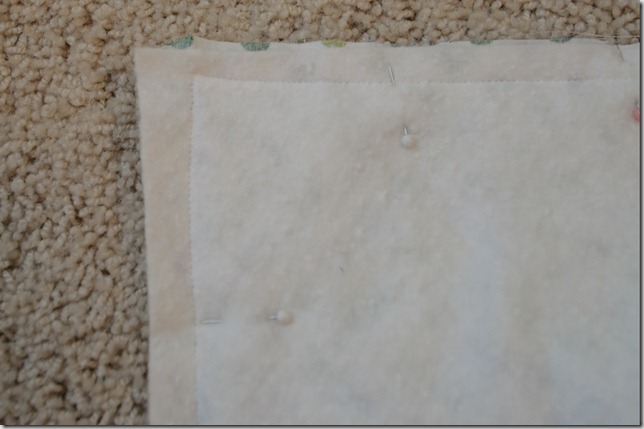
Trim excess fabric. Start about half way on one of the short sides sew around the edges leaving about 6 inches unsewn. Leaving this 6 inch opening will allow you to turn the blanket right side out. I don’t have an exact seam allowance for you on the sewing. Probably 1/4 inch. You really can’t screw this blanket up. Trust me.
Reach your hand in the 6 inch opening and pull the blanket right sides out. Doing this project in cupcake pajama pants will give you guaranteed results.
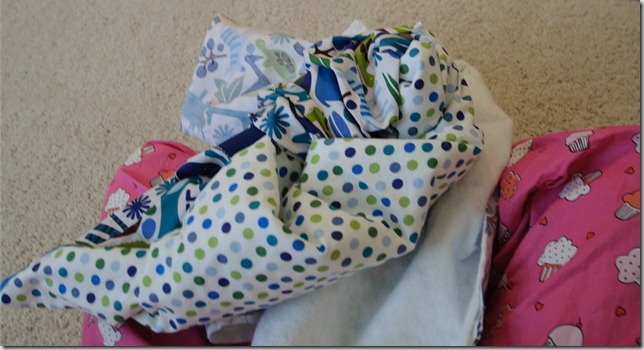
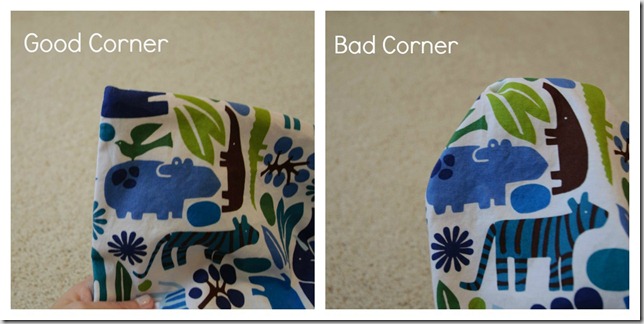
Make sure to poke your corners out well. Use a pen or scissors if needed.
You will then be left with the 6 inch opening.
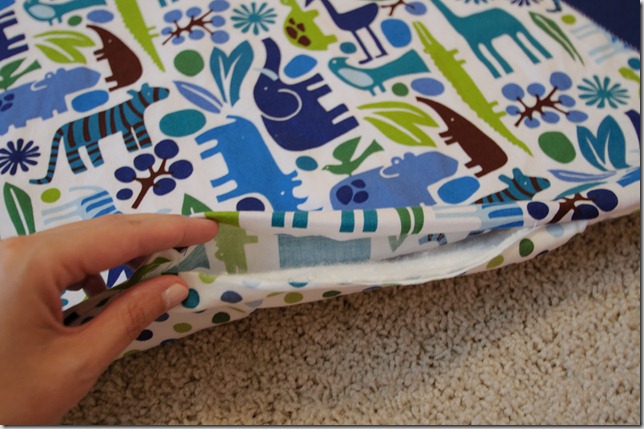
You can hand stitch just the opening shut or you can stitch around the entire edges of the blanket. Make sure that you have the opening pinned well. My decision on this depends on my mood. I like the look of both finishes. For this particular blanket, I decided to stitch around the edges. If you decide to only stitch the opening, I suggest sewing a few stitches every few inches on the blanket to keep it from bunching (more info on that step here).
You’re made it! A giant burp cloth ready to give to those new little bundles of joy!
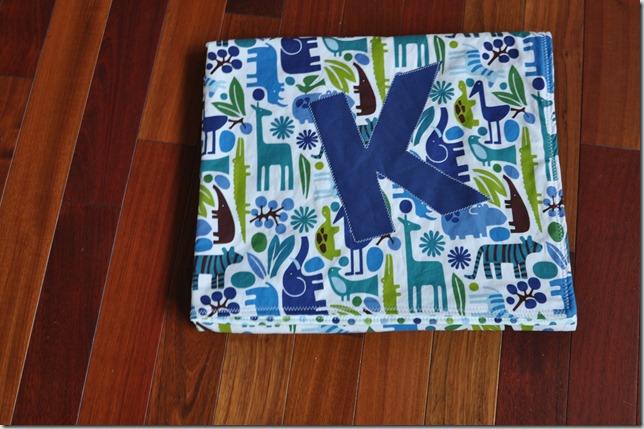
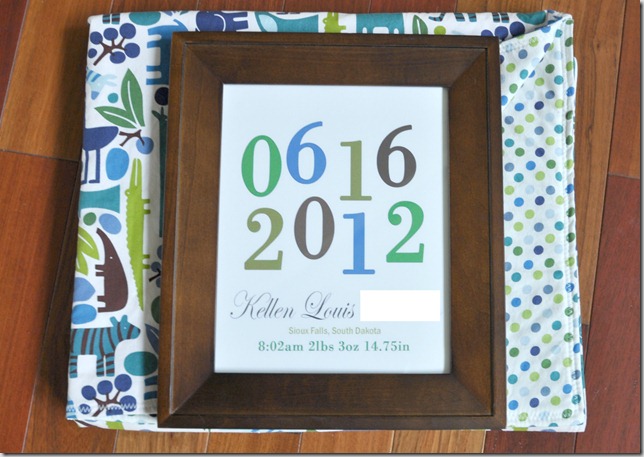
I added a little print along that I whipped up in PSE and shipped it off to one of my childhood friends to share with her teeny tiny baby boy. He was born very early but is doing wonderfully. They were able to leave the hospital with him this past week-end!
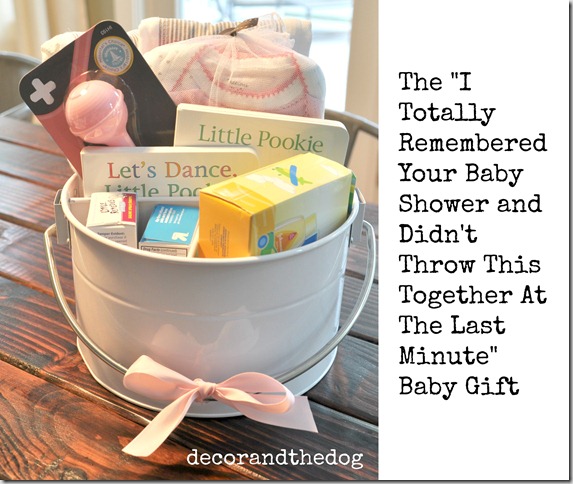
As if this post isn’t long enough already, here’s another quick idea for when you forget that the work shower for your head boss is the next day. (I’m amazingly on top of things.) You go to Target and you find a utensil candy on sale for $6. You fill it full of random baby crap…like Tylenol, saline drops, Butt Paste, travel baby soap, booger sucker, books, onesies, and some burp cloths…and hand it to your boss like you totally planned this gift ahead of time.

What’s your go-to baby gift? Do you prefer to give handmade, purchases, or a good mixture? Mom readers, what was the best baby gift that you received? Non-moms…don’t drink the water!!!!!!
Linking up to: Serenity Now

