Blackberry Cobbler

If I haven’t yet convinced you to get yourself a cast iron skillet, this Blackberry Cobbler recipe just might do it.

This family favorite tastes even more delicious in a cast iron skillet.  But what doesn’t taste more delicious than something cooked in a pan coated in bacon grease?  Nothing is the correct answer.

Skillet Blackberry Cobbler from Decor and the Dog

The photography isn’t our finest. We made this for Nate’s dad’s birthday.  We made him sit and smell the deliciousness while we snapped photos. Happy birthday!!!

Start by mixing up the dough portion of this recipe.  In a large bowl, combine 2 cups flour, 1 cup sugar, 2 teaspoon baking powder and a teaspoon of salt.  Cut in butter until mixture looks like coarse crumbs. I used my hands.  Therefor there is no photo.  Stir in 1/4 cup boiling water just until moist.

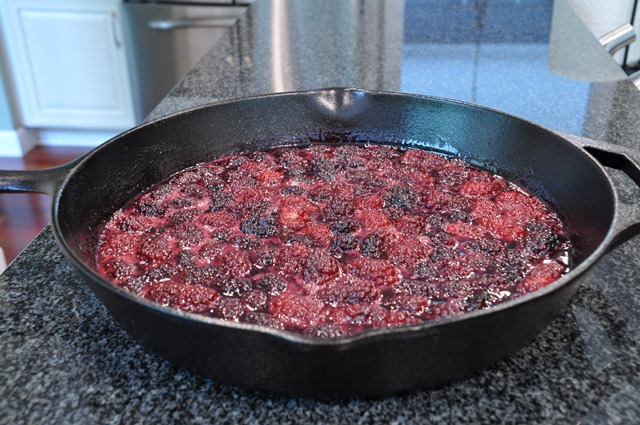
In a separate bowl, dissolve cornstarch in 1/4 cup cold water.  Mix in 1 cup sugar, 1 tablespoon lemon juice and 4 cups of blackberries.  Transfer to your cast iron skillet and bring to a boil.  (We use our skillet on the side burner of our grill.)  Stir frequently.  You will get this.  Mmm, blackberries.

DSC_0148

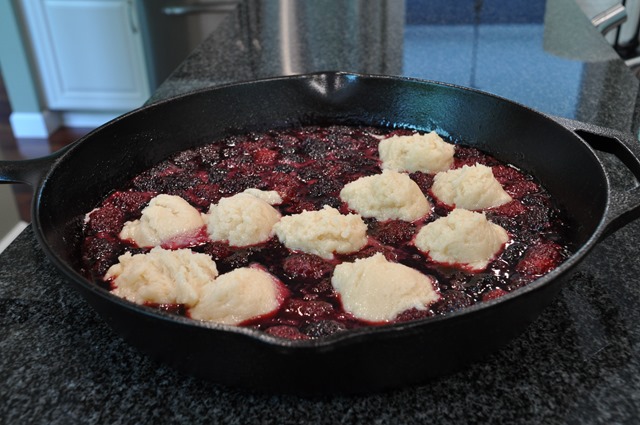
Drop dough into the skillet by spoonfuls.

DSC_0151

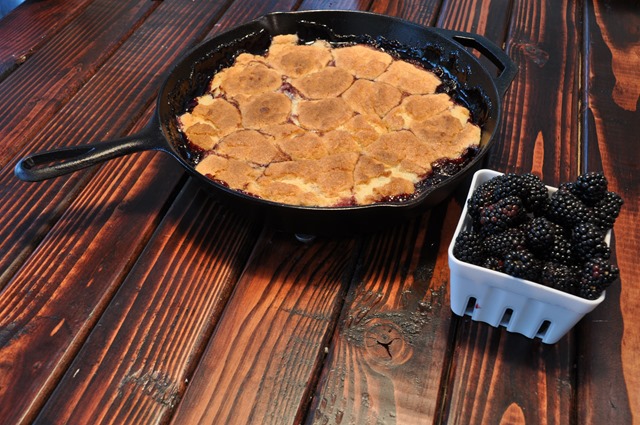
Bake in a preheated oven at 400 degrees for ~25 minutes or until dough is golden brown.

DSC_0160

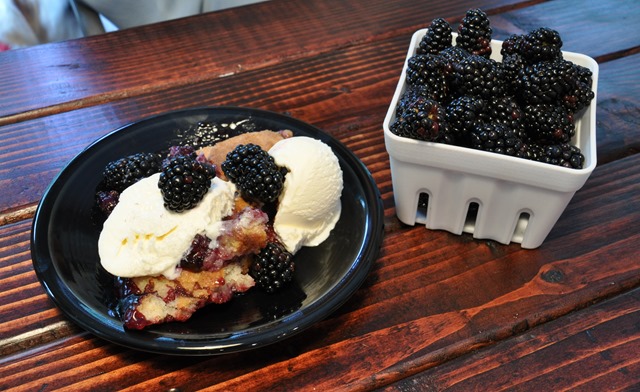
Serve with ice cream or whipped cream.  Take a generous portion.  It’s fruit. It’s good for you. And then go for a run.  Because that’s healthy too.

DSC_0168

Click the recipe below to download!

Blackberry Cobbler from Decor and the Dog

Are you a cobbler fan?  Are you a cast iron skillet fan?

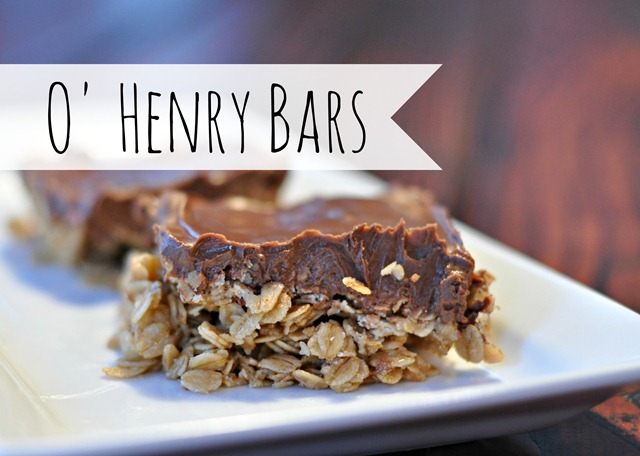
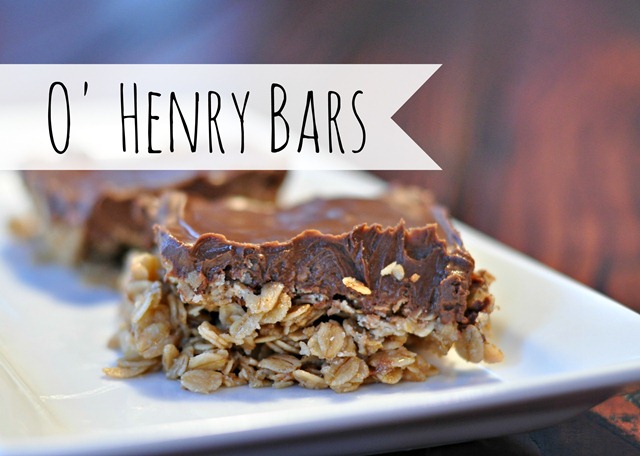
O’Henry Bars (AKA Not Healthy Granola Bars)

I can hear the groans.  ANOTHER recipe post.

Eh, you’ll thank me.

Also all I’ve been doing lately is baking and working out.  Makes sense.  But just wait.  There is a lot of DIY goodness planned for next week.  If I stop baking and working out.  I just love kettlebells. And sugar.

Yesterday I almost forgot that I needed to whip up something for the very first craft night with Newlywoodwards.  (More on that next week.)  I also wanted it to double as a blog post. Two birds.  One stone.  I dug through my recipe box and came up with an oldie but a goody.

O' Henry Bars (Not Healthy Granola Bars)

O’ Henry bars a family favorite.  Yesterday was my first time making them.  I Googled the name to see if there are other recipes like this out there.  Only a few. It probably has another name.  Keep in mind, they are nothing like the candy bar with the same name. Go figure.  They look like a Midwest thing.

I like that they have oats in them.  This way you have a nice comeback when your husband says “I thought you were eating healthy this week?”  You can say, “I am.  There are oats and peanut butter in here.”  Basically I consider them a non-healthy granola bar. (Kim didn’t agree.)

Here’s what you’ll need:

O' Henry Bars (Not Healthy Granola Bars) 003

  • 6 cups oats
    • I used Old-fashioned Oats but Quick Oats are fine as well.
  • 1 cup melted butter
  • 1 1/2 cup brown sugar
  • 4 1/2 tsp vanilla
  • 3/4 c. white corn syrup
  • 1/2 package chocolate chips
  • 1/2 package butterscotch chips
  • 3/4 c. peanut butter.

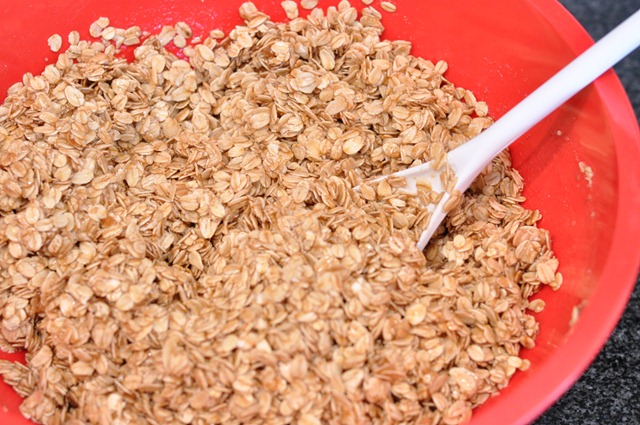
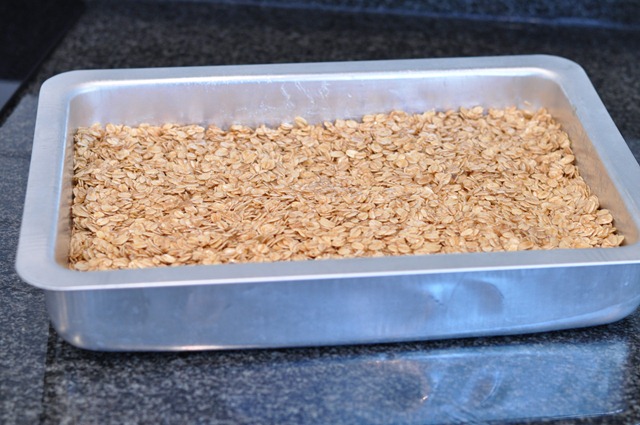
Mix oatmeal, butter, brown sugar, vanilla and white corn syrup together.  Spread into a cake pan.

O' Henry Bars (Not Healthy Granola Bars) 006

O' Henry Bars (Not Healthy Granola Bars) 015

Bake 15 minutes at 375.  Cool.

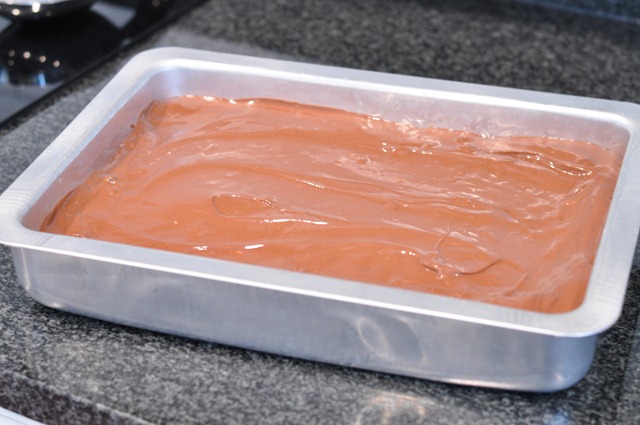
Melt chips. (I did this in the microwave.  The stovetop is just fine too.) Add peanut butter.  Spread onto cooled layer.

O' Henry Bars (Not Healthy Granola Bars) 024

Eat ‘em up. And then go do a kettlebell work out!

O' Henry Bars (Not Healthy Granola Bars)

These bars are pretty hard to make look pretty.  But trust me.  Deliciousness.

(There is a fine line between done and not done with these bars.  Mine were a tish uncooked and they fell apart a little.  If you cook them too much, they will be hard.  I prefer the fall apart route and to eat it with a spoon!)

Have you heard of O’Henry Bars?  Who is pumped for DIY posts next week?  Big week-end plans?

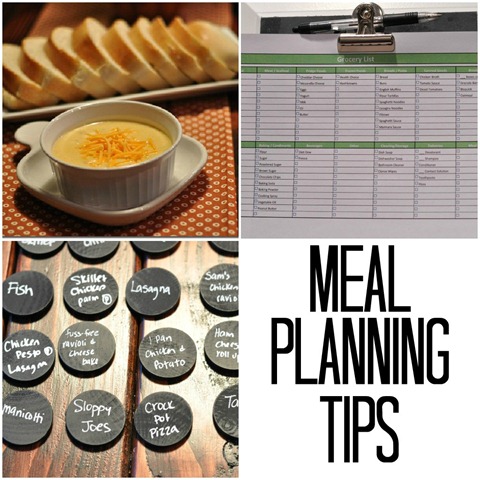
Meal Planning Tips

Yo.  How was your week-end?  Lovely, I hope.

This week-end was all about strategy for us.  You know, dreaming about doing instead of actually doing.

Guess what that gets you?  An organization post.  Woo hoo.

I have recently shared with you my tips for a tidy kitchen.  From that post, I had some requests for meal planning tips.

Meal Planning Tips from Decor and the Dog

I started meal planning about 3 or 4 months ago so I am obviously not an expert yet.  I just pretend to be on my blog…

I have a found a few tools and tips that make meal planning easier.

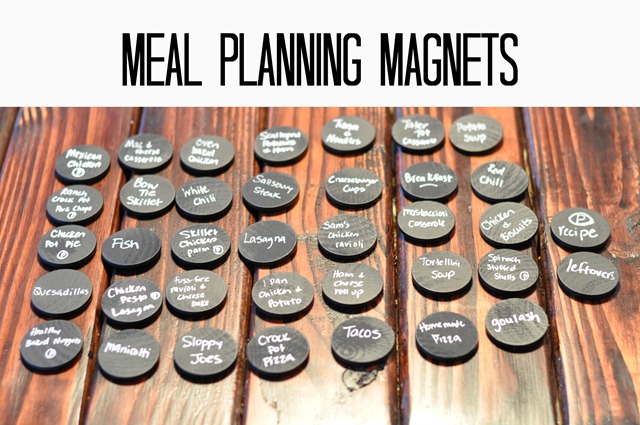
1. Meal Planning Magnets

Meal Planning- Magnets for Meal Planning

The hardest part of meal planning for me is figuring out what to eat. The second hardest part is not getting into a rut and eating the same 4-5 meals for an entire month.

I made these meal planning magnets to aid me in my “What the heck should we eat?” woes.

They are super simple to make. I purchased some wood disks from Hobby Lobby. I spray painted them with chalkboard paint. I attached a magnet to the back.  (I used a weak magnet.  I wanted the magnets to be strong enough to stick to the fridge but not strong enough to stick to one another.) I then went through my recipe box/Pinterest boards and I wrote down meals that we commonly eat.  The Pinterest recipes got marked with a “P” so I know where to find the recipe…recipe box or Pinterest board.  I used a chalkboard marker instead of regular ol’ chalk.  You can still erase the marker but the writing should stay on better.  I have blank magnets left to add new favorites.

I store the magnets in this little ol’ glass container that I keep in the cupboard.  I can reach in and grab out 4-5 meals for the week.  No thinking require.  If I don’t like something I can just throw it back in and grab another.

Meal Planning Magnet Storage

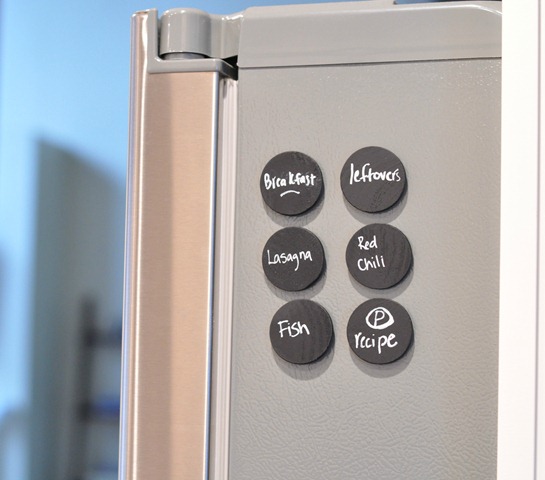
I then hang the magnets on the side of the fridge to help us easily remember our options for the week.

Meal Planning- Menu Planning Magnets

We pick 4-5 meals for the week.  We don’t assign the meals to certain days of the week. This still allows us some flexibility when life happens.  The breakfast magnet rarely leaves the fridge.

As you can see, I don’t plan my meals around what is on sale.  That would require too much thought.  I just pull from the jar. I do, however, look through my coupon stash and visit Target to see if I have any coupons for the items I will be purchasing.  I feel that people sometimes spend more/buy things they won’t use just because they have a coupon.  

2. A grocery list.

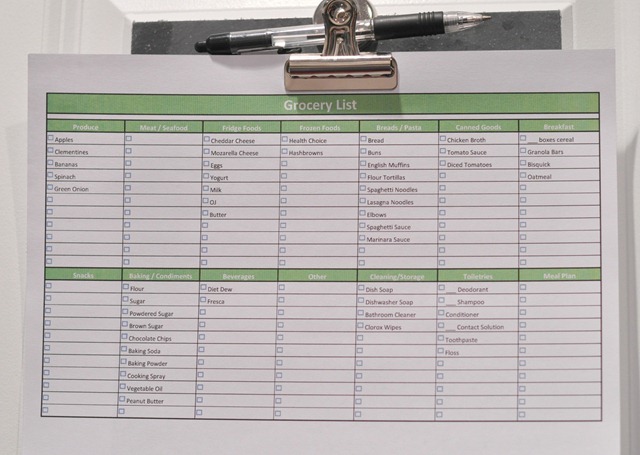
Meal Planning- Printable Grocery List

A grocery list is also a must for meal planning.I recently switched to a grocery list template from Microsoft.  Google it.  They have a ton.  I typed in some of our more commonly used items.  There is plenty of space to add others.  This list is organized by sections of the store so it makes shopping easy.  I also have a space on the side to write down the meals for that week. 

We keep a stash of lists hanging in the pantry.  When we run out of something, we mark it down right away so we don’t forget.

Meal Planning- Printable Grocery List in Pantry

3. A Favorite Foods Board on Pinterest

If you are anything like me, you pin a bunch of food that you will probably never make.  I have boards for each type of food but I also have a Favorite Recipes board that I pin the Pinterest successes too.  This board makes it easy when I pull out that “Pinterest Pick” magnet.  Sometimes I get brave and try something new.  Sometimes I stick to a recently tried success.

As you can see, the tools are simple.  Now I’ll share my overall tips and advantages that I have found from planning meals.

Advantages of Meal Planning:

1. Saves time.

Set aside at least 20-30 minutes each week to plan out your meals and make your grocery list.

I used to think that this was a lot of time.  I have since realized that it takes less time than standing in front on the fridge each night trying to make a meal out of yogurt, mandarin oranges, and pepperoni.

2. Saves money.

We make one trip to the grocery store each week.  This trip provides us with food for breakfast, lunch and dinner for all meals for the week (minus 1 night of eating out).  We are less tempted to buy junk and/or items that we won’t eat.  We spend about $40-$60 per week for the two of us.

3. Less waste

We have found that we waste a lot less with meal planning.  We only buy what is on our list and we use it up within one week.

4. Leftovers

We now plan for at least 2 meals to have left overs.  No more frozen dinners for lunches. Woo hoo!

Now I’m bored.  So you are on your own.  (Reason #1983 why blogging could never be my day job).

Do you meal plan?  Any additional tips?  Got a favorite foods board on Pinterest?  Leave the link!

Linking up to : Living Well Spending Less