Dare to Entertain Features + Sneak Peek

How was everyone's week? Who's glad it's Friday?  I have a four day weekend.  A busy four day weekend.  We have two little girl birthday parties to attend and some Christmas gift shopping to accomplish!

Did you check out the Dare to Entertain projects over at Maybe Matilda?  If not, hop to it!

Today I'd like to share with you two of my favorites!

First up we have the lovely Mindy from at Finding Silver Linings.  Between trying to set her house on fire and preparing a holiday meal for her family, she whipped up these beautiful coffee filter peonies.  They make for a simple, yet beautiful, centerpiece.

Coffee Filter Peonies from Finding Silver Linings

Next we have the ever-so-buff Cindy from The Flipping Couple.  Cindy put together this neutral, and oh so beautiful, winter tablescape.  I love the bowls of pine cones!  The whole thing looks perfect for a cozy dinner party.  (Did I mention that Cindy and Nick are pretty stellar hosts.  'Cause they are.)

Beautifl Winter Tablescape from The Flipping Couple

Be sure to check out all of the features on the Dare to DIY Pinterest board!

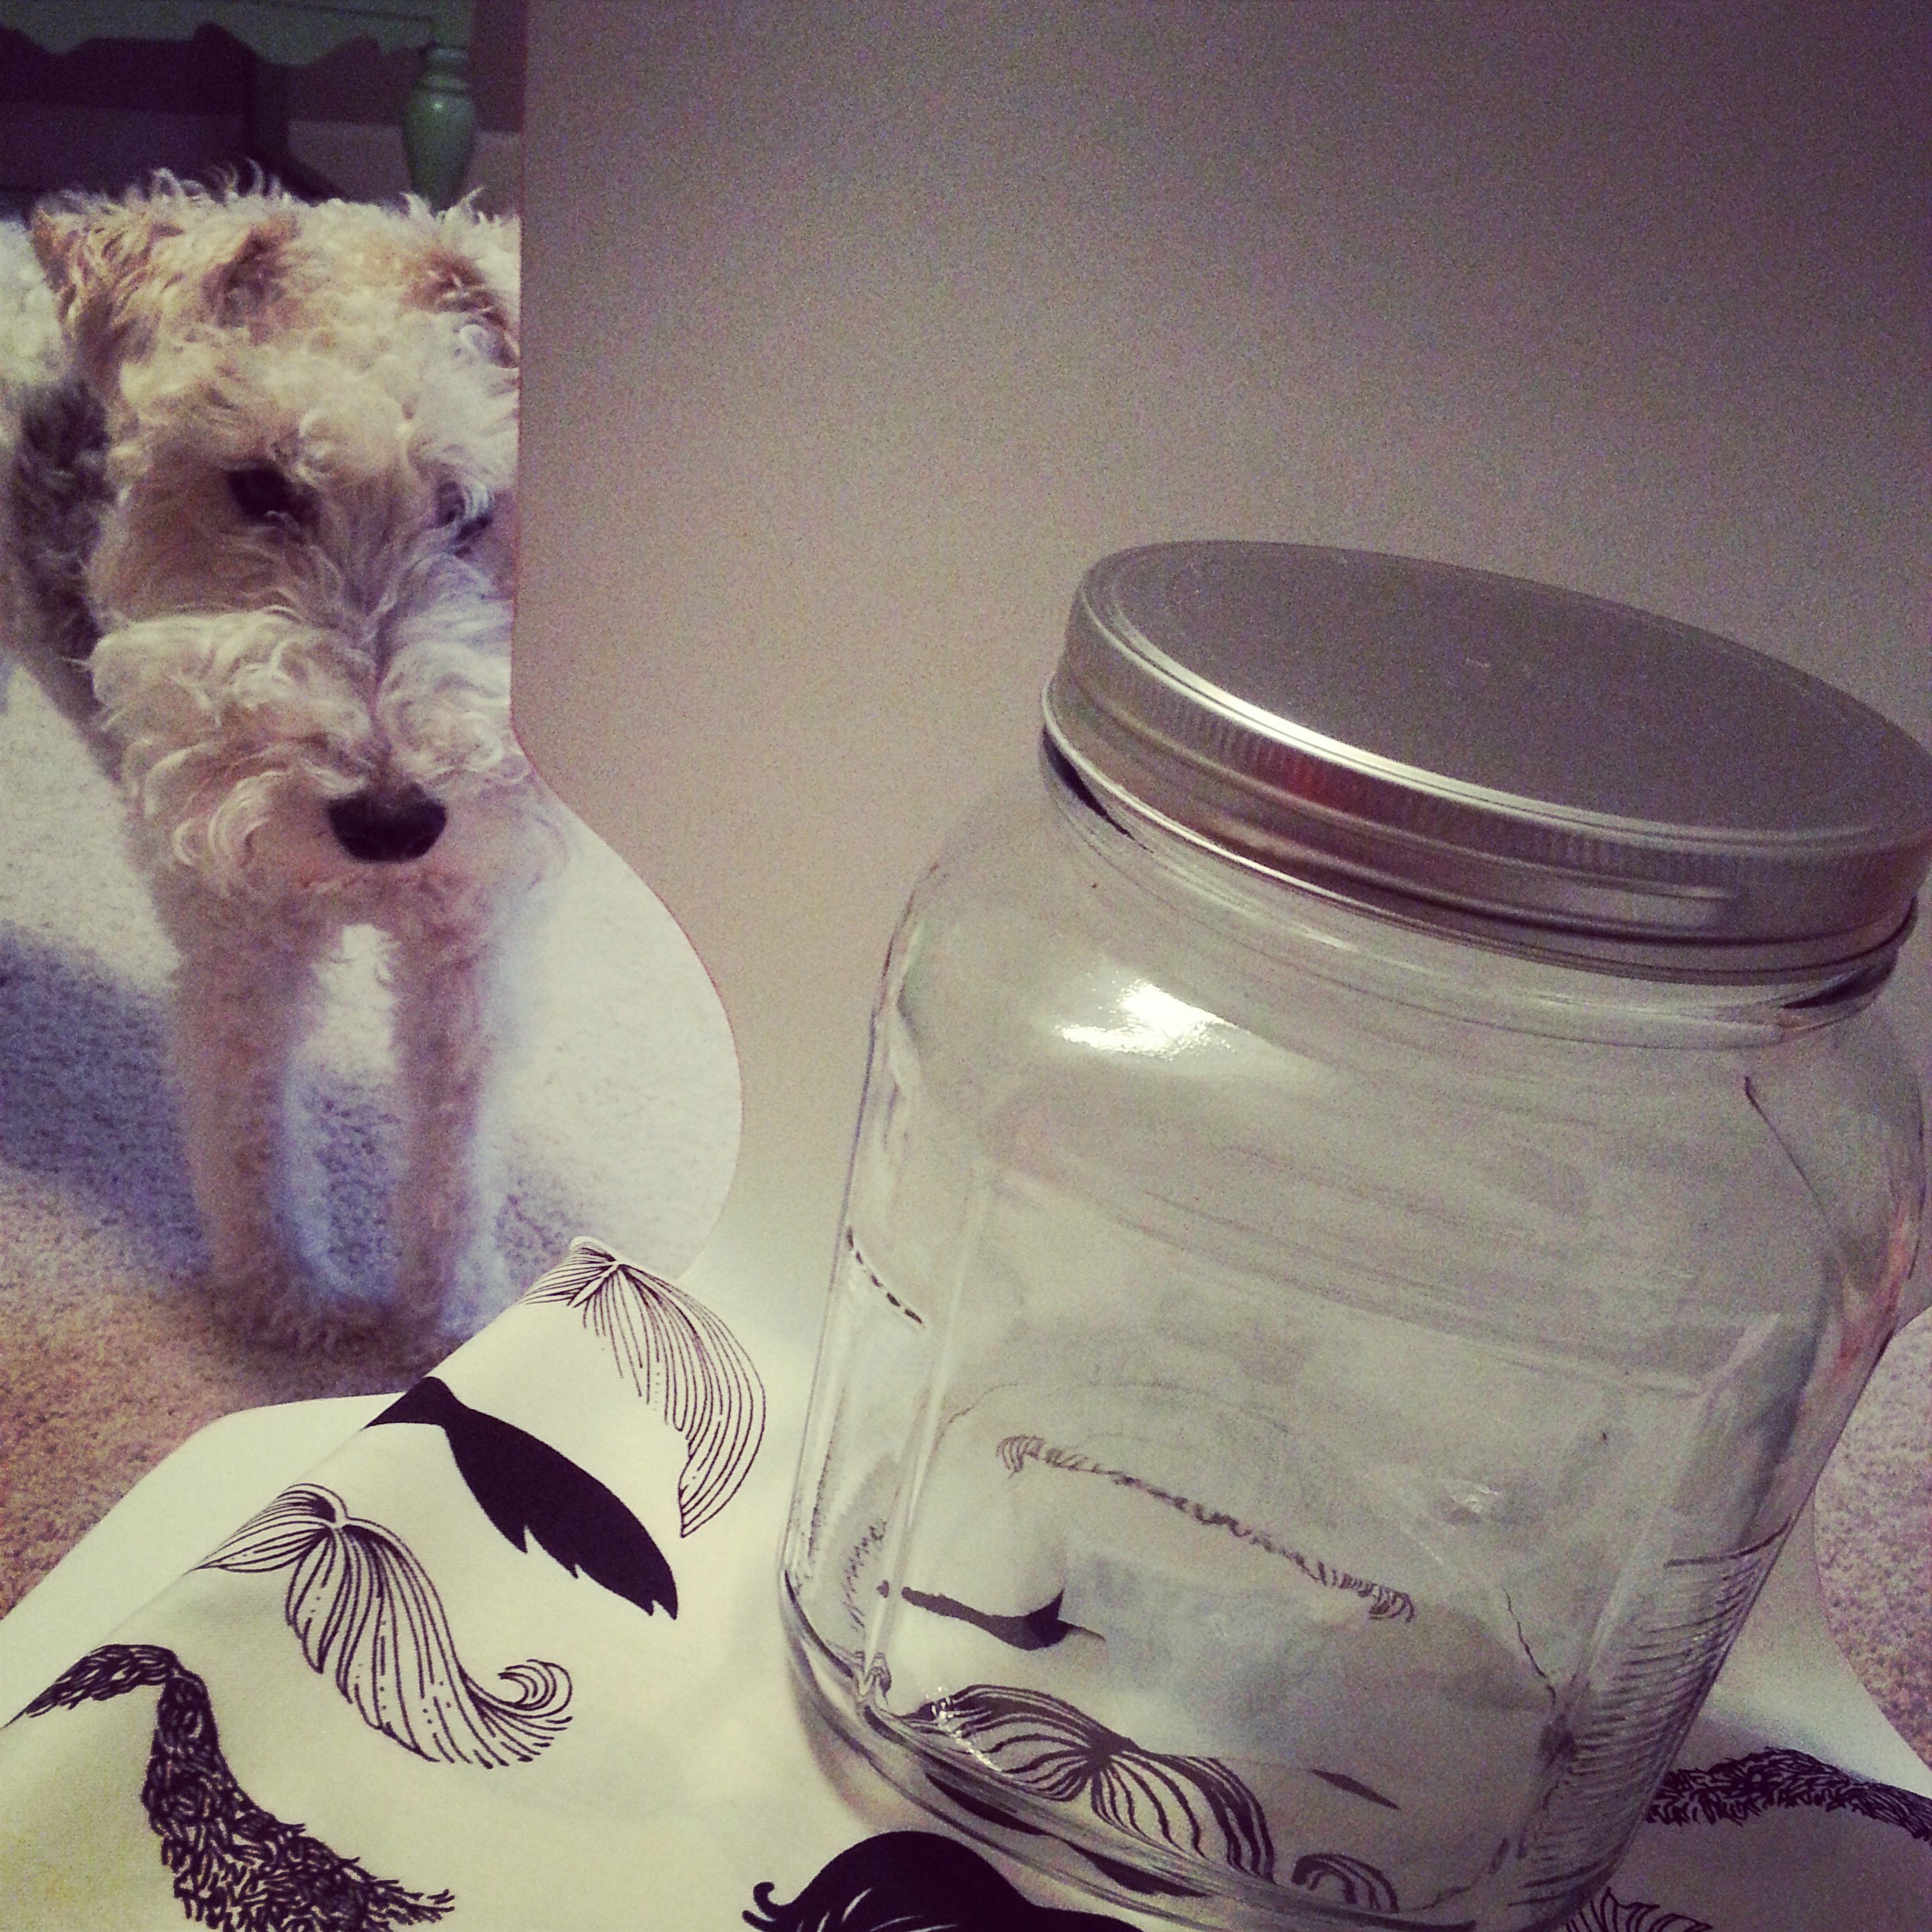
Are you ready for Monday's sneak peek.  I'm still trying to decide between two projects.  I will share them both but only one on Monday.  I just can't decide!  (I also haven't made either one yet.  No biggie.)

Dare to Give Handmade Sneak Peak

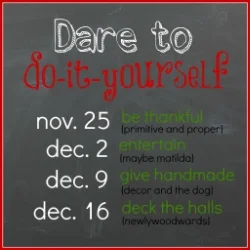
Now.  Here's the important part.  (If anyone is still reading. :P)  Monday I am the host.  The party is right here at Decor and the Dog.  The theme is "Dare to Give Handmade".  I need you all to join the party.  Get those handmade gifts going!  Anything goes as long as you make it and want to gift it!  (Did I mention I haven't started yet and I'm the host? You've got this.)

I also don't want to hang out at a party with just the hosts.  I mean, I love them all but they'll probably just talk about all of their ridiculously cute children.  Don't leave me hanging.

If that isn't enough motivation, you also have the chance to win a $50 stencil shopping spree from Royal Design Studio!

2013_shopping_spree.jpg
Dare to do-it-yourself button 2013.jpg

Will you dare to give handmade?  PEER PRESSURE!!!

Photobucket Photobucket Photobucket PhotobucketPhotobucketPhotobucketfollow us in feedly

Holiday Mantel 2013: Nutcrackers Galore

I'm starting off the 2013 holiday season by sharing our mantel.  

Our mantel that is full of glittery gold and white nutcrackers.  Along with some elf stockings, garland and wood beads.  A very cohesive mix.  (Or something that makes me sound like I know what I'm doing when in reality I just throw stuff on the mantel until it looks decent enough.)

Holiday Mantel 2013 Nutcrackers and Gold.jpg

I sure hope nutcrackers are friendly.  We have a whole army of them and I'm pretty sure they might murder us in our sleep some night.  These are the things that run through my head.  Totally rational thoughts. 

holiday mantel nutcracker.jpg
Holiday 2013 Mantel

I whipped up some elf stockings. I really liked the burlap stockings that I made last year.  Turns out that burlap makes Nate and I feel all icky. I couldn't risk death by burlap AND nutcrackers.  Safety first.

I'm kind of obsessed with the elf stocking look.  They are quirky.  I might put together a tutorial for these if I get my act together.   So probably not.

I also made some wood bead garland.  It was super easy.  Ike helped me make it.  Seriously. I might do a post on that too.

Holiday Mantel Elf Stockings.jpg
Holiday mantel elf stocking.jpg

We bought real garland this year.  We have artificial trees so this gives us that glorious tree smell.  Mmmm, tree.

Holiday 2013 Mantel 1.jpg

It also makes a giant mess.

Worth it.

Holiday Mantel.  Gold and nutcrackers..jpg

Check out our mantels circa 2011 and 2012.  

Linking up to Our Fifth House and Ten June!

Be sure to share your Dare to DIY entertaining project with us today!

What's your mantel looking like this year?  Anyone else terrified of being murdered by holiday decorations?

***Pssst. Looking for a holiday gift idea?  There are few flannel infinity scarves left in the shop!***  


Photobucket Photobucket Photobucket PhotobucketPhotobucketPhotobucketfollow us in feedly

DIY Dining Cart Reveal

Find the complete tutorial here!

The following is the birth story of our dining cart.  The world loves birth stories.  Luckily this one doesn't contain the words uterus or vagina.  Wait.  It does now.  Crap.

Me:  "Hey, Nate.  Want to build some open shelves for the dining room?"

Nate:  "Whatever."

One week later.

Nate:  "How big do you want these open shelves?"

Me: "Well, it kind of depends on the size of the cabinet that will go below them.  Want to build one?  Or how about something like this one from Restoration Hardware but smaller?  I saw it the other day and I kind of fell in love."

Nate: "Whatever."  Heads to office to whip up a dining cart in Sketch-Up.

A trip to Lowe's and a few hours later, our precious dining cart arrived into the world.

DIY Dining Cart 3.jpg

She's beautiful, isn't she?  

We were hoping our bundle of joy would be just the right amount of rustic and industrial.  Modern enough to keep Nate happy.  Vintage enough to keep me happy.  She didn't disappoint.

DIY Dining Cart 2.jpg

We didn't photograph the shelves without my beautiful Pyrex but you can sort of see the fancy breadbox work Nate did on the ends.  He far exceeded my expectations on this project.  He's a keeper.  (I have to say that since he's the father of my newest addition.)

This cart has some unique touches.  We used a metal bracket on the end.  (The cheap ones from any home improvement store.)  We used upholstery tacks to fill in the holes.  We used black spray paint and beat it up a little to give it an aged look.

DIY Dining Cart Corner

The wheels were $4.99 a piece on Amazon.  They got the same spray paint and a beating treatment.

DIY Dining Cart wheel.jpg

Please don't mind the dirty floor.  We were busy creating.

Threaded black iron caps were used on the ends of the pipes running along the back.

DIY Dining Cart knob.jpg

The whole thing was finished like our farmhouse table.  We used the same stain (Rustoleum's Wood Stain in Weathered Grey).  

It coordinates lovely with our farmhouse table.

DIY Dining Cart in Room
DIY dining cart. Unique furniture build!

So, the whole open shelf idea turned into something different.  Now I'm working on a big ol' piece of art to hang above the dining cart.  And probably one hundred million other things because that's my thing.

We'll have a tutorial in the next week or so (Update: Find the tutorial here.).  If the blog doesn't get eaten by holiday posts.