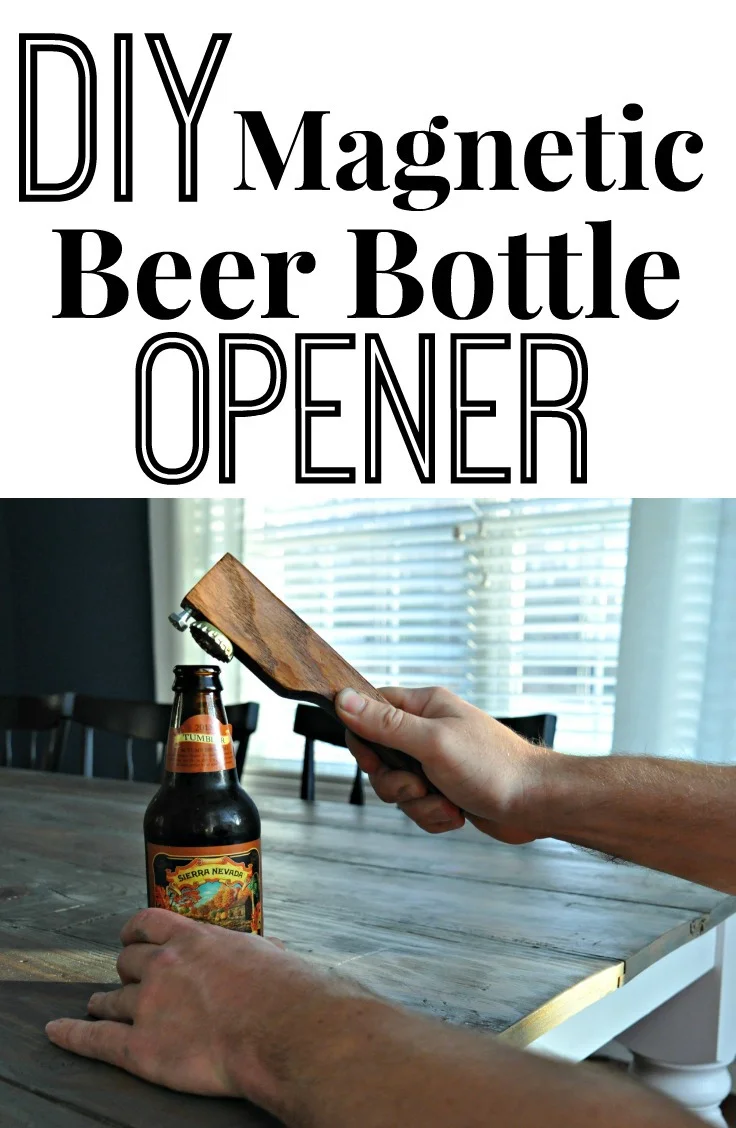
Beer Bottle Opener {DIY, Tutorial}
/This post is for the dudes that read Decor and the Dog. (Hey, John and Nick! And baby brother.)
Or the root beer in a bottle drinking crowd.
I mentioned that we hosted a beer tasting the weekend before last. We aren't big on special party touches (we don't really do the hosting thing well) but we use hosting as an excuse to get things done around the house. Nate had been wanting to make a beer opener (which is clearly as important as our living room built-ins). He totally got that done.
Want to make your own fancy wooden beer opener? This would make a great holiday gift for the dudes in your life. Pair it with a six pack or two. Gift complete.
It's also easy enough that I can make it without an ER trip. #winning
Materials
- One 1"x2" board (We bought a 2' Red Oak board.)
- 1 1/4" lag screw
- 1/2" magnet
- Stain/Poly
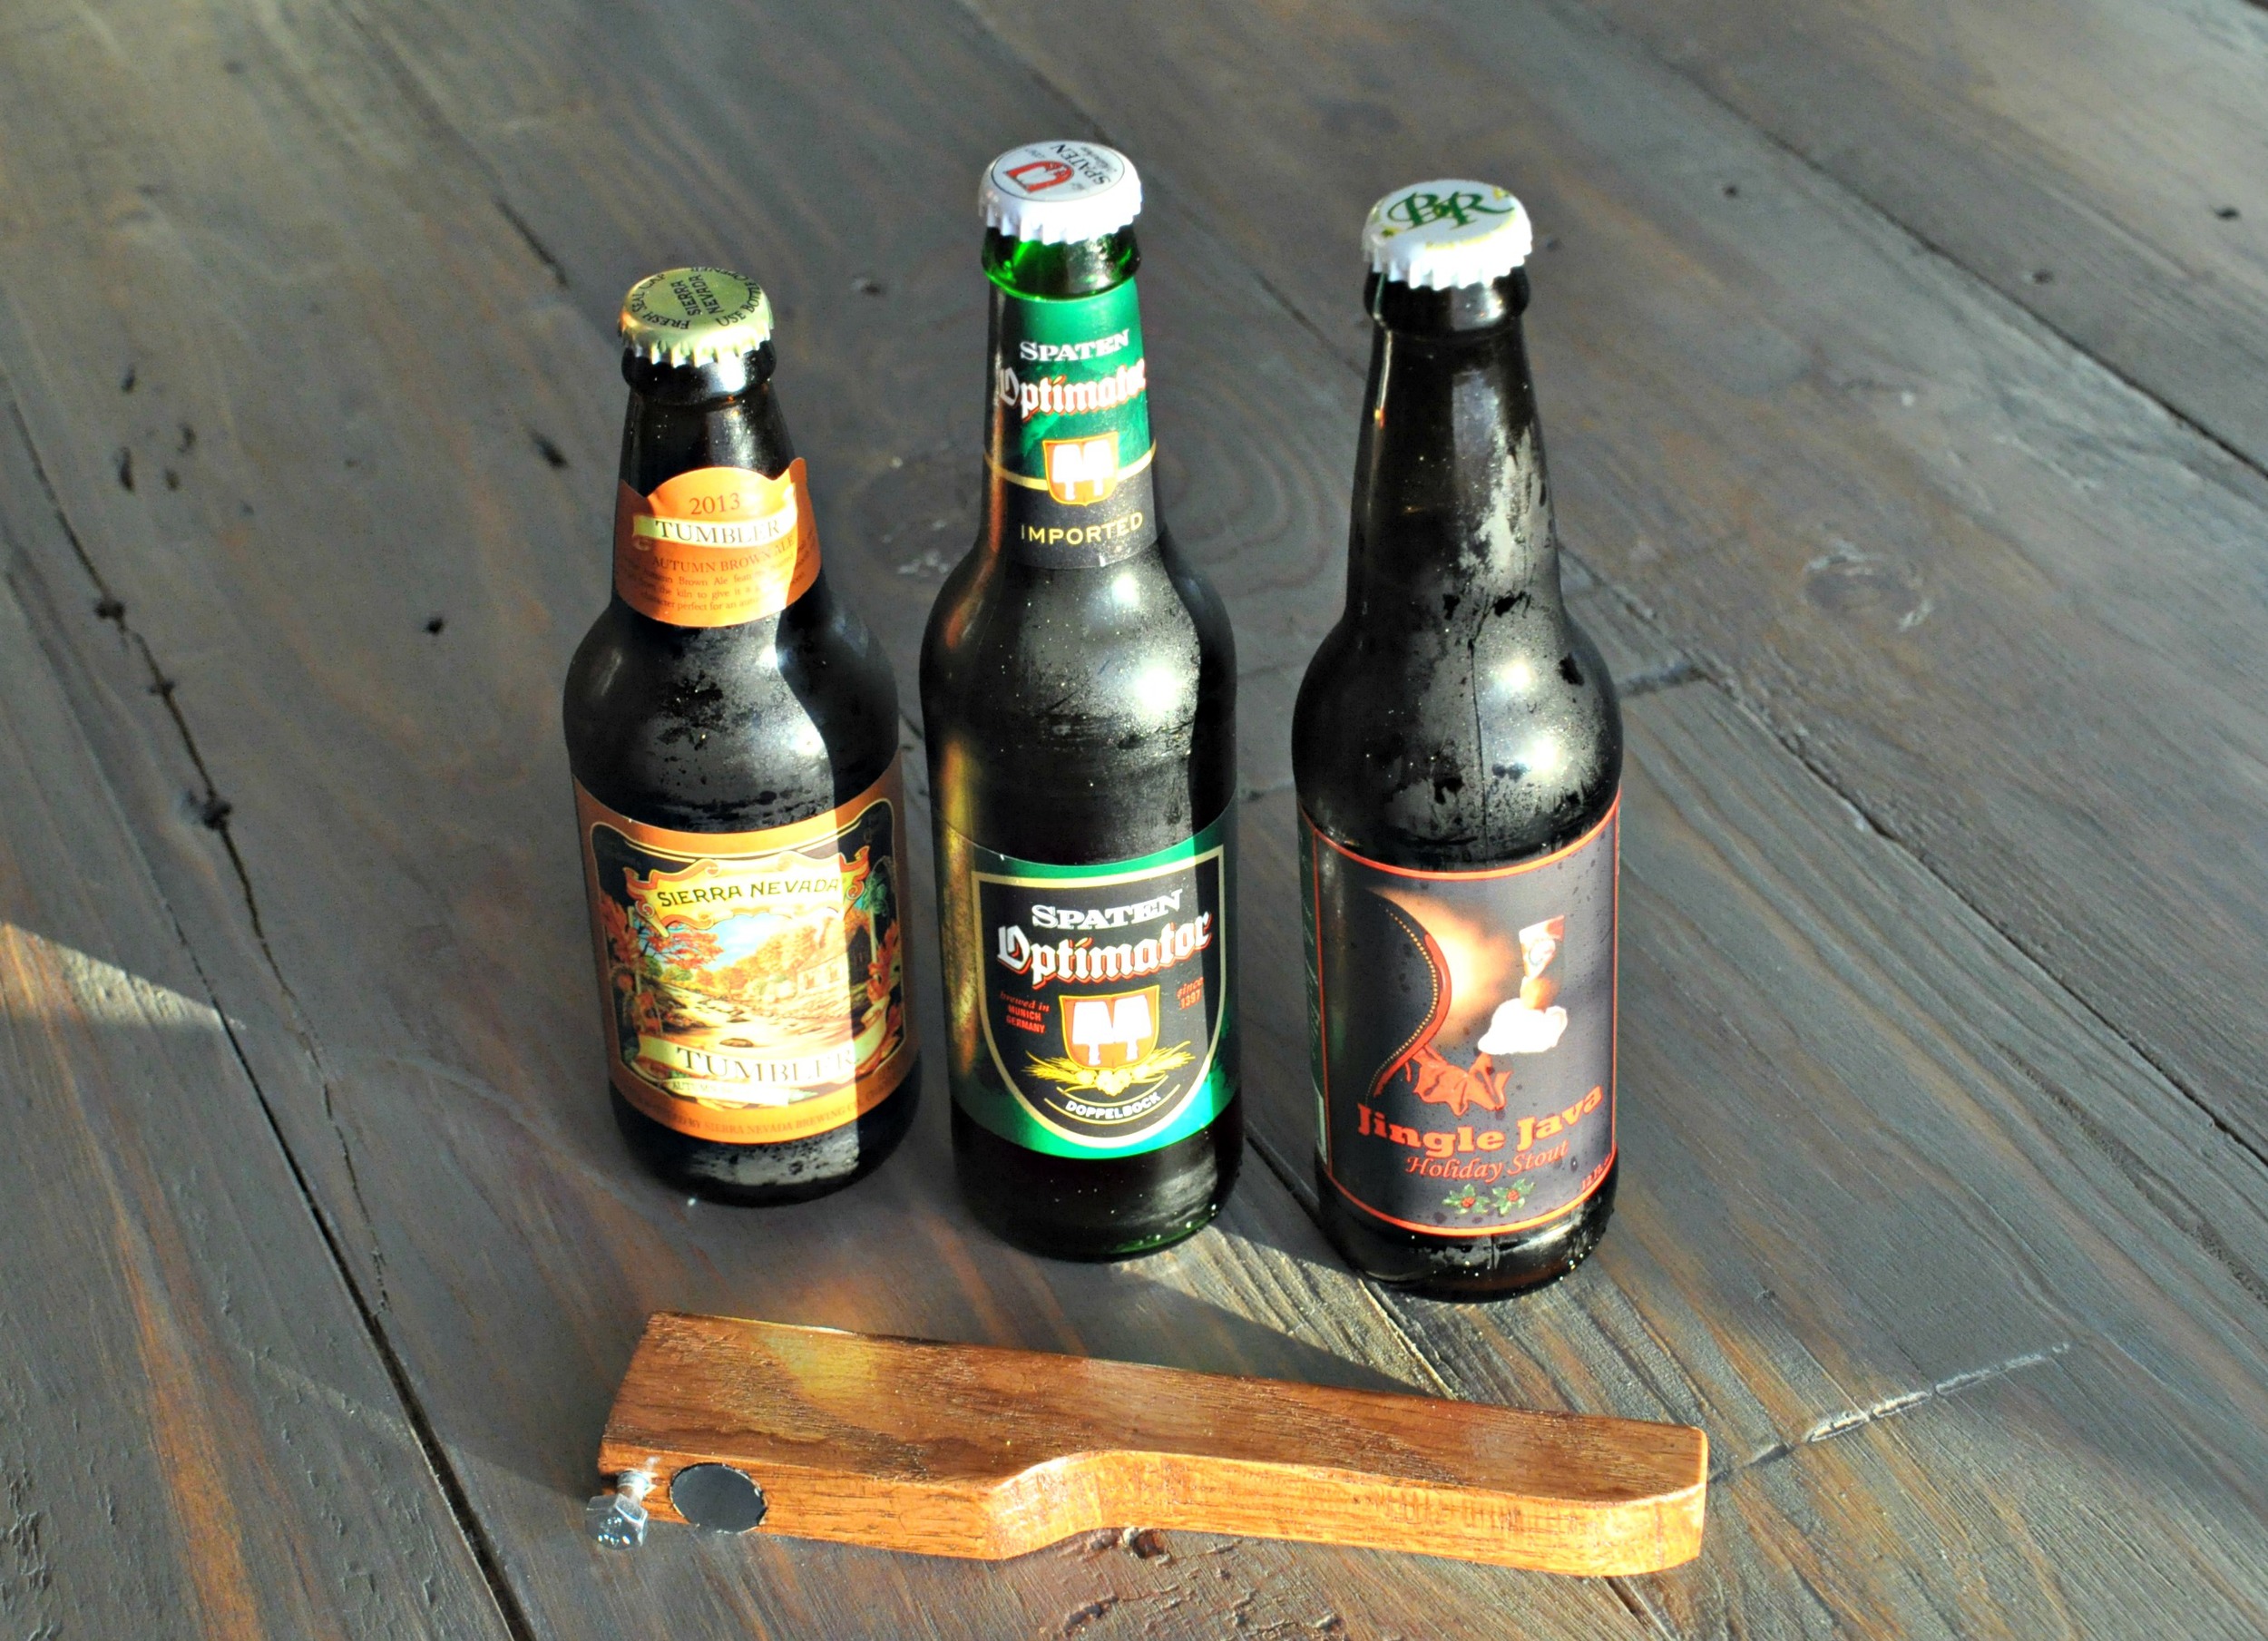
- Beer
Instructions
Step 1: Cut the board to 8 inches long. Sketch out handle. (See pencil mark below.)

Step 2: Use a scroll saw to cut on drawn line. Sand smooth.

Step 3: Using a 1/2" drill bit, place the magnet on the bit. Mark with painter's tape to get the depth of the magnet.

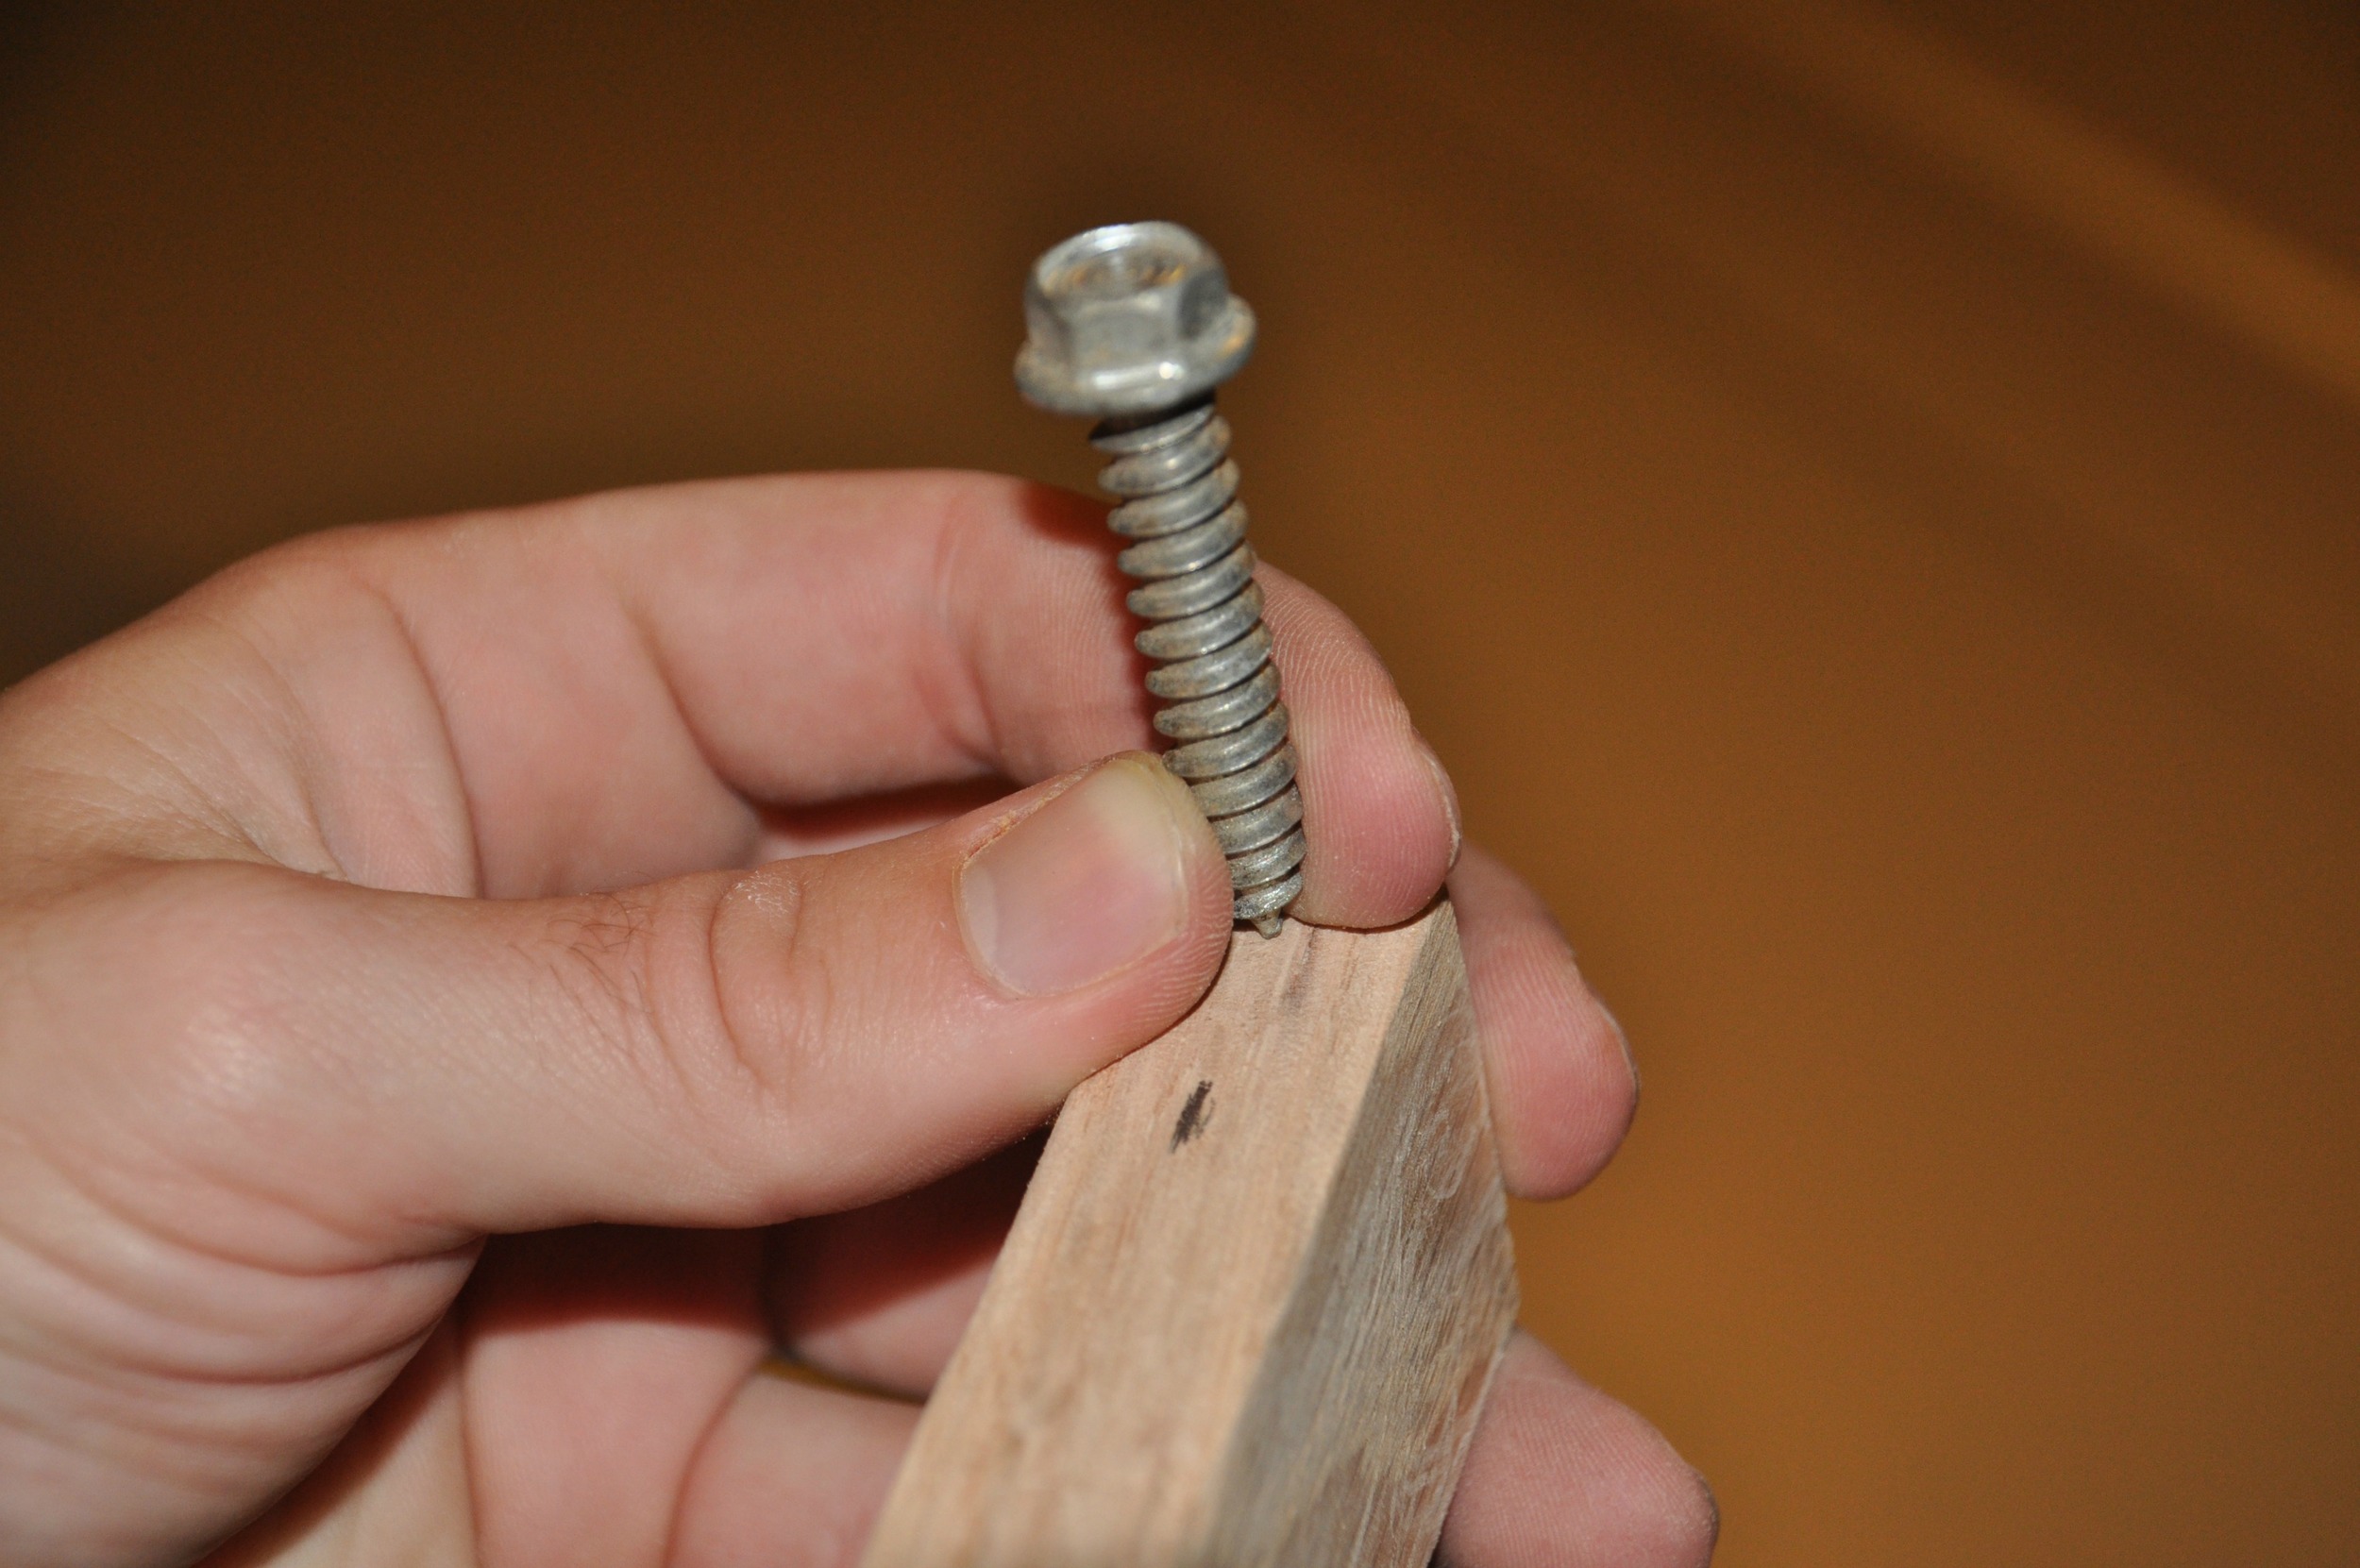
Step 4: Hold the screw on the end to help determine the best placement for the magnet. Place a mark in the middle of the board to help guide where you will drill/place the magnet.
Step 5: Drill the hole for the magnet. Try to make yours more centered than ours. Womp. Womp.

Step 6: Drill pilot hole for screw.
Step 7: Stain/poly
Step 8: Hammer the magnet into drilled hole. Screw lag screw in leaving the depth as thick as most beer bottle caps. (Ours has a 1/2" gap between the wood and bottom of the bolt.)

Step 9: Open beer! Look at the beer cap stick to the magnet. FANCY!!!

Step 10: Host a beer tasting. And open ALL OF THE BEERS.

Like this beer opener? Be sure to check out our beer tasting flight carrier! (Also a great gift idea!)
Any thoughts on beer gifts for the dudes in your lives?