Rustic Farmhouse Dining Table
/Say "hello" to our new dining room table and chairs. (Finally. Am I right?)
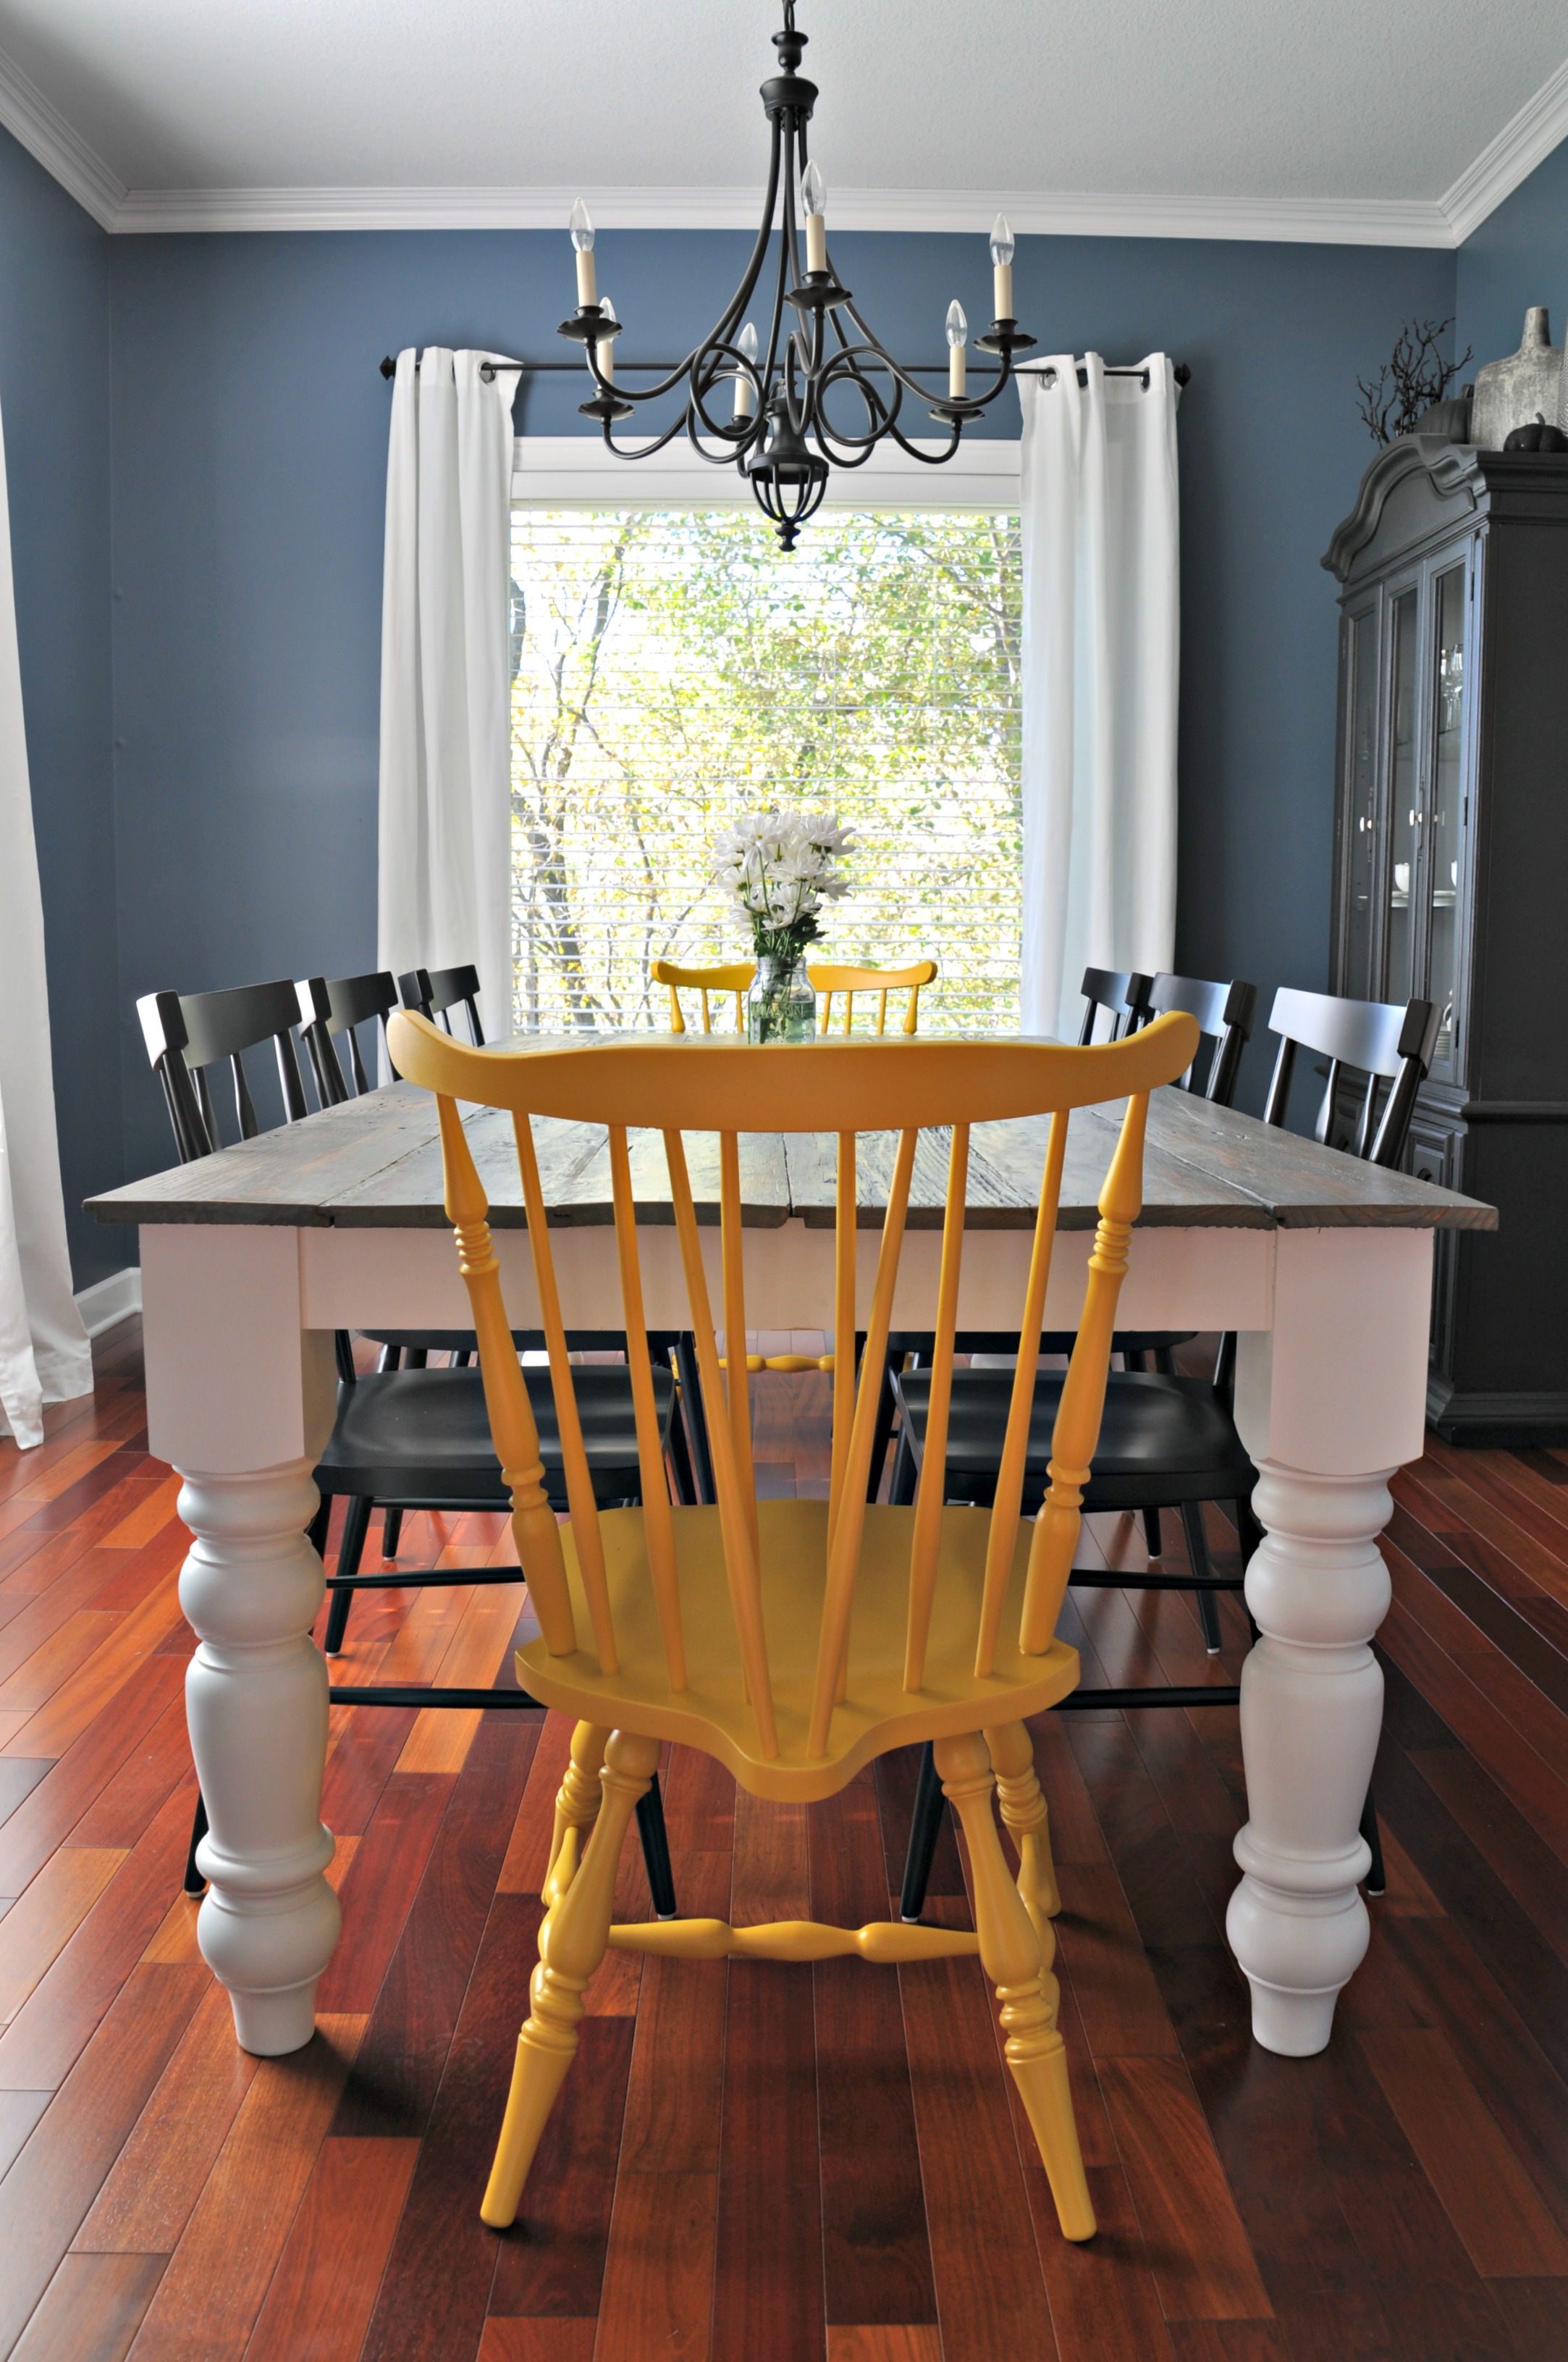
I love how happy the room is now. It's no longer a stuffy formal dining room.

We hosted a beer tasting party on Saturday night and the table worked out beautifully. I'm pretty particular and I was always worried about our old dining table getting scratched. I would have been hyperventilating in the corner as beer rings were added to the table top. Instead I was able to enjoy my Moscow Mules in peace and enjoy the party. Scratches don't matter. Beer rings wipe right up. All is right in my OCD world.

Having seating for eight versus six was pretty awesome too.
The yellow made me a bit nervous at first. (COLOR IS SO SCARY!) I think it's the yellow chairs that add that extra bit of fun that the room needs.


A random daisies in Mason jar photo because daisies and Mason jars make the world a better place.

Like always, one new project leads to another new project. We are going to replace the hutch with a smaller cabinet with open shelving above it. I love the hutch but Nate and I both feel it's making the room a little stuffier/heavier than we want it. I'm excited for open shelving to display my ever growing Pyrex collection. It'll be a great way to add some more color to the room as well. Who am I?

We'll have a full tutorial (including materials list) later this week! Unless I flake. ;)
Here are links to past dining room post!
- Full Tutorial here!!!
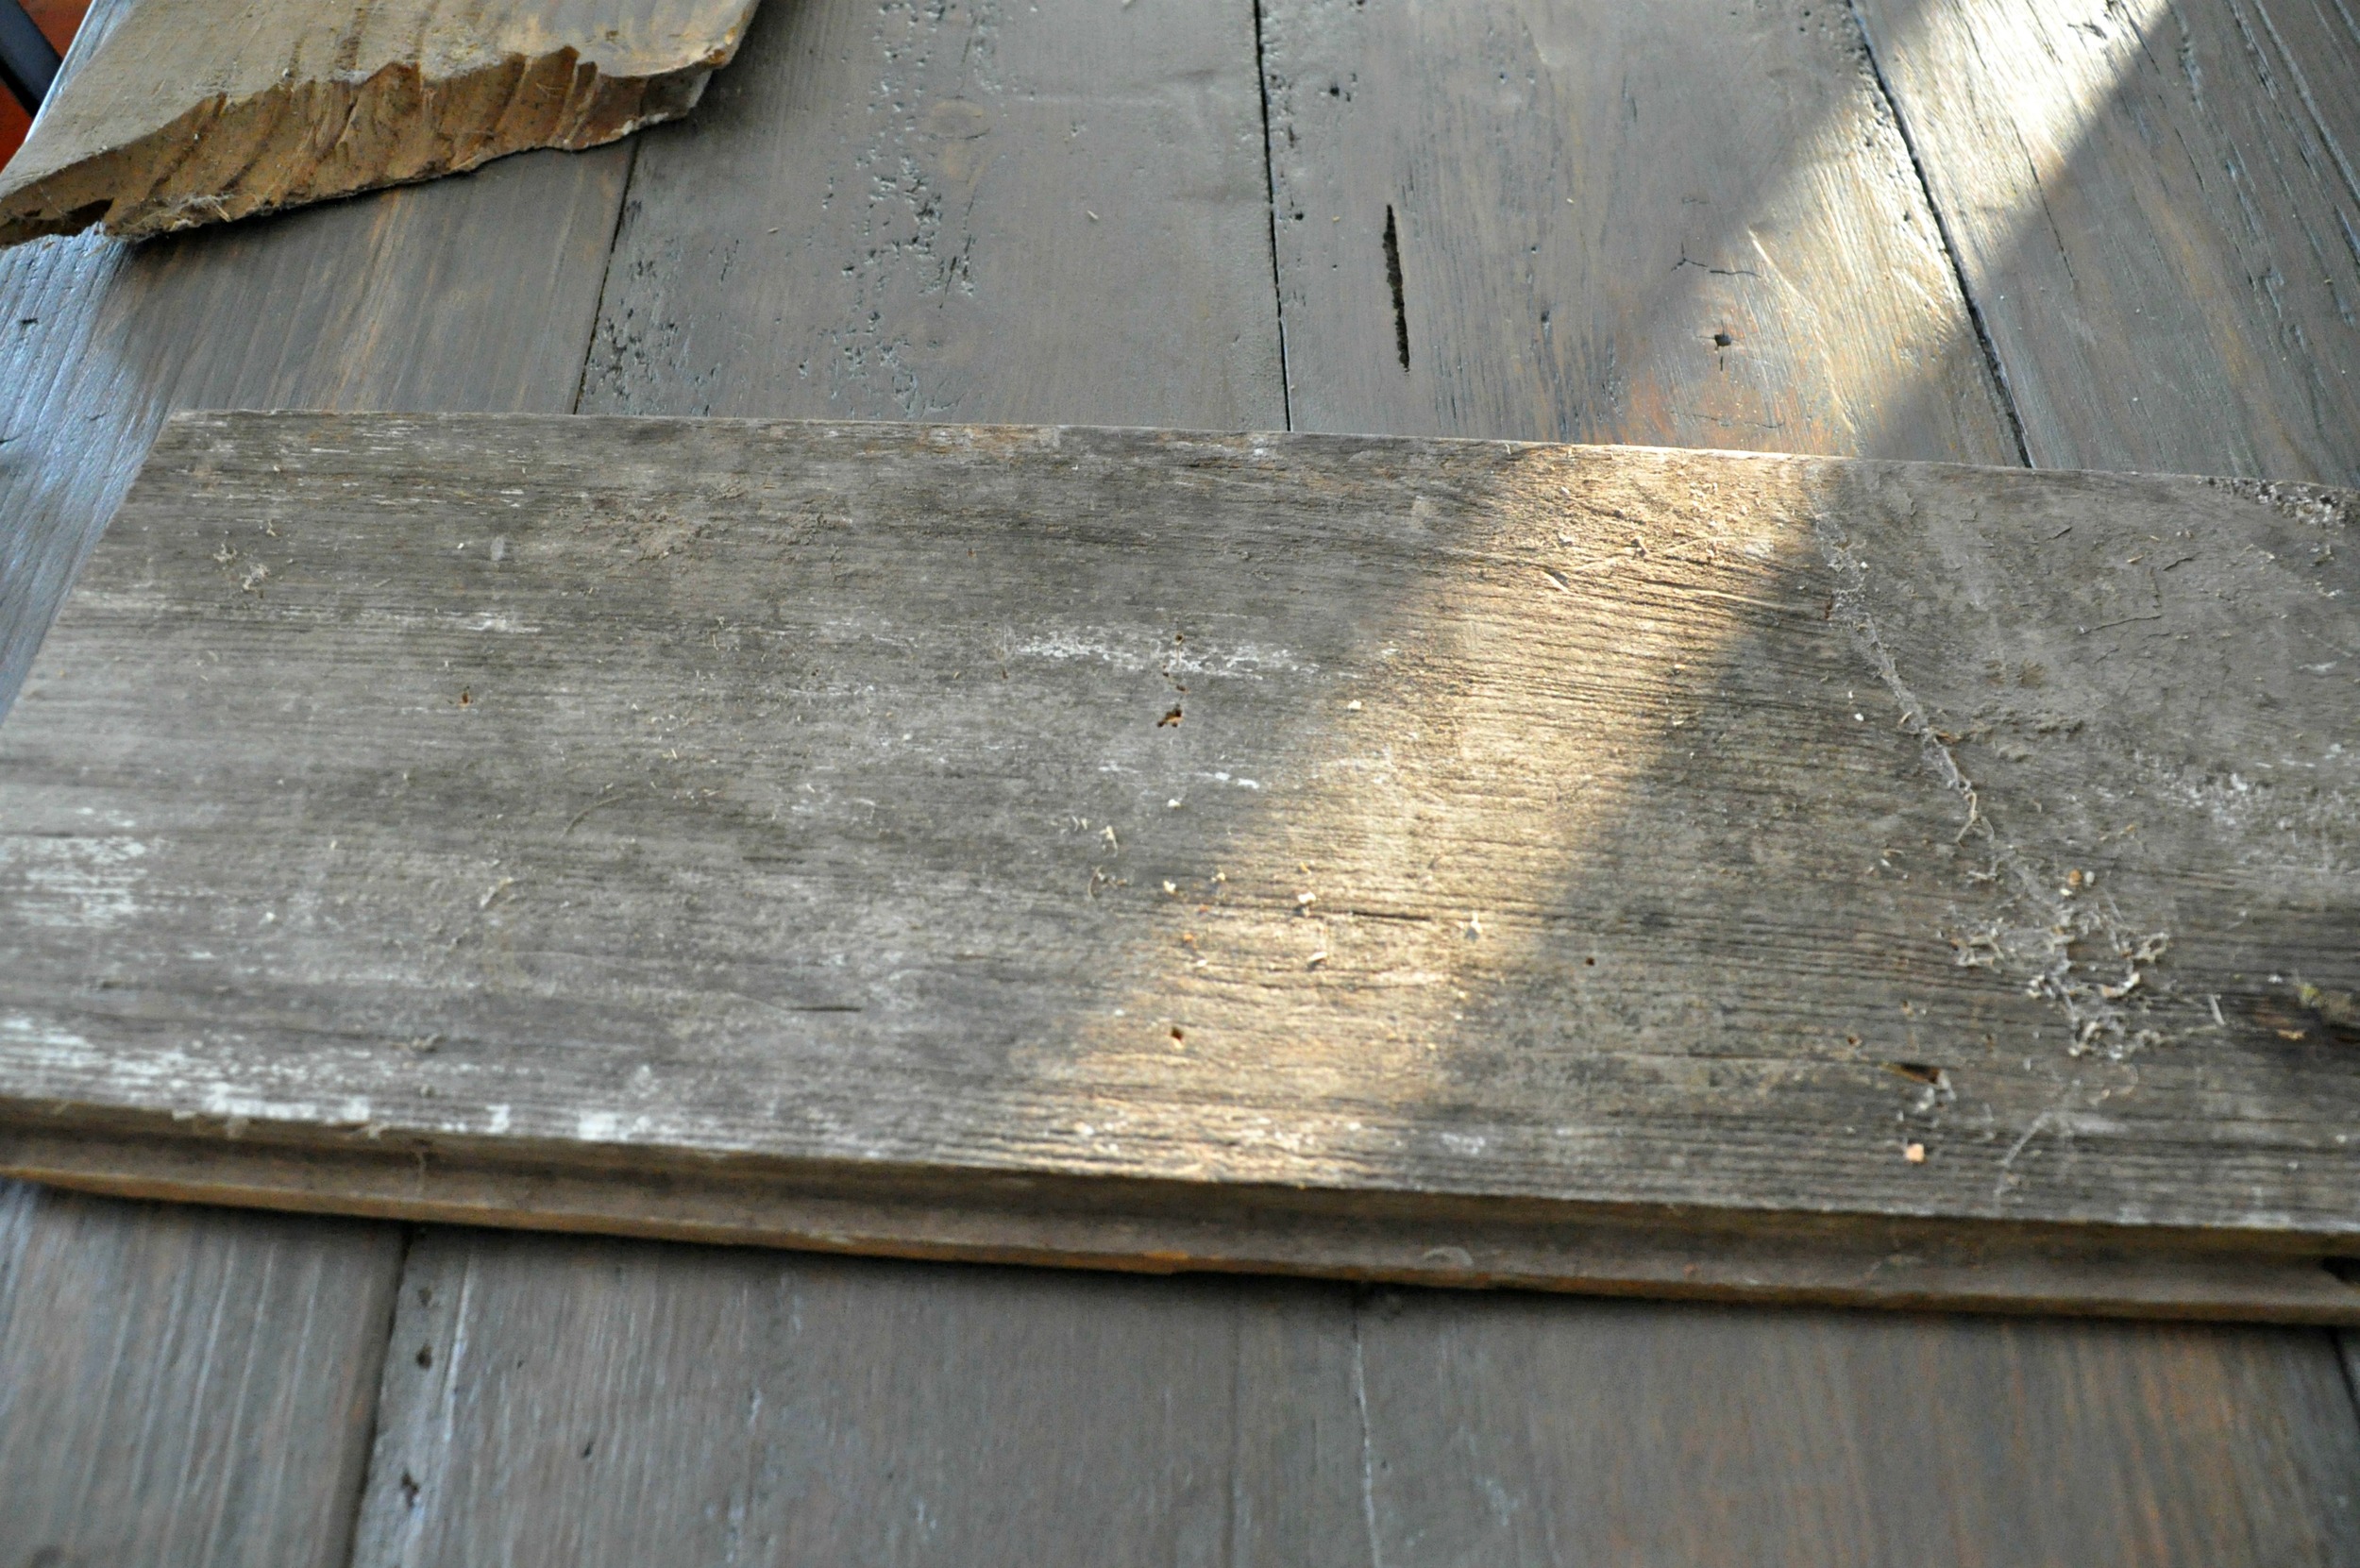
- How to Finish a Farmhouse Table
- Picking table legs
- How to Paint Chairs (our yellow ones!)
- Picking Dining Room Chair (our black ones!)
Are you a farmhouse table fan? Who's pumped for open shelving?
Linking up to: Thrifty Decor Chick