Quick and Easy Craft #4- Sharpie Mugs

While I am soaking up the rays in Florida (while wearing SPF 50 and a big floppy hat), I will leave you with 4 days worth of quick and easy crafts. You may have seen some of them multiple times. Some may be new. All with be easy, fairly quick and inexpensive ways to entertain your friends. Enjoy!

I’ve been wanting to try that project that I have seen on Pinterest 1 million times where you write with Sharpie on some piece of dinnerware and then bake it.  What better time than with friends. 

This may be the world’s easiest project.

Materials Needed:

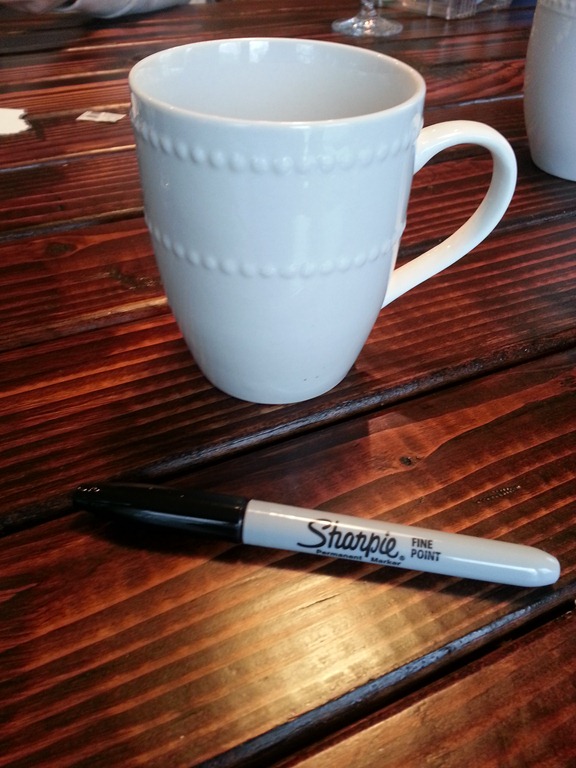
  • Dollar store mug.
  • Sharpie
  • Oven

20130419_161408

Step 1.  Write something witty in your very best handwriting. 

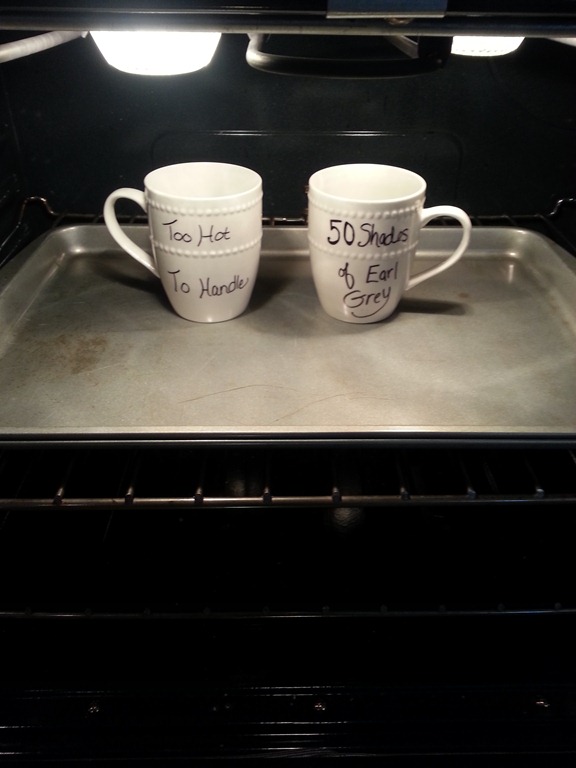
Step 2.  Heat in 350 degree oven for 30 minutes to set the Sharpie.

20130419_161820

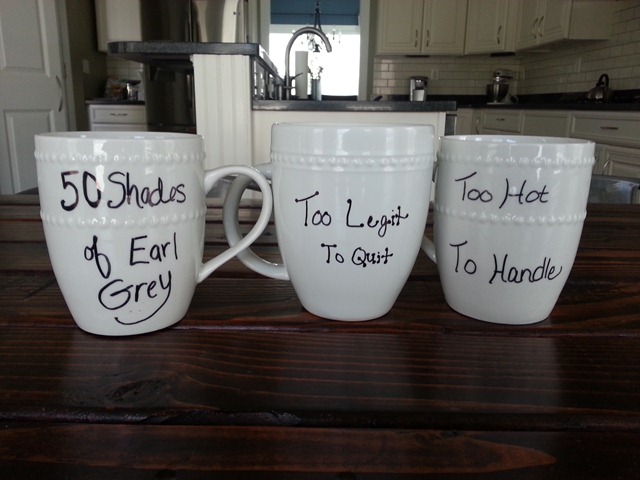
Step 3.  Enjoy your witty mugs.

20130420_135326

We think we are funny. 

Have you participated in the Sharpie dinnerware craze?  What saying do you want on a mug?

Quick and Easy Craft #3- Freezer Paper Stencil Tote Bag

While I am soaking up the rays in Florida (while wearing SPF 50 and a big floppy hat), I will leave you with 4 days worth of quick and easy crafts. You may have seen some of them multiple times. Some may be new. All with be easy, fairly quick and inexpensive ways to entertain your friends. Enjoy!

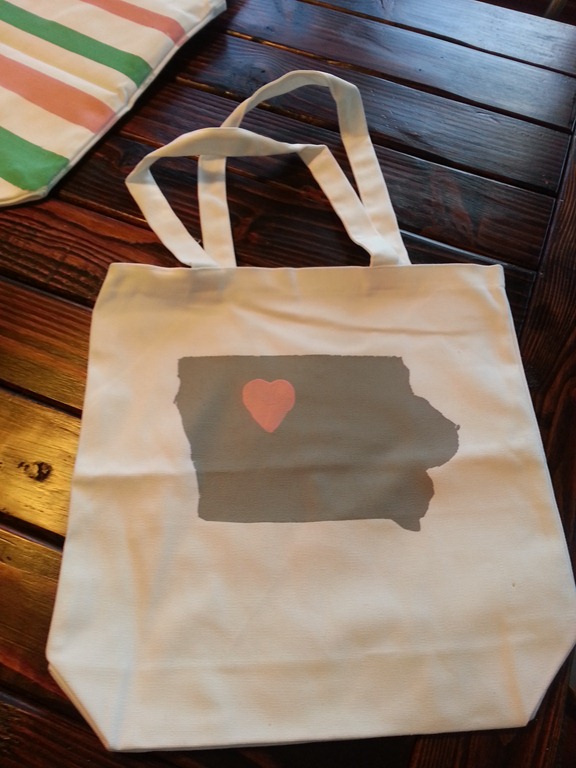
You know what stinks.  When you turn your supposedly non-crafty friends into better crafters than yourself.  I created monsters.  Our next adventure in crafting was using freezer paper as a stencil for tote bags.  I’ve had the freezer paper forever but I had been afraid to use it.  My newly created craft monsters were all over it.

Freezer Paper Stenciled Tote Bag

Materials Needed:

  • Tote 
  • Fabric paint or acrylic paint/fabric medium 
  • Freezer Paper 
  • Iron 
  • Paint Brush 
  • Cardboard

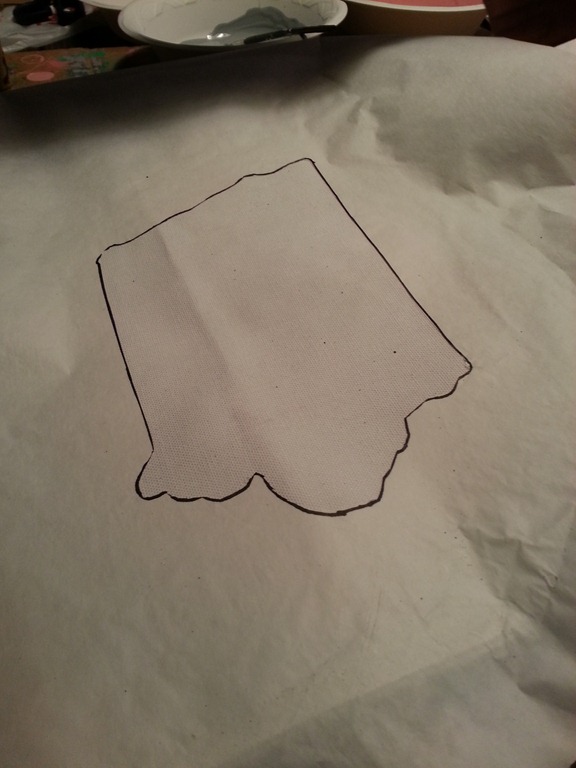
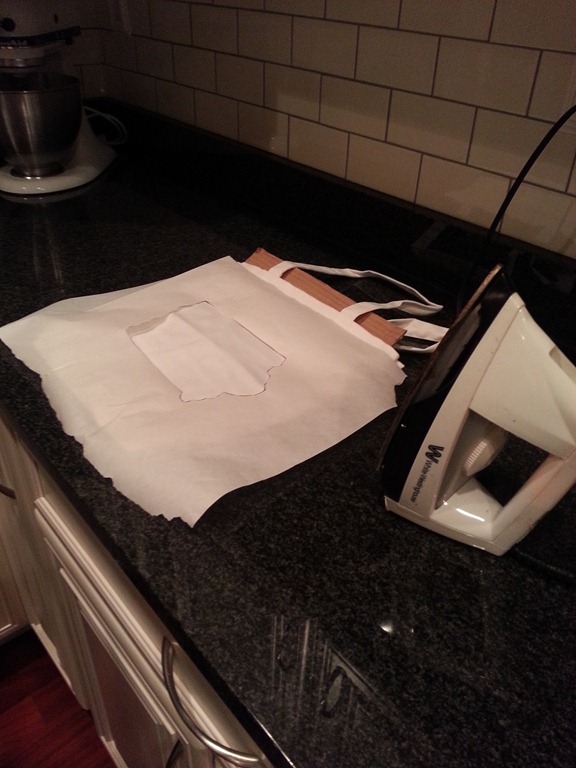
Start by tracing and/or drawing the design you want onto freezer paper with the shiny side down.  Cut out your design.  We used scissors.  (And Exacto knife would be awesome too.)  Iron the freezer paper to your tote (shiny side down).  Pay special attention to the edges.  We found that the freezer paper stuck best if you let the iron rest on it for about 5-10 seconds.

20130419_211929
20130419_205344

Stick a piece of cardboard inside the tote so it doesn’t bleed through.

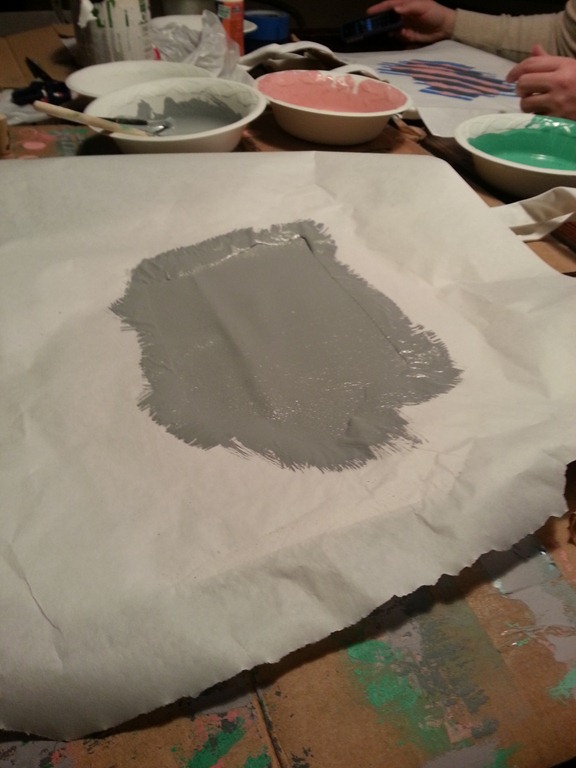
Now it’s time to paint.  My friend, Melissa, choose to stick with one solid color.

20130419_212124

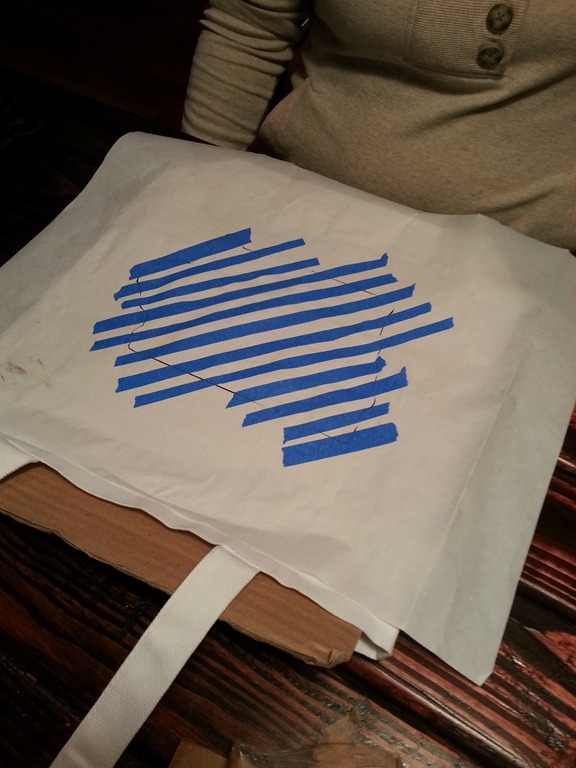
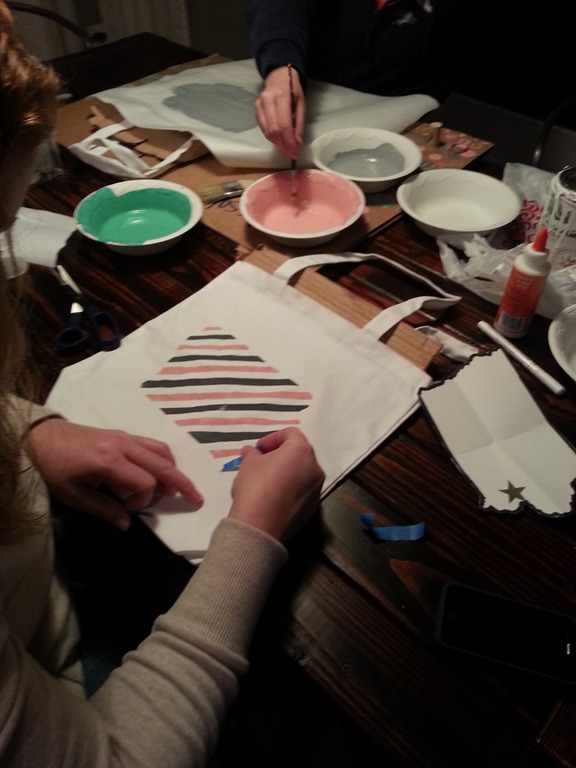
Amanda went wild with stripes.  (I really should have busted out the real camera.)

20130419_210342

Every tutorial I read using freezer paper recommends leaving it on for an hour.  The three of us combined have about 8 minutes worth of patience.  And that is precisely how long the freezer paper stayed on the tote bags.  The both turned out great.  I wish I would have grabbed a better picture of Amanda’s because the stripes were so cool.

20130419_212441

I totally almost stole Melissa’s.  It’s just too cute.  (Mine is the striped one in the corner. Boring.)  I really like how the stencil paper turned out and I’ll be making one for myself very soon!  I think they’d be great farmer’s market or beach totes!

20130420_095005
Freezer Paper Stencil Tote Bag.jpg

Have you tried using freezer paper for stenciling before?


Photobucket Photobucket Photobucket Photobucket PhotobucketPhotobucketfollow us in feedly

Quick and Easy Craft #2- Home Sweet Home Sprinkle Art

While I am soaking up the rays in Florida (while wearing SPF 50 and a big floppy hat), I will leave you with 4 days worth of quick and easy crafts. You may have seen some of them multiple times. Some may be new. All with be easy, fairly quick and inexpensive ways to entertain your friends. Enjoy!

I have a secret for you.  In order to get your supposedly non-crafty friends pumped about crafting, you need to start with a ridiculously easy (yet super cute) craft.  It will get them all encouraged and loving paint and glue.  Trust me.

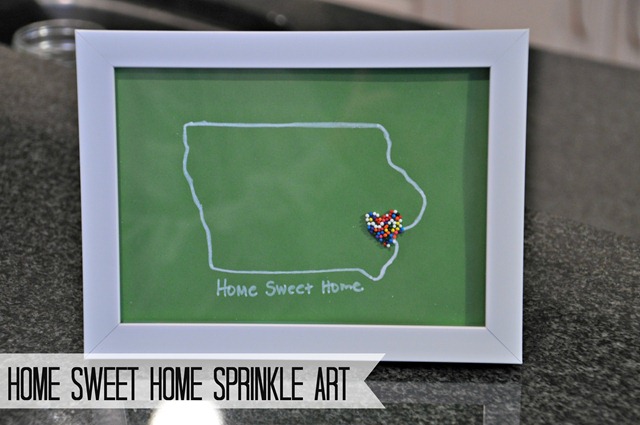
I started my best buds out with a little “Home Sweet Home” art that I had been wanting to try. 

Home Sweet Home Sprinkle Art

Materials needed:

  • Cardstock
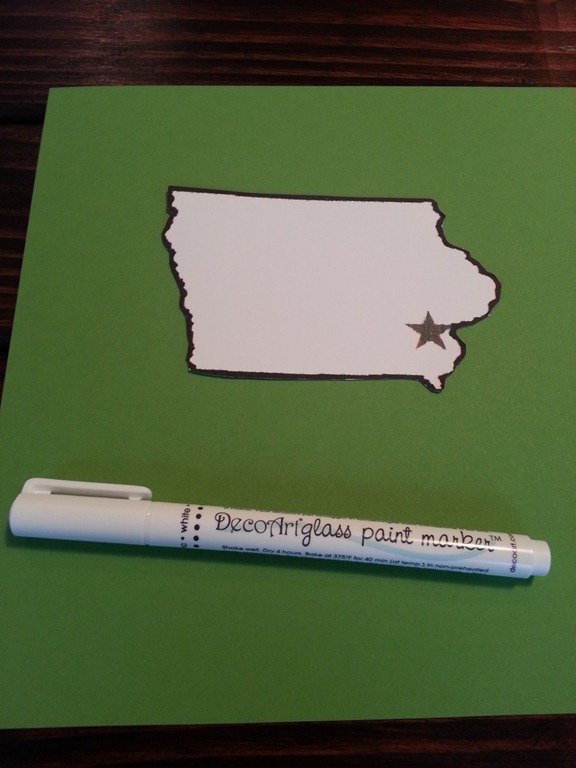
  • White marker (We used a paint pen.)
  • Printed copy of your state
  • Glue
  • Sprinkles

20130419_155749

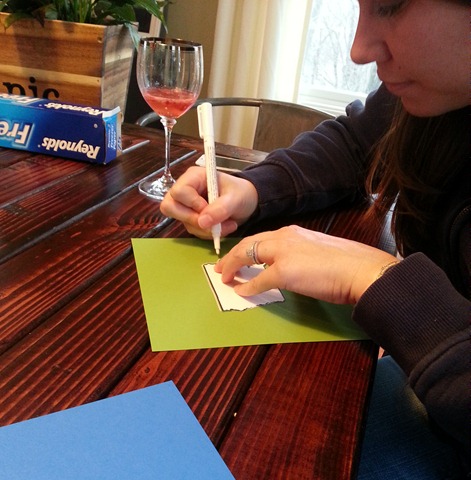
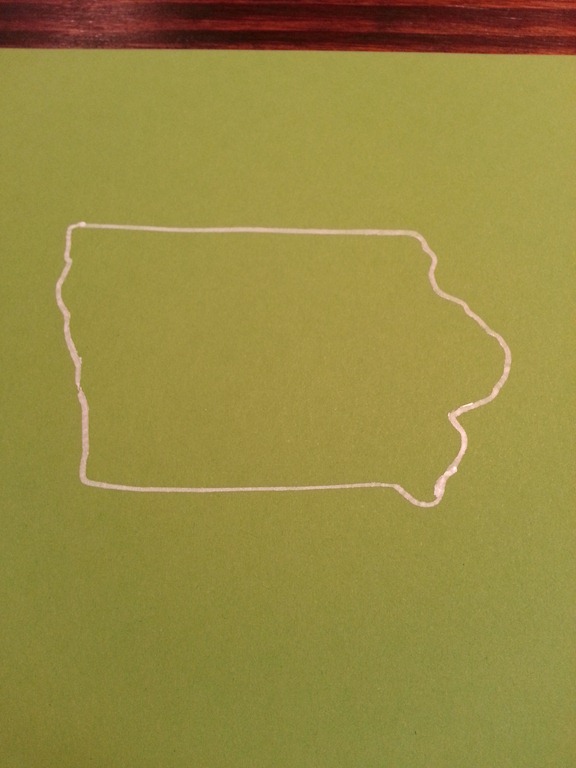
Center your copy of your state on the cardstock.  Trace with the white pen.  We were cursing Iowa’s river borders but probably not as much as those city workers trying to protect downtown Davenport from flooding.  Wait, we were probably worse.

20130419_155934

20130419_155915

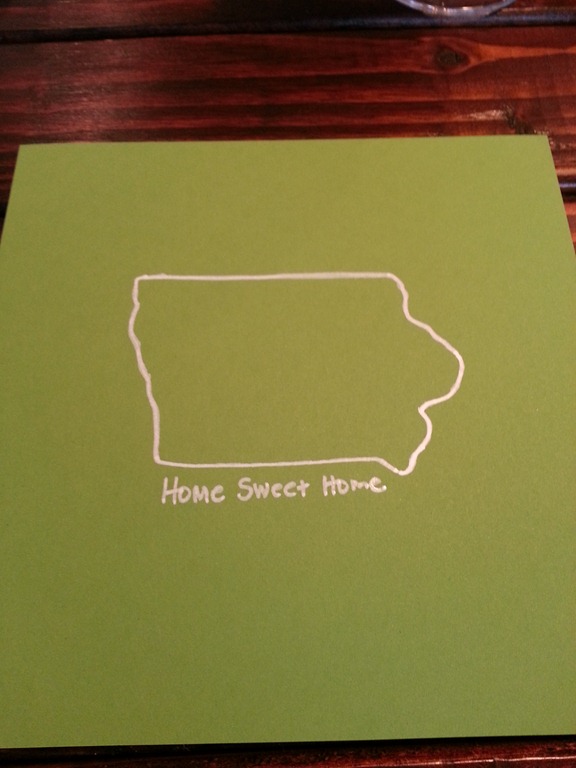
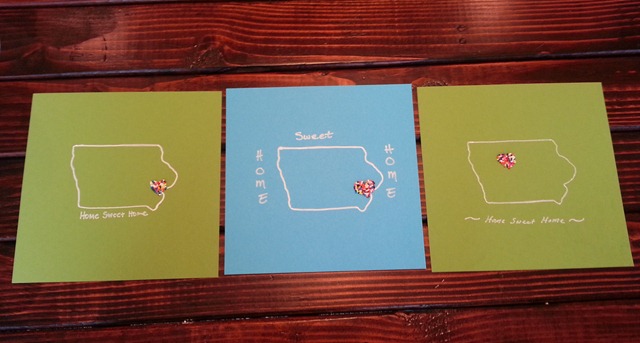
Add your “Home Sweet Home” saying wherever you would like.  We all choose different locations. I also like that this craft uses your own handwriting.  It’s like a little time capsule.  Sort of. It sounds good.

20130419_160329

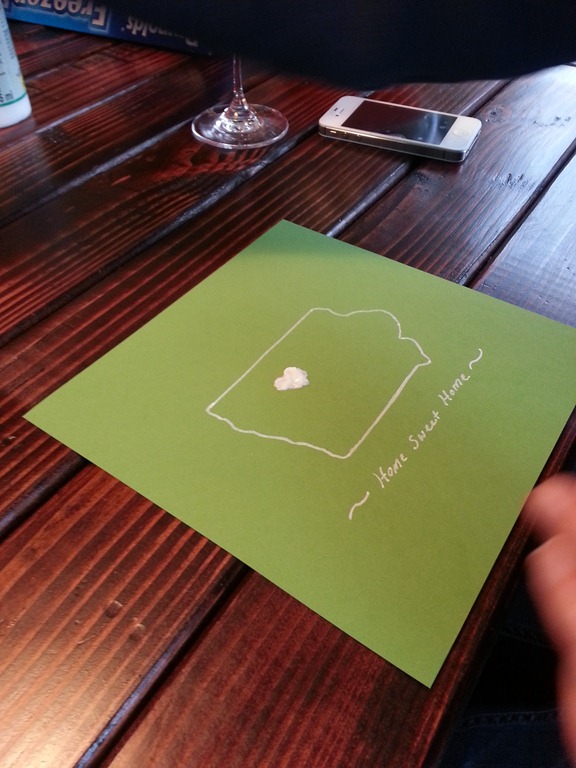
Make a heart in your favorite location using glue.

20130419_160804

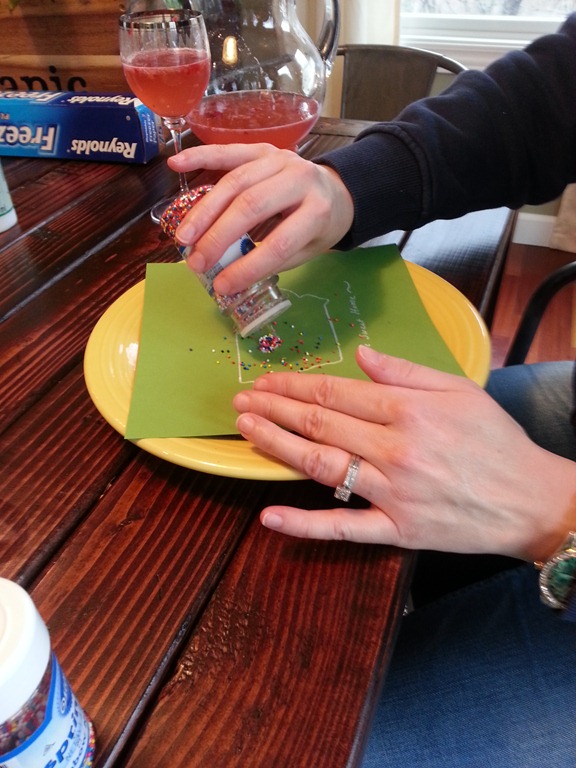
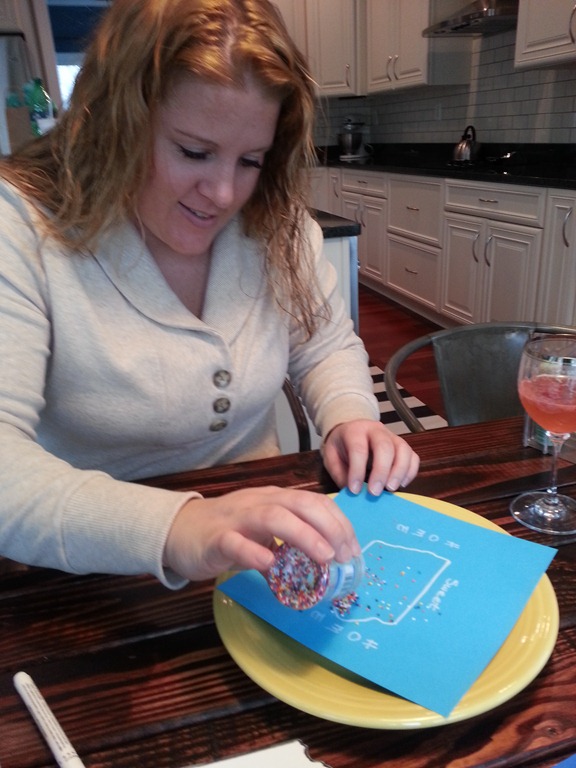
Dump sprinkles on the wet glue.  This was the most fun part. I just love sprinkles.

20130419_160818

20130419_160900

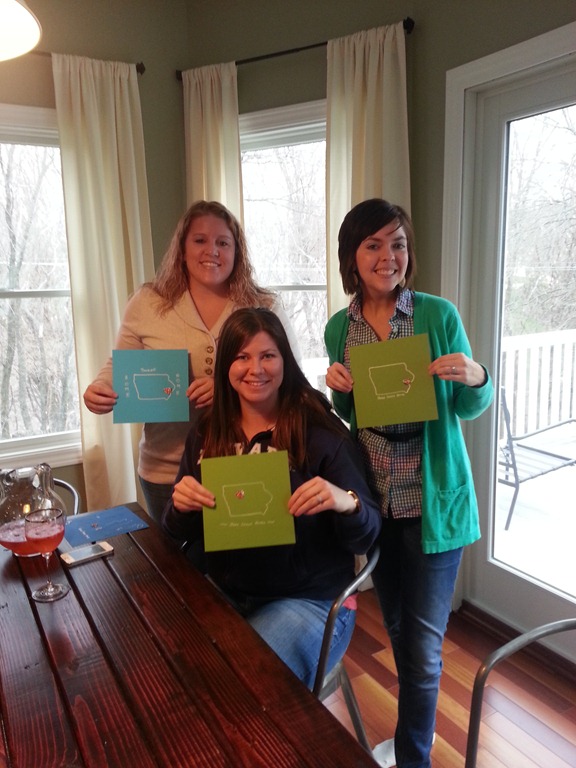
Bam.  You’re done.  Your friends think they are crafting masterminds.

20130419_161040 

20130419_160954

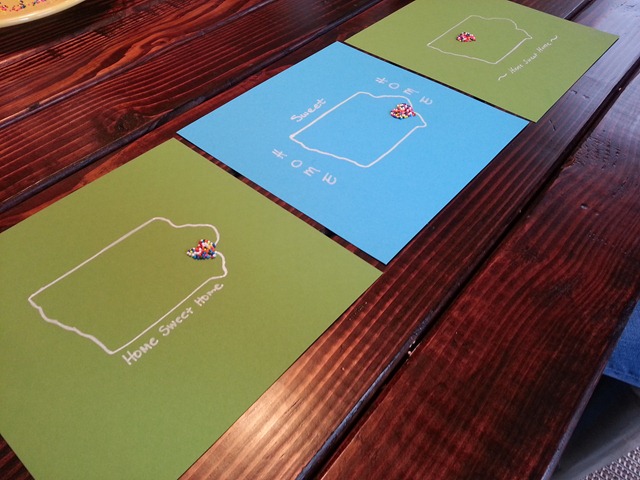
I really like how we each did our own take on a super simple project.

20130419_160958

Frame that baby.  Super cute and simple art.  Crating for the win.