Craft Room Sewing Table Tutorial

On Monday, I posted the reveal of my new sewing table.  Today I’d like to share with you a tutorial so you can build your very own.

DIY Craft Room Table Sewing Table

Nate wrote the tutorial.  During tax season.  I tried to translate the directions to English.  But I fell asleep.  I wish you luck.  (This tutorial explains why I write and Nate takes photos.  You’ll see.)

(This tutorial is based off a plan from Ana White.)

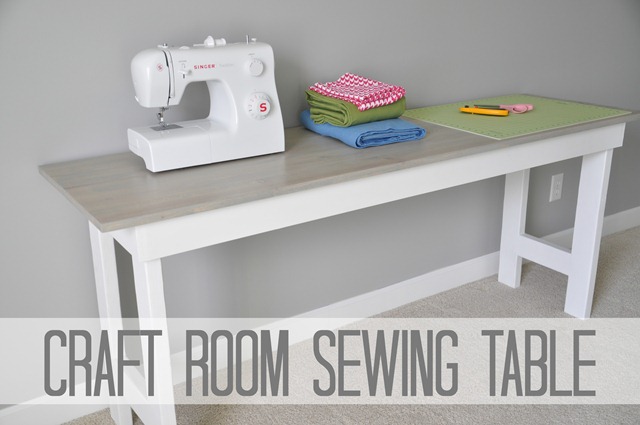
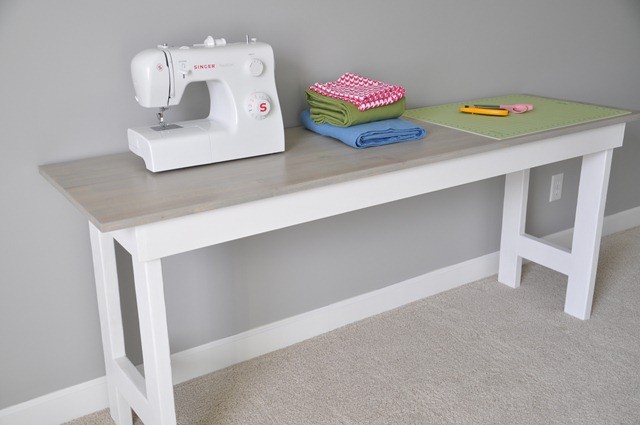
The dimensions for this table are 20”x72”.  The perfect length for a sewing machine and some room to cut.

You will need to purchase:

*affiliate links included

From your supplies you will need to cut:

  • 2 - 64.5" 1x4
  • 2 - 18" 1x4
  • 4 - 29.25" 2x4
  • 2 - 9.5" 2x4
  • 3 - 16.5" 2x2

Start by drilling 2 pocket holes into the ends of the 64.5" 1x4 boards.  Using a square, attach the long 1x4's (64.5”) into the short 1x4's (18”) using wood glue and 1.25" pocket hole screws.   (The Kreg pocket hole drill will include directions on how to do this.)

Craft Table Bottom Edge

Make sure each corner is as square as possible.  I found that I thought it was not going to turn out square but when the center supports were added, it really squared it up.

222

Mark 16.5" on the each side of the long (64.5”) boards. Then mark 16.5" from those points 2 more times for the center supports. (Michelle translation: You will add a total of 3 support boards 16.5” apart.) Drill pocket holes on each side of the center supports and attach the 16.5” boards with wood glue and 1.25" pocket hole screws. 

Craft Table Center Supports
229

Place each 29.5” 2x4 boards one by one on the inside corners. Attach with wood glue and 2" screws.  Drill pilot holes with a drill bit slightly smaller than the diameter of the screws.  I found it easier to keep the board where I wanted by using a couple of clamps on the boards.  I used 4 screws in each board for stability.

Craft Table Legs
226

Mark 6" up from the bottom of the legs (29.5” boards) and drill 2 pocket holes in each side of the 9.5" 2x4s.  Using clamps to keep the boards in place, use wood glue and 1.5" pocket hole screws to attach.

Craft Table Leg Supports

Fill in all gaps and the pocket holes in the leg supports with wood filler. Sand well and then fill again as some of the gaps and pocket holes will be too big to fill only once.  Sand again when the filler is dry.  Prime or stain the bottom.

257

Paint or stain and poly the table top.

Once all of the legs and top are dry, drill pocket holes in the outside edge of the 2x4 legs at the top of the table. 

Place the top of the table upside down on the floor onto cardboard (or something else to protect it).  

You will now need to determine where to place the bottom of the table onto the top.  At each corner on the under side of the table top, mark 3" from short edge and 1" from the long edge.  Place wood glue on the top of the legs and supports that will attach to the table top.  Place onto the table top.  Be sure to match the corners of the bottom up with the marks made on the underneath of the table top. 

Using 1.25" pocket hole screws, attach the 2x4 legs to the top. 

Sewing Table 010

On each center support, drill 3 holes, on the outsides and the middle, and use 2" (I don't know if my center supports were slightly bigger because I had to use 2.5" screws. I recommend comparing the size of the screw to the support before drilling.) to secure the top to the supports.

Sewing Table 013
Sewing Table 006

Turn table over, enjoy.

Craft Table
DIY Sewing Table
Sewing Table 087

Bam. Sewing table.  Amazing.  Feel free to ask questions.  I was involved in part of the building process which helped me translate but I’m still not convinced it makes complete sense. 

Now I need to finish this craft room so I have time to actually sew.

Big plans for the week-end?  What are you working on for The Pinterest Challenge?

Linking up to: Home Stories a to z

Pinterest Challenge: Winter 2013 Edition

Last week I received an e-mail from Katie BowerKatie Bower was all like “Hey, Michelle.  Would you be interested in co-hosting the Winter Pinterest Challenge with Sherry and I?” 

Print

I was all like “Eh.  I don’t know, Katie.  My blog schedule is pretty packed.  I don’t know if I have time to squeeze in your silly little challenge that no one participates in.”  (All lies.)

Actually I thought it was some blogger edition of Punk’d.  (Does referencing a cancelled MTV show make me old? Oh, it does?  Okay. Good.)

Turns out that MTV was not involved and I am thrilled to announce I am co-hosting the Pinterest Challege: Winter Edition with Katie (Bower Power), Sherry (Young House Love) and Megan (The Remodeled Life)!

Print

Whoa. Weird, right? Such talented ladies.  I’ve blog stalked Katie and Sherry for years but Megan is new to me.  And I kind of like her a lot already.

Not familiar with the Pinterest Challenge? 

It’s super fun and easy.  Head to your Pinterest board.  Find a project that you can complete in one week.  Get to work. No project is too big or too small.  Projects have no limits.  Get to painting, sewing, gluing, baking, knitting, basket weaving, etc.  It all goes!

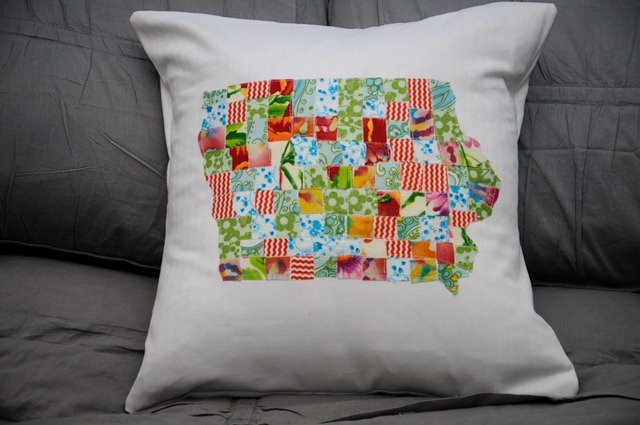
In the past I have taken on small challenges like this scrappy state pillow cover

StateofIowaPillow

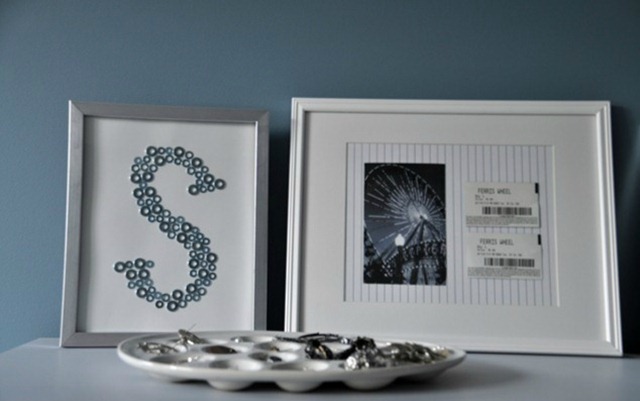
And this washer monogram.

washermonogram

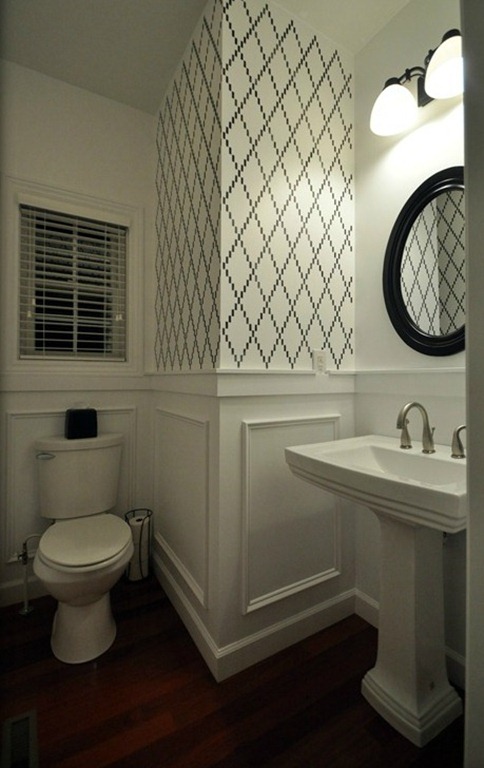
I’ve also taken on larger challenges such as stenciling our powder room.

stenciled powder room

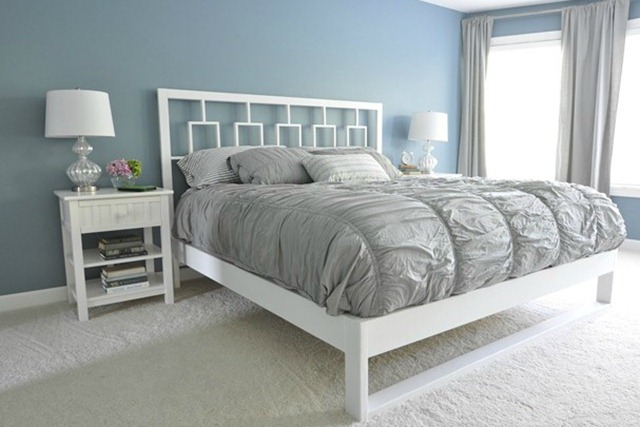
And building a bed frame.

bedframe

Now we want YOU to join us!  Seriously.  Read this post and then get to work.  You only have one week!

Here’s some info to get you started:

Choose one of your pins on Pinterest.  Remember that anything goes.  I’m sure you can find something in those 3000 pins of yours that you have been dying to tackle.  Follow me on Pinterest if you are in need of a little pinspiration!

Use your pin to create your own version and then blog about it.  Easy peasy.

Make sure you not only link to the pin but also to the original source.  This is basically the only “rule”.  It’s very important.  Follow it.

Share your project with us on Wednesday, February 27th!  We will each be hosting a link party so be sure to link up your project to all four blogs!  Feel free to include the fancy Pinterest Challenge banner and/or a link back to the hosts to help spread word about the Pinterest Challenge!

Pinterest knows nothing of this madness.  Well, I’m guessing they know about it they just don’t sponsor, endorse it, etc.  It’s just a fun idea that Katie dreamed up to kick us all in gear.  Who doesn’t like fun with a side of get it done?

Follow me on Instagram (decorandthedog), twitter and facebook for sneak peeks of my Pinterest Challenge project.  See you back here on Wednesday.  We can’t wait to see what you come up with!

Craft Room: Sewing Table

My craft room dreams are starting to come true.  Slowly but surely.

They are starting with this pretty little table that my darling husband built.  See the full tutorial here!

DIY Craft Room Table Sewing Table

The key to my heart is handmade furniture.  Write that down.

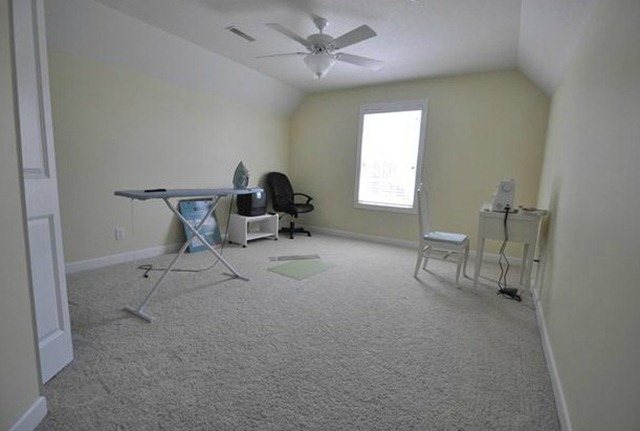
As you may recall, my craft room looked like this.

craft room before

My default “I don’t know what color to paint this room” used to be yellow. Yellow is a tricky color.  I didn’t do it well.

Now my default is grey.  I’m sure my future self will eventually cringe.  But gender neutral baby yellow?  Seriously, younger Michelle.  So sad.  Borderline tragic.

I painted the side walls March Wind by Sherwin Williams.  I painted the wall with the window Sherwin Williams standard white.  I have stenciling plans for that wall.  I just need to psych myself up to stencil again.

Sherwin Williams March Wind DIY Sewing Table

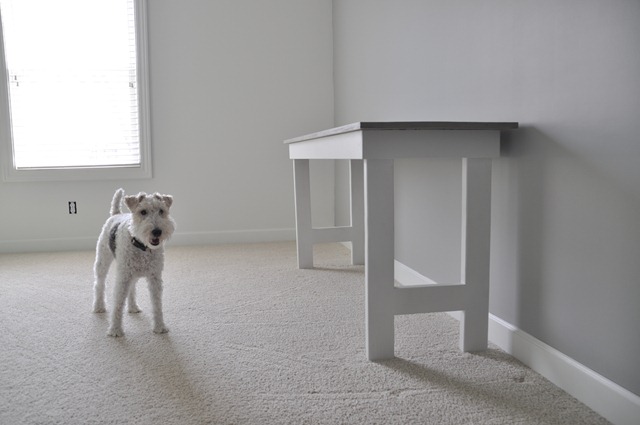
Ike is clearly pleased with the changes.

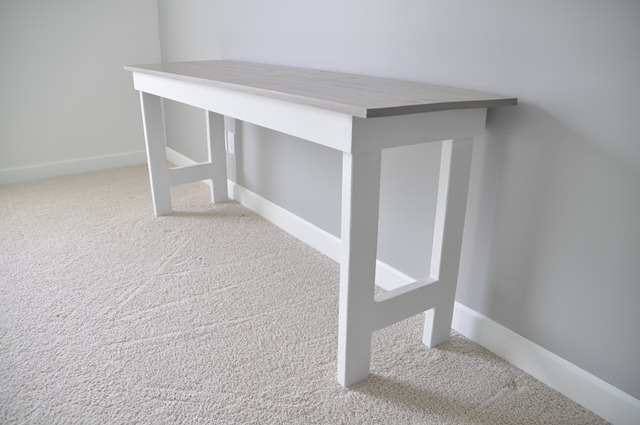
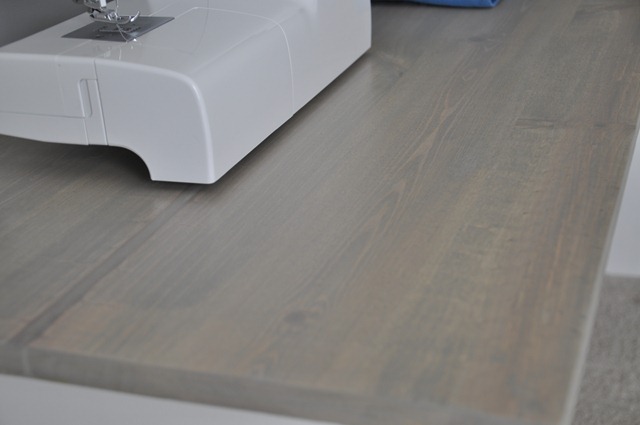
The legs/bottom of the table are painted a standard white from Sherwin Williams.  The top is stained with Rust-Oleum’s Sunbleached Ultimate Wood stain.  I never thought I’d be in love with a stain.  But I am.

DIY Sewing Table
Rust Oleum's Sunbleached Ultimate Wood Stain

I wanted the table to be long and narrow. The table is 6 feet long.  I like that I have enough room for my sewing machine and a place to cut fabric.  Kim (NewlyWoodwards) has been giving me sewing lessons.  Look out.  Things are getting serious.

Sewing Table 082

I’m now on the hunt for a set of chairs to go with this table.  I like this set from Target.  My cheap self can’t commit just yet.

Are you interested in a cute table of your own?  We’ll post the tutorial on Friday.  Nate tells me that it’s a fairly simple build.  It took us about 3-4 hours to complete (building/sanding/staining/painting).

Check back Wednesday for a pee your pants announcement.  Hint: I am not pregnant.

Do you sew?  What do you use for a table?  What’s your “I don’t know what color to paint this room” go to?  Any great chair suggestions?